Deliver to EGYPT
IFor best experience Get the App
معلومات عنا
دعم العملاء
احصل على التطبيق

قم بتوجيه الكاميرا لتنزيل التطبيق
حقوق الطبع والنشر © 2024 Desertcart Holdings Limited
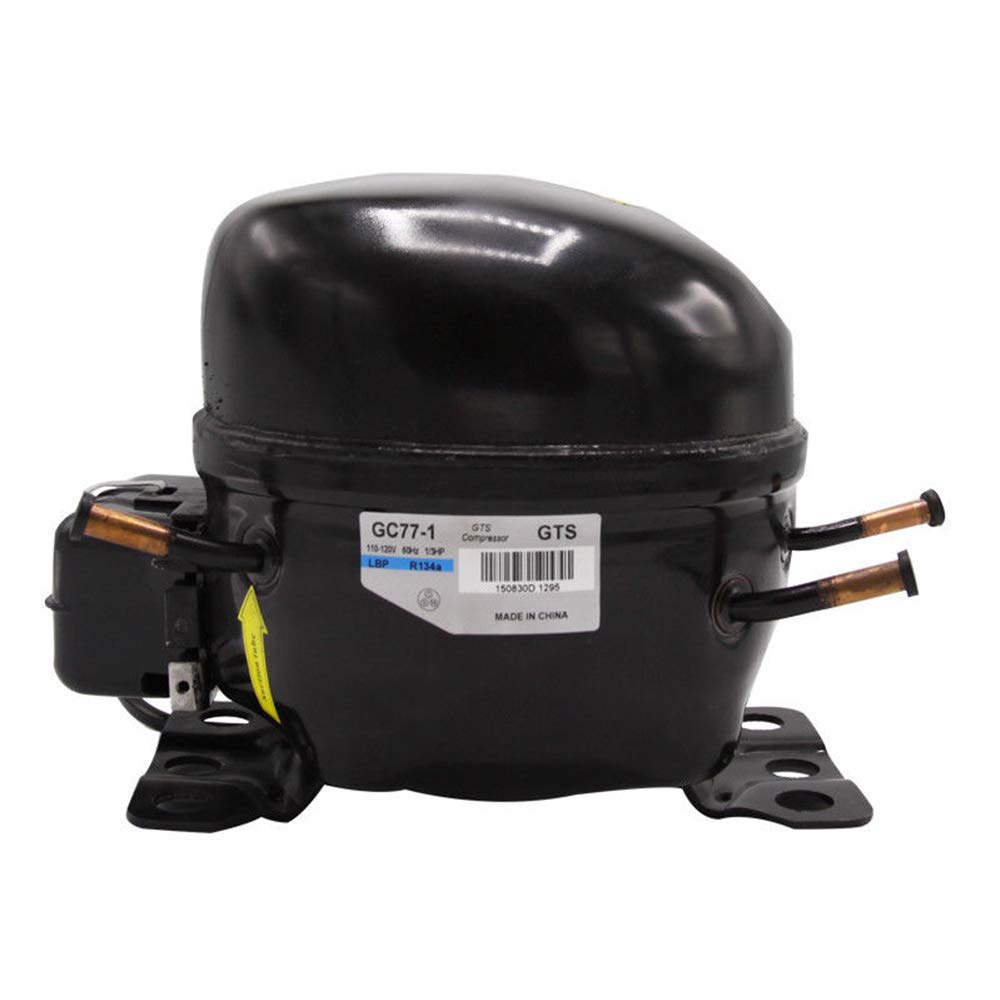
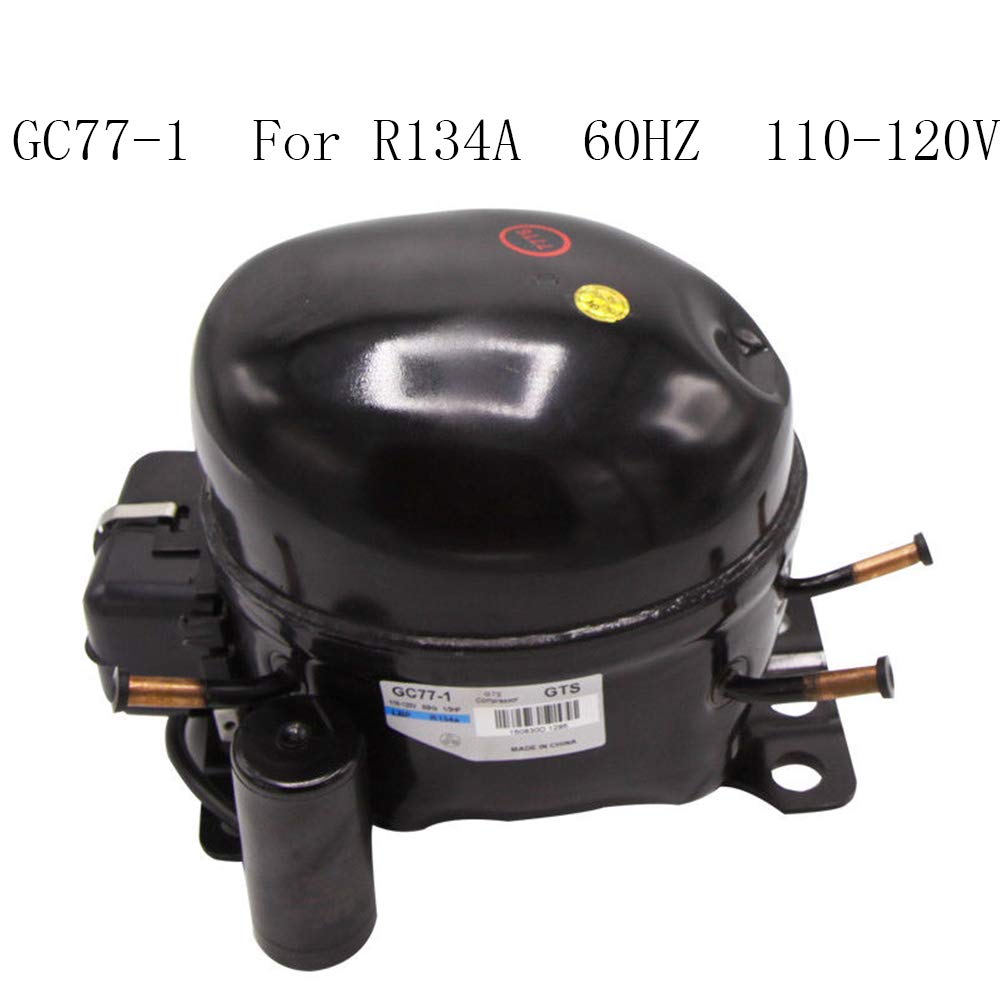
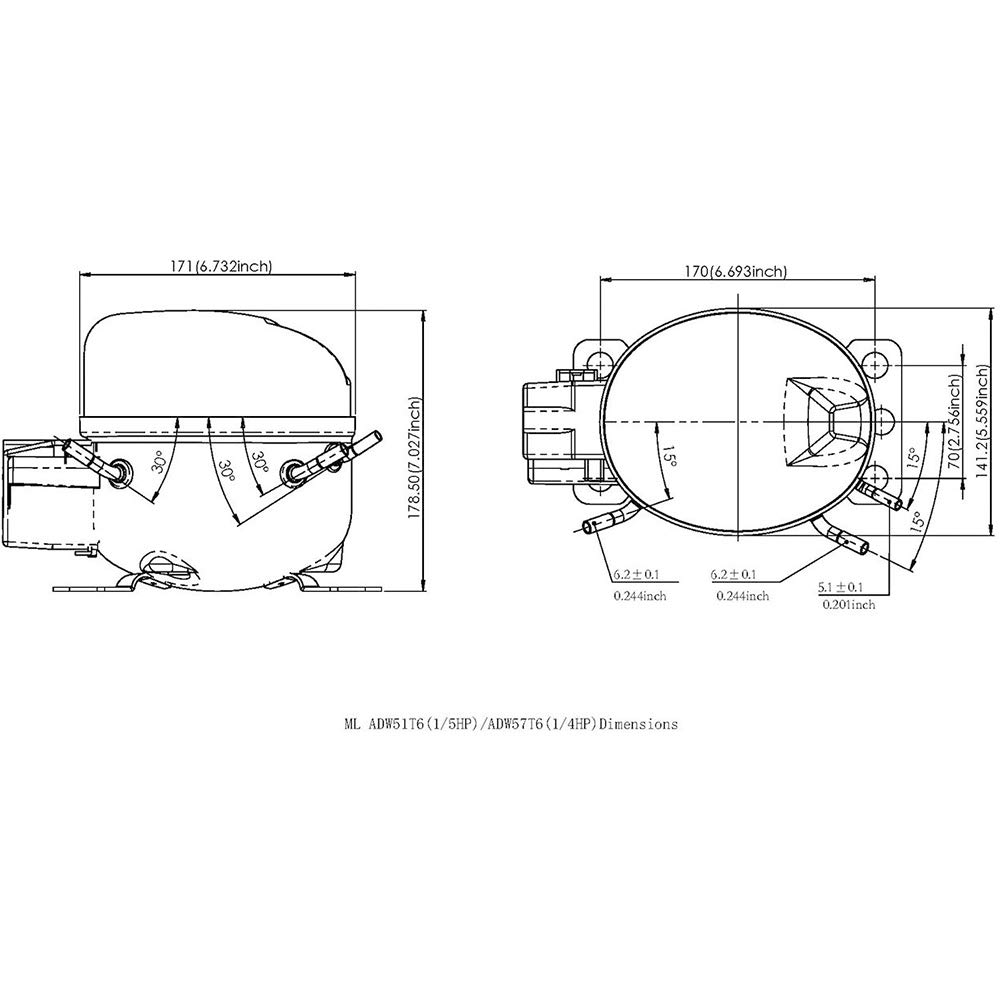
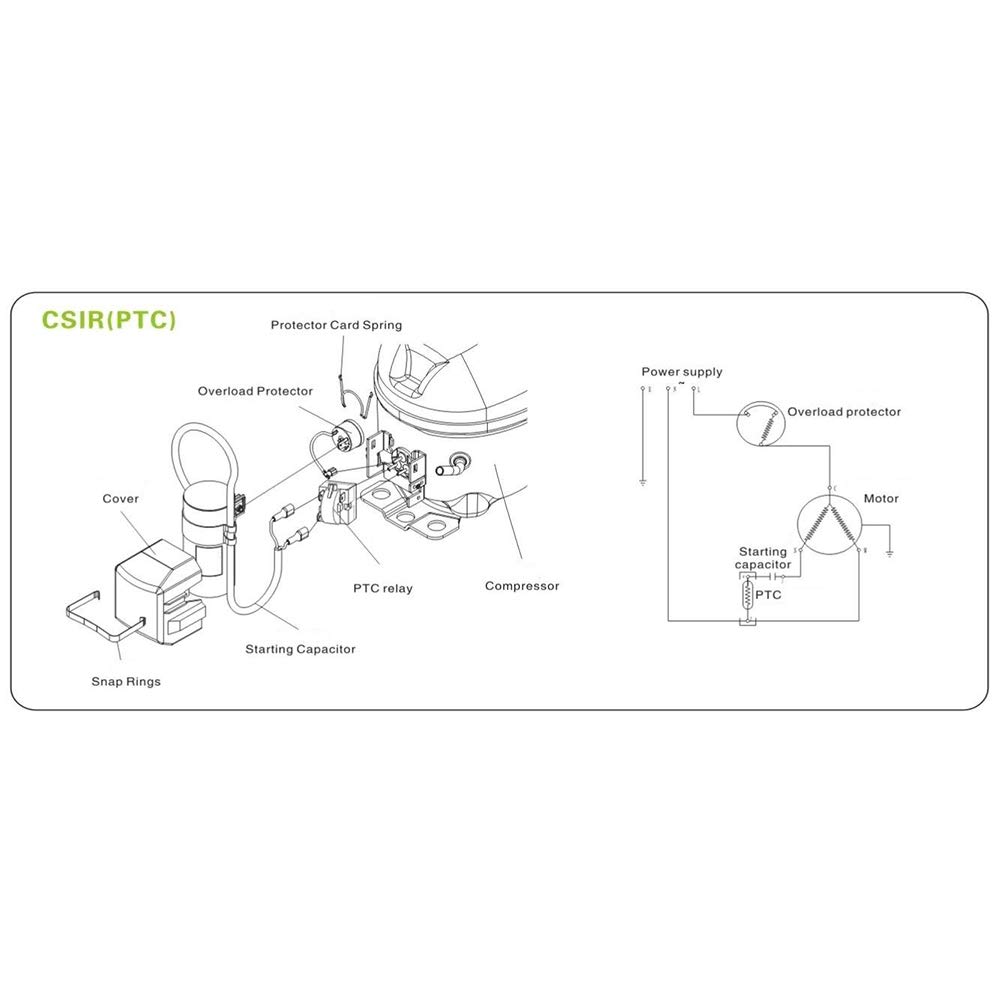


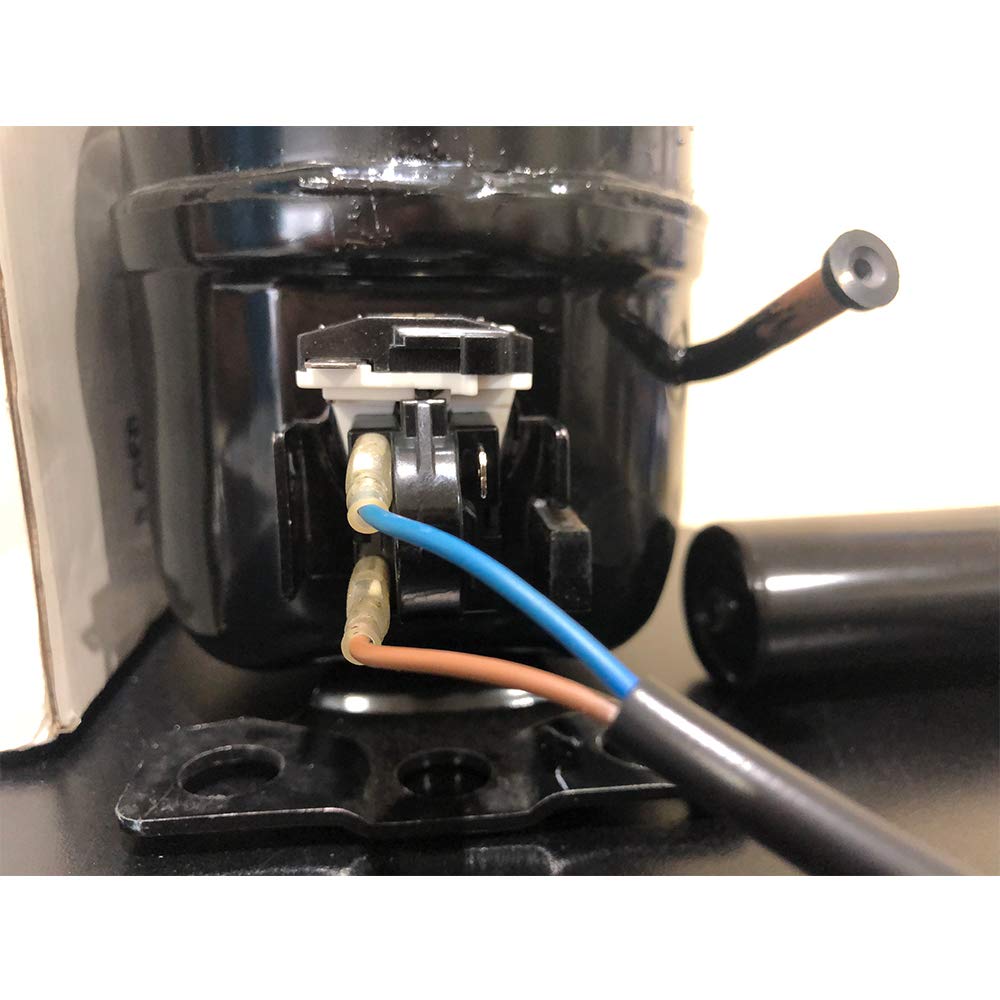
Features: ☞For r-134a ☞Reliability and consistency ☞LBP Applications ☞UL Listed ☞1 PH ☞60Hz☞110V~120V ☞Model: GC77-1 ☞Displacement(CM3): 7.7 ☞Motor type: RSIR ☞Cooling capacity(W): 210 ☞COP: 1.17 ☞Height: 7.03” ☞Diameter: 6.73” ☞Power HP: 1/4+ How to install?PreparingStep 1 – Unplug the UnitBefore starting the installation process, unplug the unit from the power supply. Remove the contents of the fridge and put them in another fridge or icebox temporarily.Step 2 – Locate the Old CompressorUsually, it’s located at the bottom of the fridge and can be accessed from the back of the unit. It’s cylindrical, and a metal guard is usually hiding it. Use a screwdriver, if necessary, to remove the guard and expose the compressor.Step 3 – Remove the Old PartInspect the compressor to check if it has a capacitor.It’s directly connected to the compressor to provide starting power, much like a battery.Detach the wiring and the valves on the old compressor from the capacitor to remove it from its spot. Uninstall any mounting hardware.InstallingStep 1 – Connect the CapacitorConnect the capacitor to the new compressor following the correct wiring code as provided by your manufacturer.Step 2 – Add RefrigerantRefrigerant makes the compressor work.Before charging the unit with a refrigerant, you need to pull a vacuum. In addition, ensure your fridge isn't leaking any of this refrigerant. If it is, fix the issue before replacing it.Step 3 – Connect the ValvesAfterward, check the valves on the refrigerator and connect them to the compressor. Step 4 – Test the UnitAfter the wiring and valves have been connected, put the metal guard back and test the unit to see if it works.
ترست بايلوت
منذ شهرين
منذ شهر