
Desert Online General Trading LLC
Dubai, United Arab Emirates
Desert Online General Trading LLC
Dubai, United Arab Emirates
![Auto Ventshade [AVS] Outside Mount Rain Guards For 2015 - 2025 Ford F-150; 2017 - 2025 F-150 Raptor, F-250, F-350 SD, SUPERCREW ONLY | Window Vent Visors, 4 pcs. - Smoke | 94975](https://m.media-amazon.com/images/I/61tqMuR3vYL.jpg)


🌧️ Upgrade your ride’s vibe—vent in style, rain or shine!
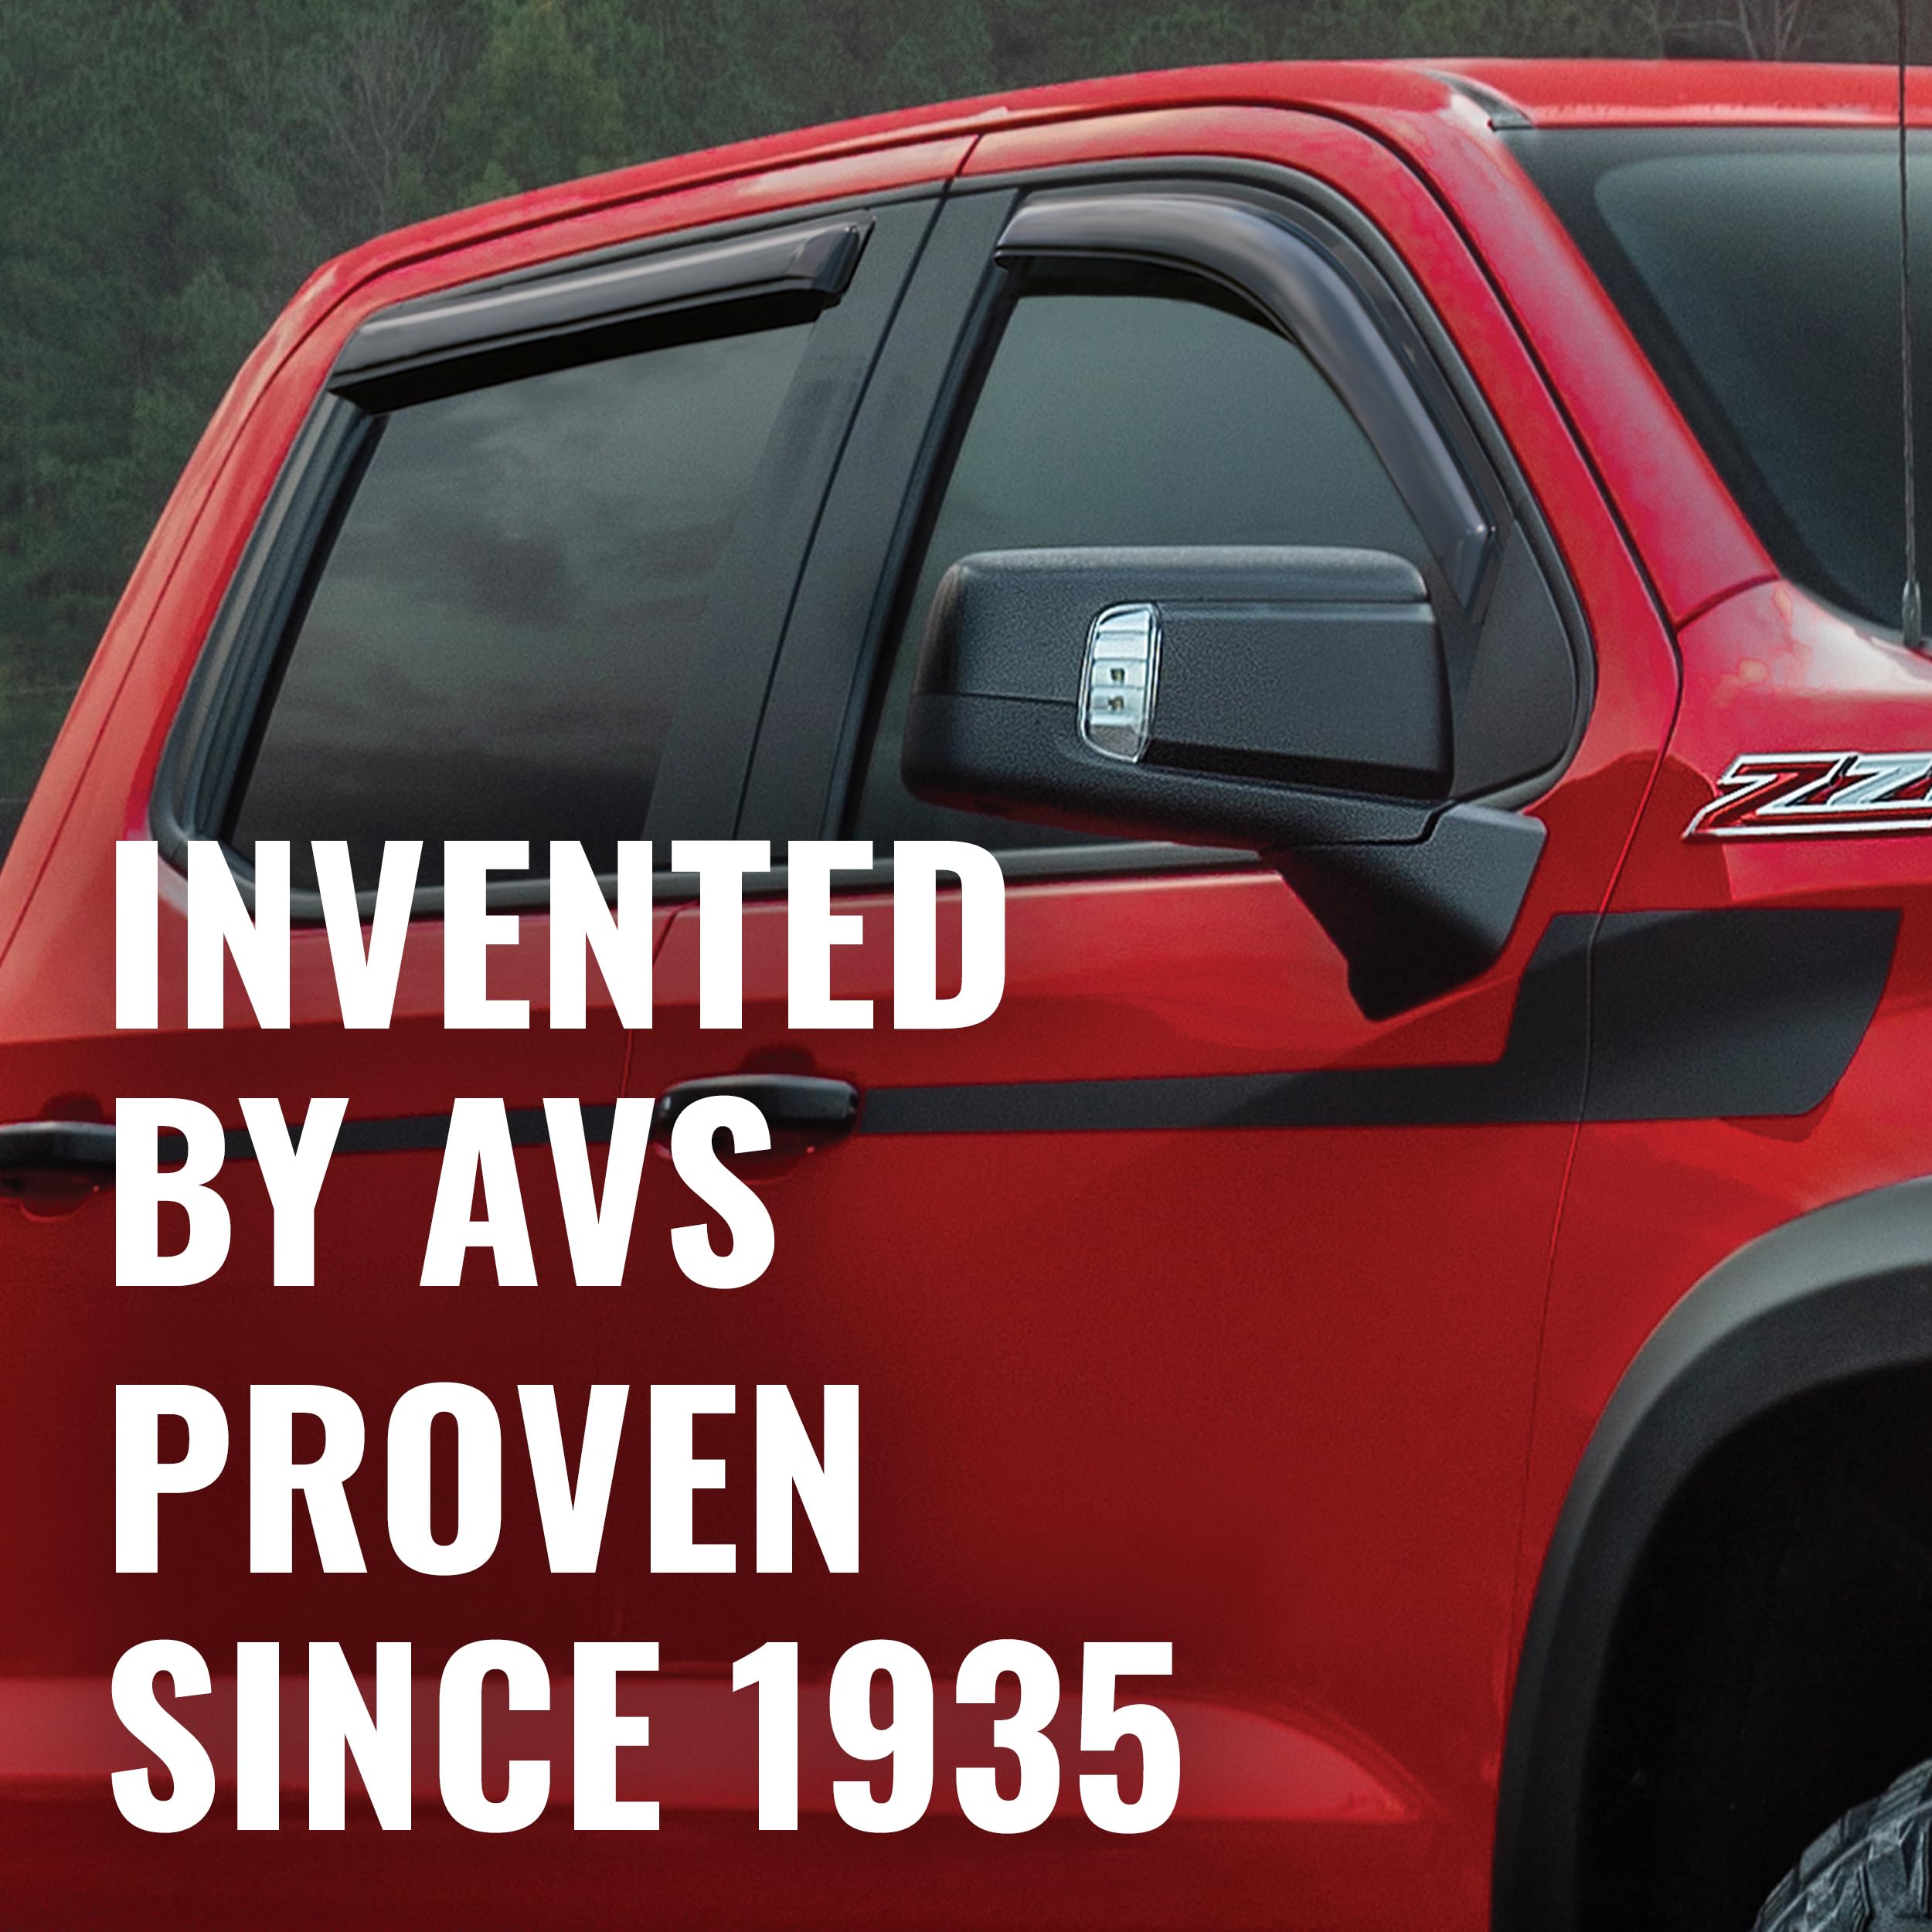
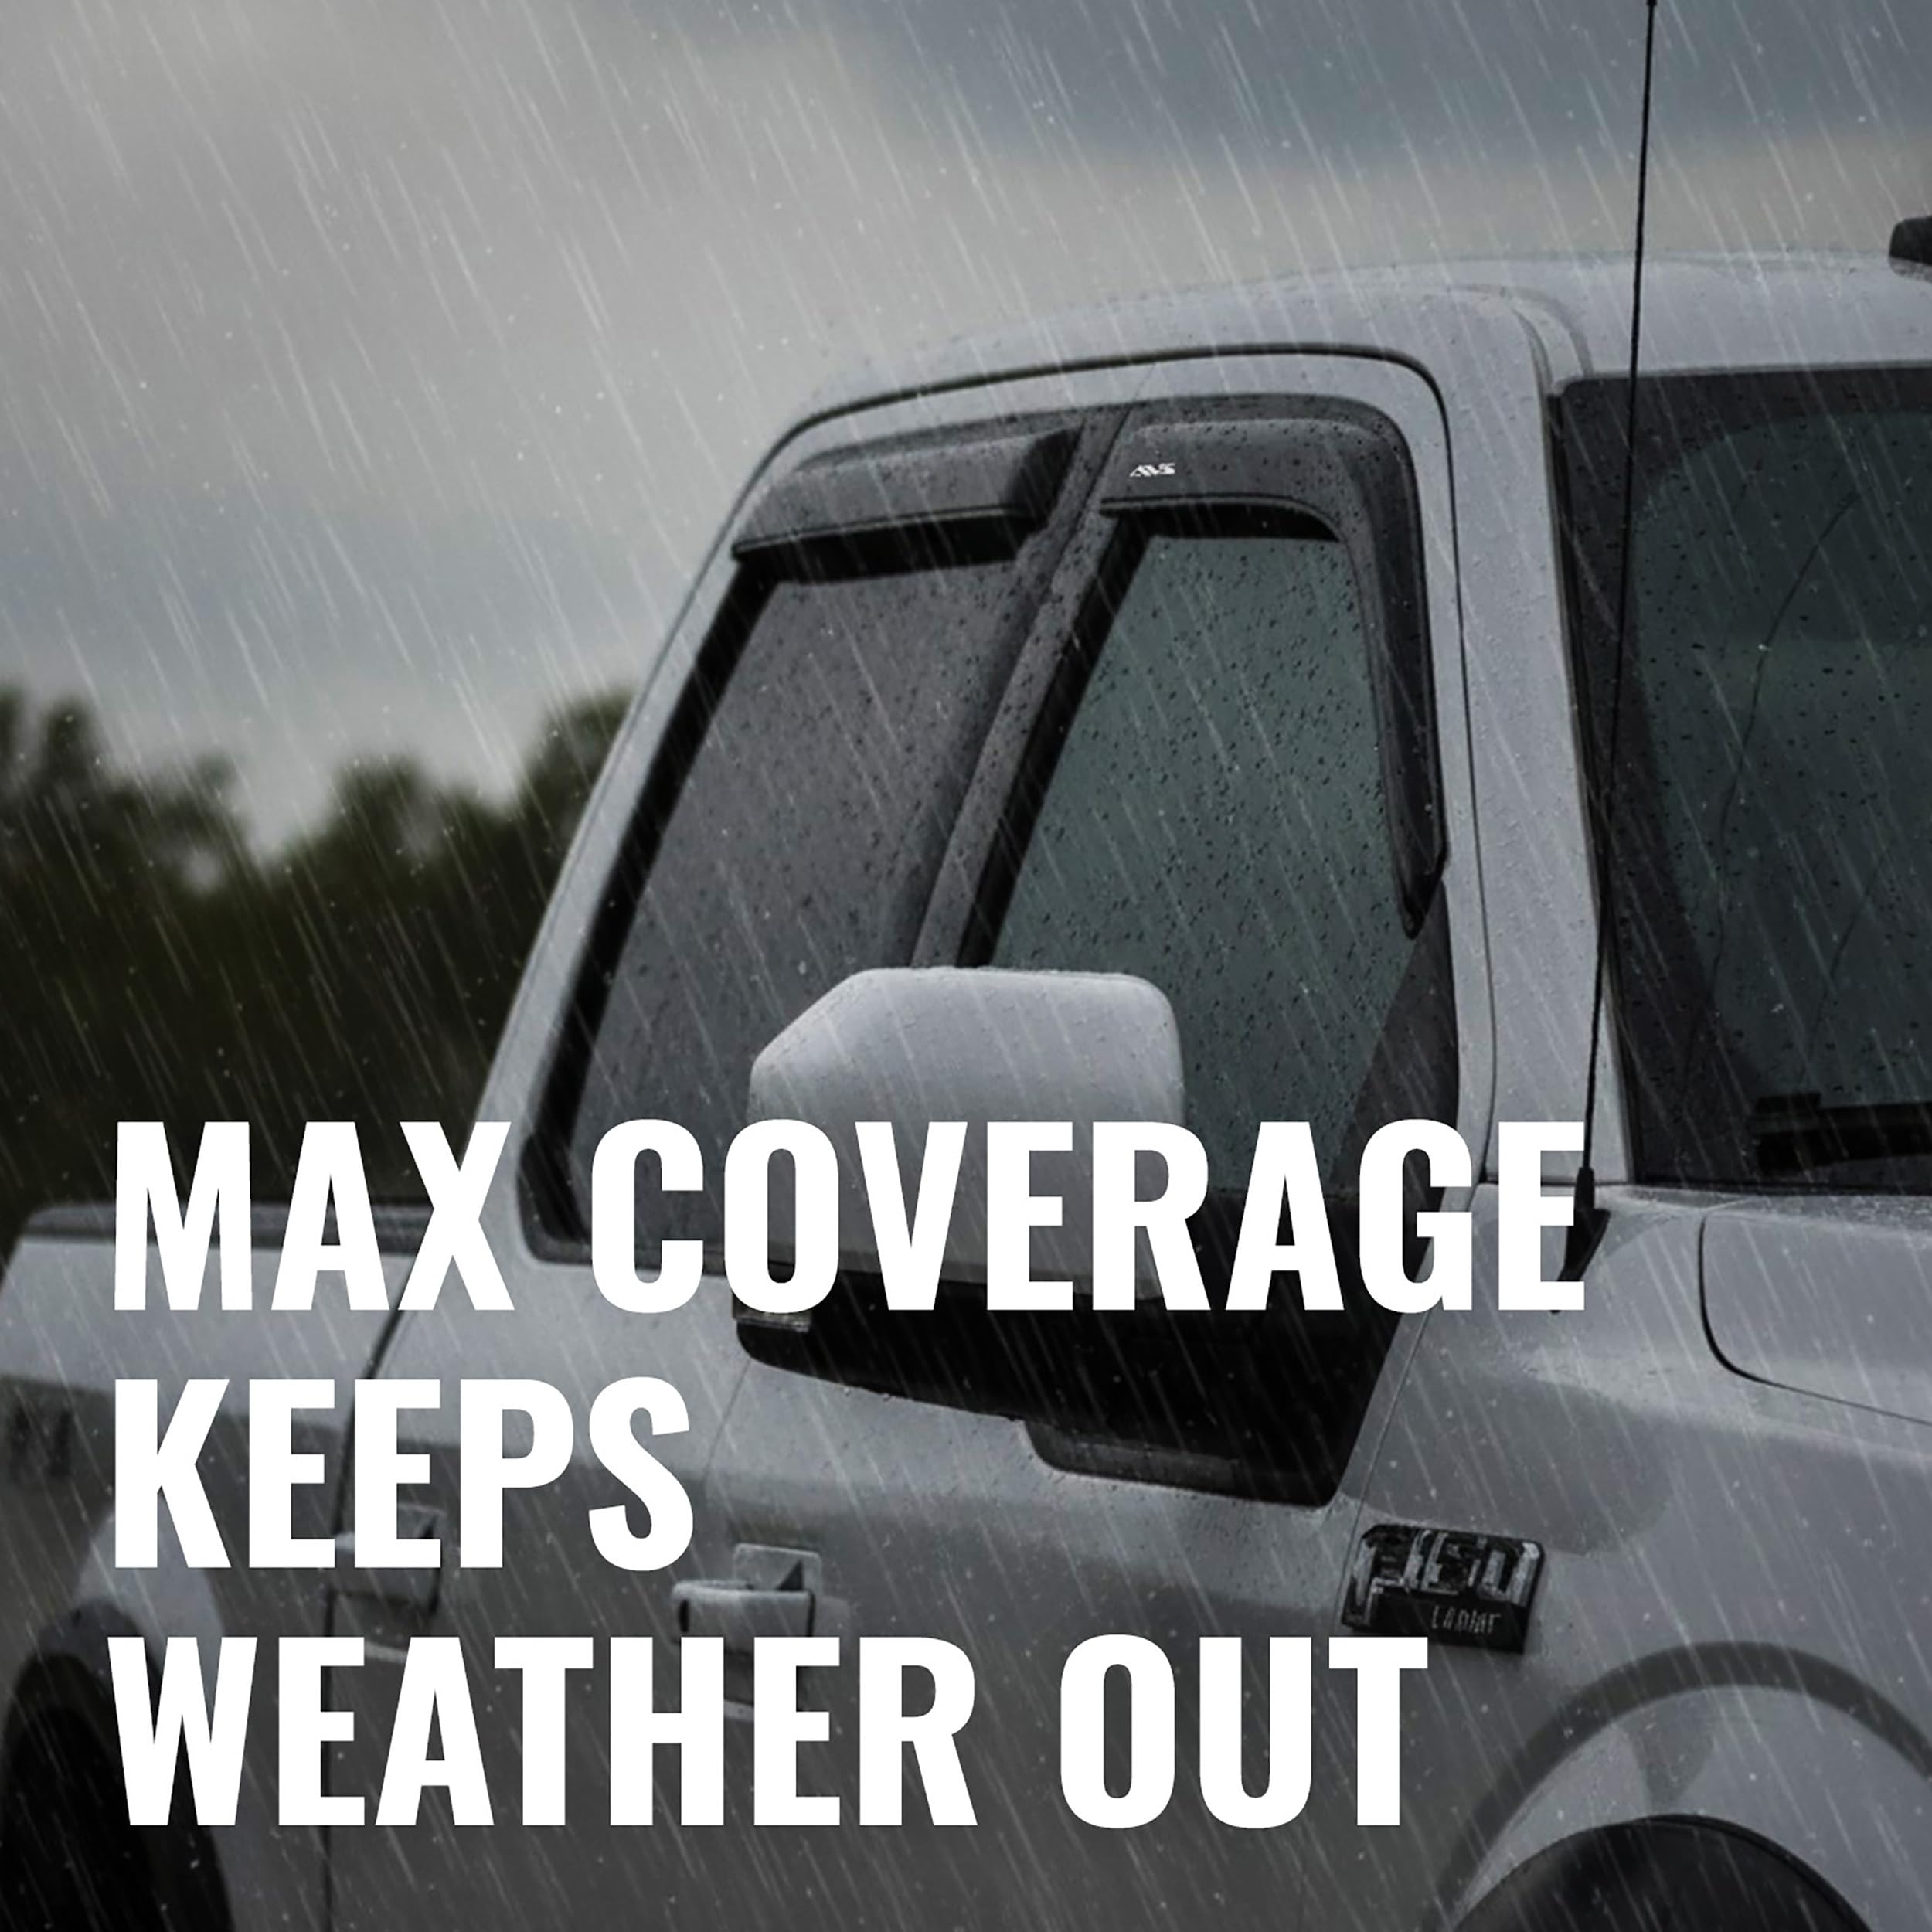
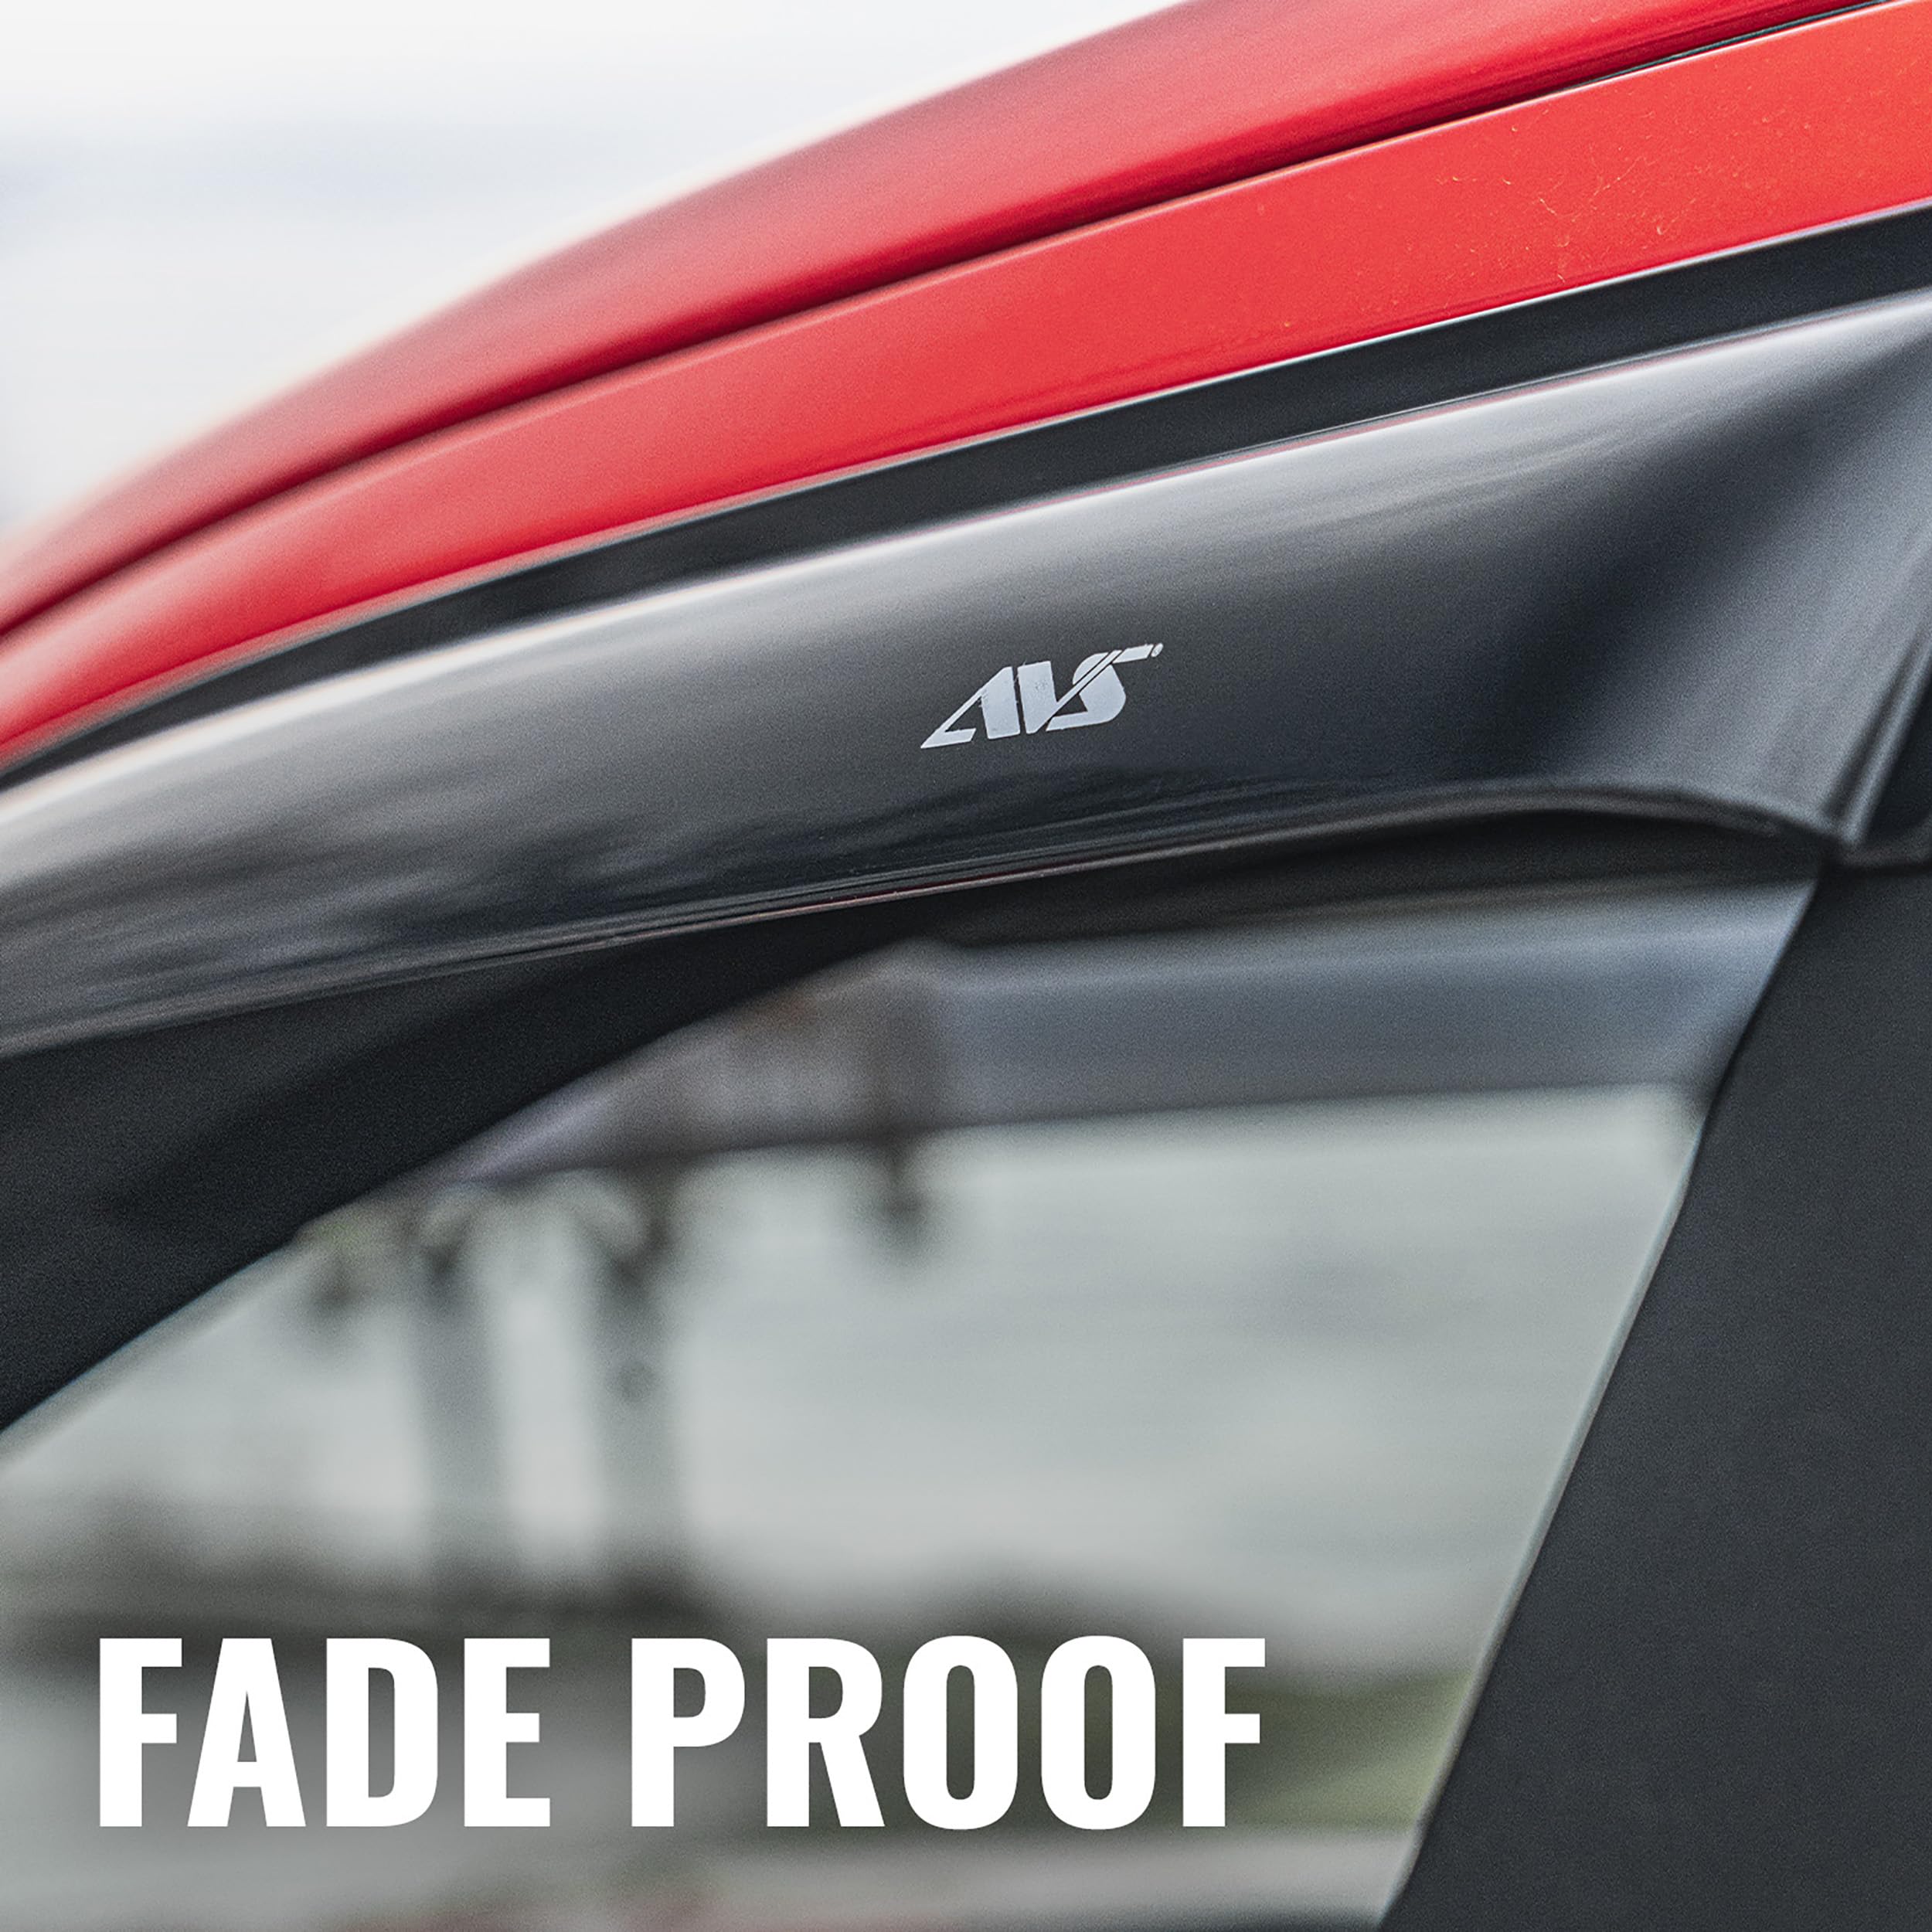
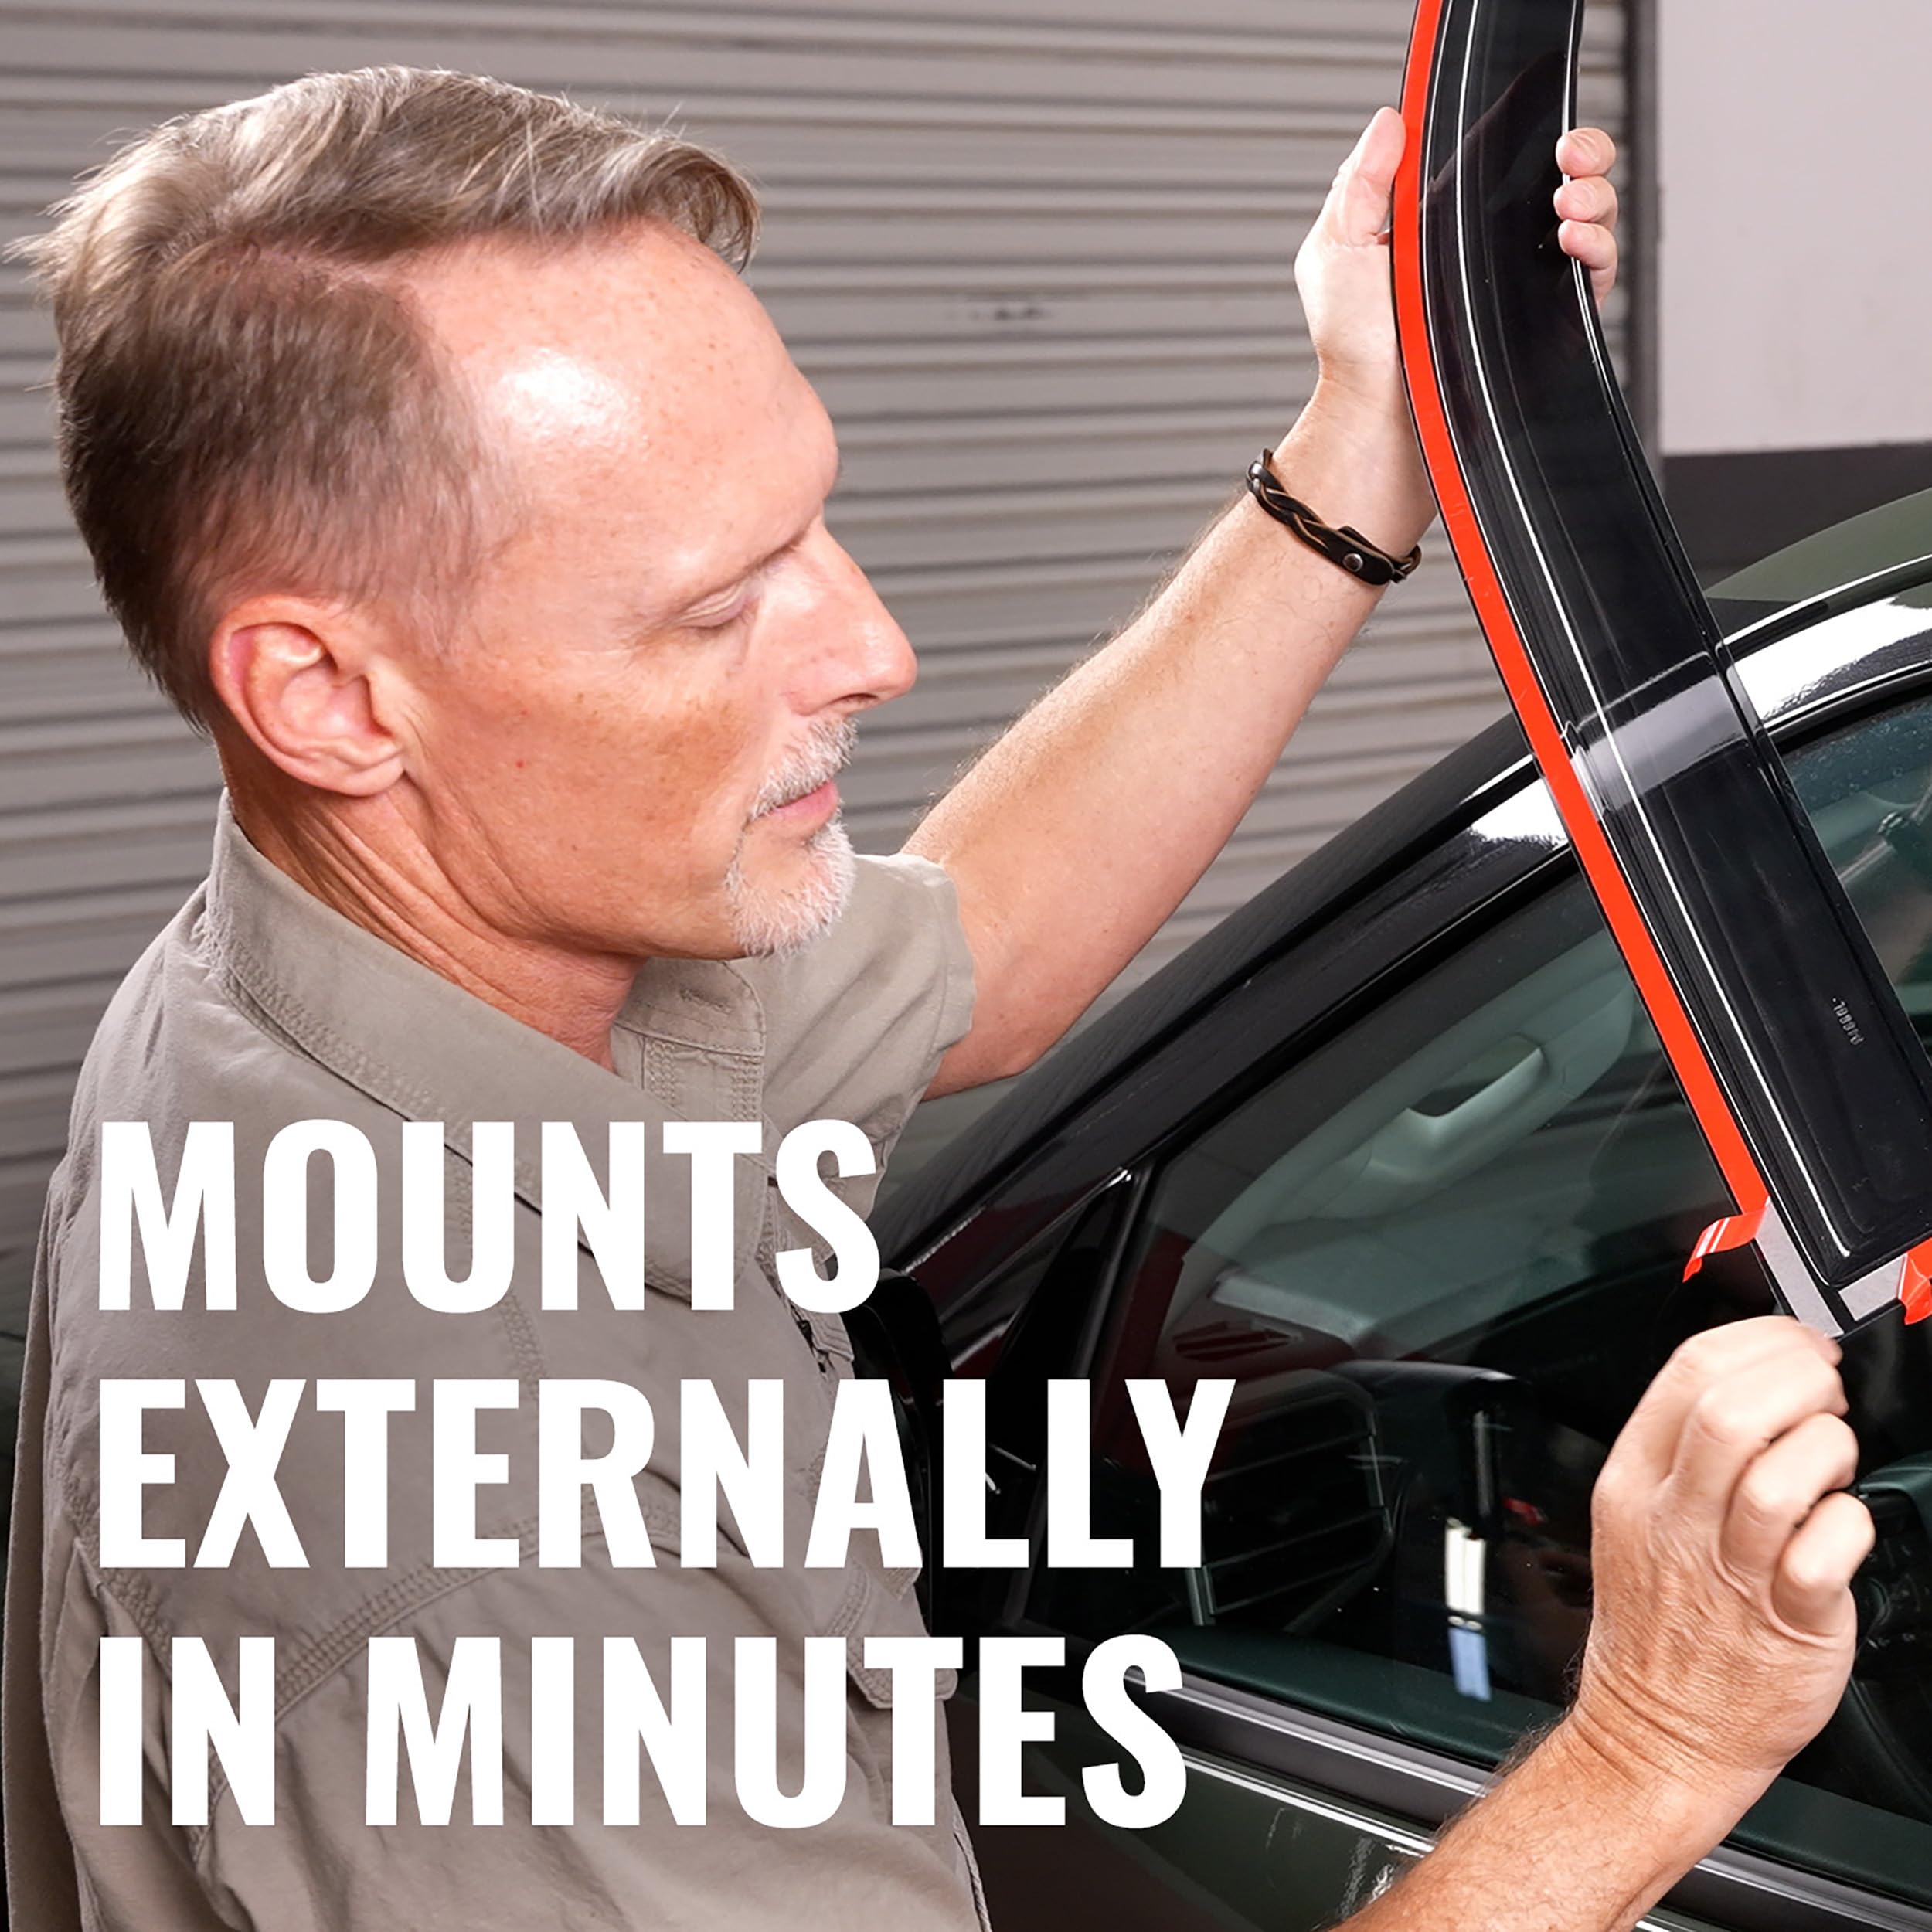
The Auto Ventshade Outside Mount Rain Guards are custom-designed for 2015-2025 Ford F-Series SuperCrew trucks, providing a durable, smoke-tinted acrylic shield that lets you crack windows for fresh air without rain or debris entering. Featuring easy 3M adhesive installation and a precision fit, these vent visors enhance both functionality and style while protecting your cabin environment.


| Color | Smoke |
| Brand | AVS |
| Exterior Finish | Smooth |
| Style | Outside Mount - Smoke |
| Auto Part Position | Outside |
| Number of Pieces | 1 |
| Installation Type | Self-Adhesive |
| Automotive Fit Type | Vehicle Specific Fit |
| Manufacturer | AVS |
| OEM Part Number | 94975 |
| Global Trade Identification Number | 00725478148237 |
| UPC | 725478148237 |
| Model | Outside Mount Ventvisor |
| Item Weight | 2.44 pounds |
| Product Dimensions | 46.88 x 11.88 x 1.88 inches |
| Item model number | 94975 |
| Is Discontinued By Manufacturer | No |
| Manufacturer Part Number | 94975 |
ترست بايلوت
منذ شهرين
منذ شهر
![Auto Ventshade [AVS] Outside Mount Rain Guards For 2015 - 2025 Ford F-150; 2017 - 2025 F-150 Raptor, F-250, F-350 SD SuperCrew | Window Vent Visors, 4 pcs. - Smoke | 94975](https://images-na.ssl-images-amazon.com/images/I/61tqMuR3vYL._AC_UL116_SR116,116_.jpg)
