معلومات عنا
دعم العملاء
احصل على التطبيق

قم بتوجيه الكاميرا لتنزيل التطبيق
حقوق الطبع والنشر © 2024 Desertcart Holdings Limited
🚀 Shield Your Power with Style!
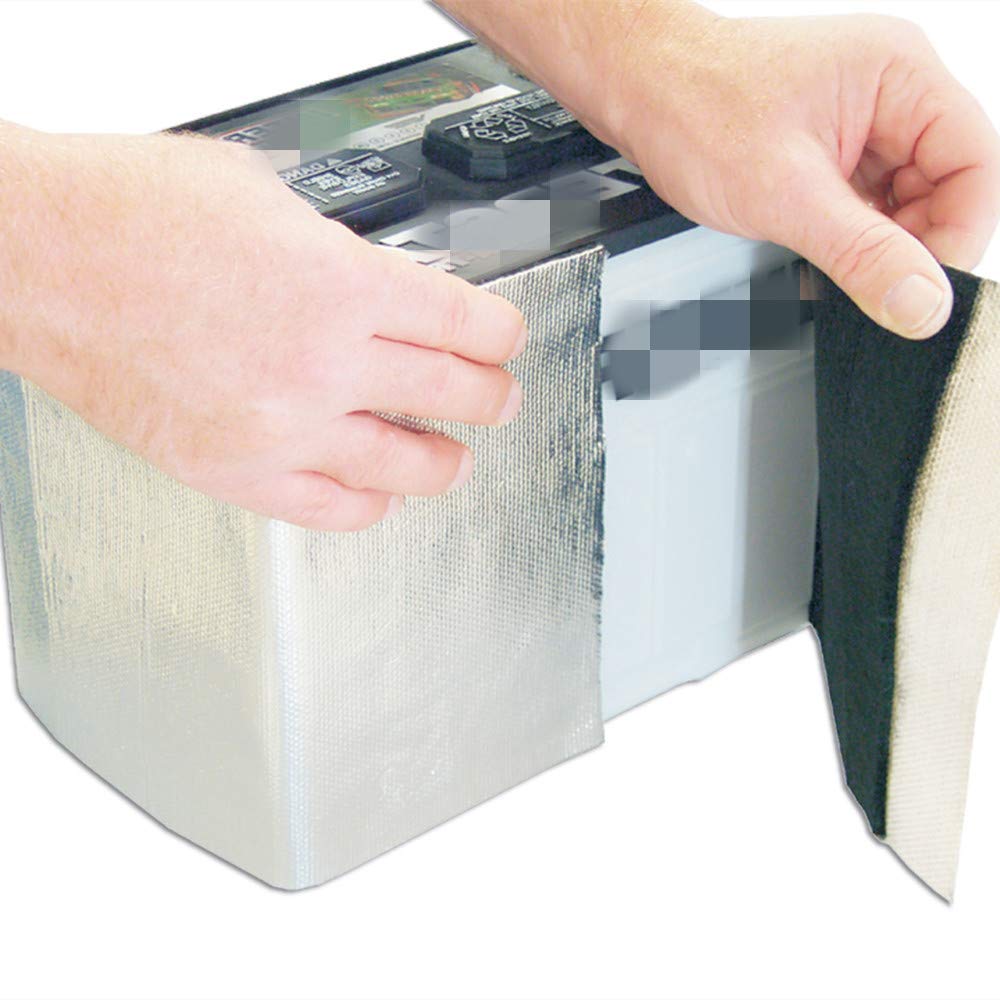
The BSTFLEX Battery Wrap Heat Shield Barrier is a premium insulation kit designed to protect your automotive battery from extreme heat and vibrations. Measuring 8 inches by 40 inches, this self-adhesive wrap can withstand temperatures up to 2000°F, ensuring optimal performance and longevity for your battery. Its durable construction resists abrasions and oil spills, making it a reliable choice for various applications.
| Manufacturer | BSTFLEX |
| Brand | BSTFLEX |
| Item Weight | 12 ounces |
| Package Dimensions | 10.94 x 9.8 x 1.89 inches |
| Manufacturer Part Number | BSTBWHSB |
B**T
A TRULY GREAT VALUE - F350 DUAL Battery Install Instructions
I NEVER write reviews, however, in this day and age of gimmicky cheap products, this product is truly an exception. I have an F350 Super Duty with TWO batteries, as you have probably seen, the replacement heat shields are $120, and I could not stomach it.I saw this product, read the reviews, and decided to give it a try. I ordered two of these heat shields, you will need one of them for each battery, I installed them an hour ago, and I am THOROUGHLY impressed with the quality....far better than the initial factory $120 heat shields. All you need to install these are a tape measure, a pair of scissors, and several strips of duct tape....I DID NOT USE THE THERMAL TAPE THAT WAS PROVIDED.First, I recommend taking your new battery, place it on the kitchen counter, measure from the base to the bottom of the top lip of the battery, NOT THE TOP of the battery....you will need to hold the lips as you put the battery in place. Lengthwise cut the top two or three inches off of both the insulation as well as the aluminum heat shield in a long strip leaving the wrap matching the height you measured from the base to the bottom of the top lip.First, TIGHTLY wrap the black insulation around the battery, you will have several inches of overlap, simply place two strips of duct tape at the end of the overlap over the first layer of the insulation....then, do the same with the aluminum heat shield. Do not worry about removing the overlap, I recommend placing the overlap section on the same side of the battery that is up against the engine.Finally, I strongly recommend using duct tape at the two ends of the battery to secure the side of the insulation to the bottom of the battery, I.E. take the strip of duct tape, run it down the side of the insulation and then run the tape under the battery. This will prevent the the insulation from catching on something and lifting up on the sides when you slide it down into the battery compartment.This battery insulation kit is truly impressive and absolutely a great value...I HIGHLY RECOMMEND THIS PRODUCT!!!
A**D
This kit is GOOD and is not hard to install, but you do need to pay attention!
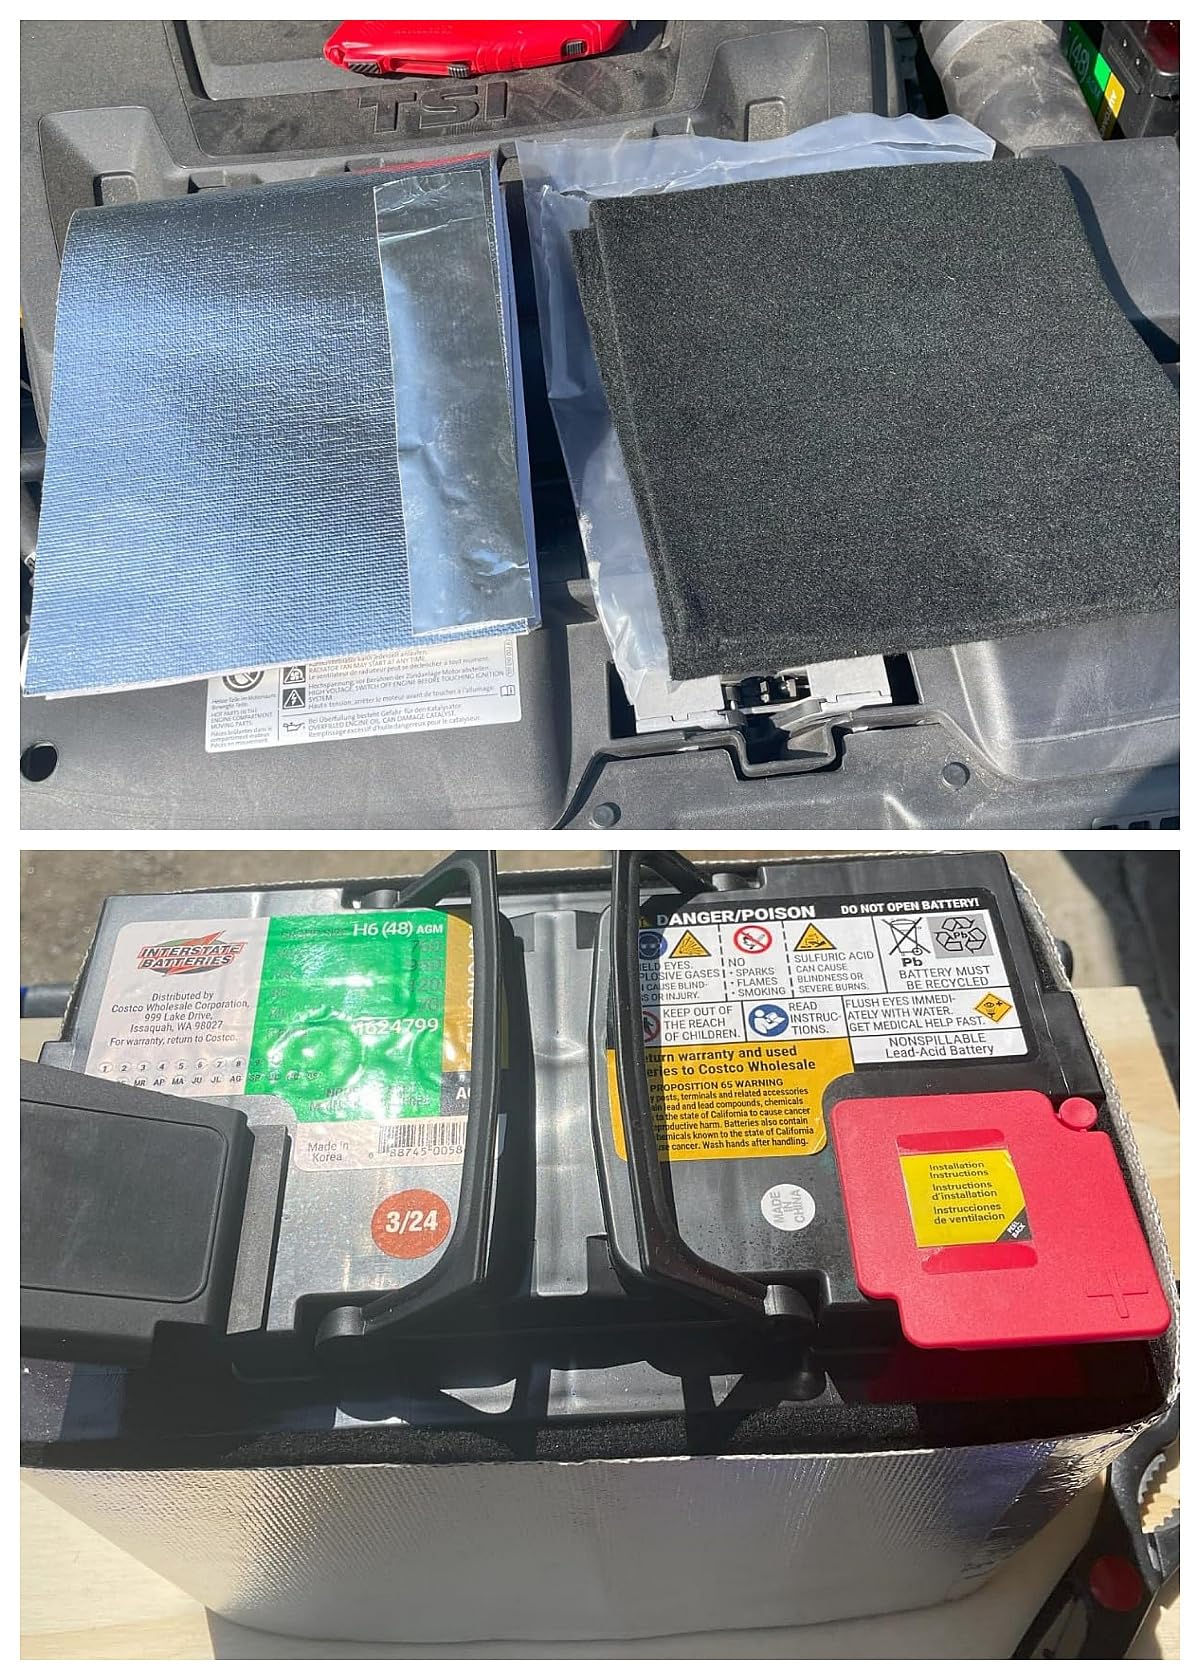
I ripped the battery wrap doing a roadside battery replacement (2013 Santa Fe). This kit did NOT come with instructions, but there are online videos of very similar installations. You have to think about how to do it for your car, but the result is a well fitting 2 layer wrap. Tips- if your battery does not have a handle, you can make one with several layers of duct tape (see pix). Obviously test and use carefully, but a big help for getting the battery in and out of a tight location. Yes the reflective layer IS conductive, just work around it. Some terminals (pix) actually don't get near it, but you can cut it back as needed and wrap duct tape over its top edge (and the black insulation) in tight spots (pix). I also cut back BOTH layers about 1/2 in up at the bottom so that they did not interfere with the battery mount(pix). This will also make it less like to "ground". If the clamp is at the bottom, loosen it first and see if you can get the battery out without removing the bolt. This reduces the chance of loosing it somewhere! Note: the reflective layer has a peel off backing, I found its adhesive to be great, especially if you leave several inches of overlap. As always, the ground terminal (negative, except in some rare cars) should be disconnected first and reconnected last to reduce the chance of a "short"..
D**.
Better than OEM blanket
Project worked nicely but instructions need to be improved. Found a YouTube video from a different brand that helped explain how this one should be installed.
M**1
Works on a group 27F battery
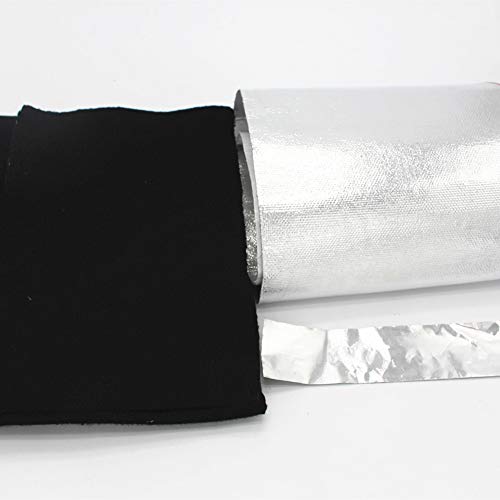
Used this to replace a factory battery wrap that had been saturated in battery acid from a leaking battery. It was large enough to accommodate a group 27F battery. Required I trim 1-1/2 from the material but it is for multiple battery sizes so that was expected. I was however expecting the product to be one piece with a tack strip on one end but that was not the case. Product was 3 pieces. 1 insulation blanket, 1 reflective wrap & a piece of metallic tape to secure the reflective wrap around the battery. It all worked out well though and was better priced than other alternatives. Looks good and serves its purpose.
C**D
keep from freezing
Fits the 6v RV batteries perfectly for winter storage. Hopefully will keep from freezing
B**G
It wraps kinda
Ever have a condom break? Kind of like this, magnums are too big, then others cut the electricity. Wrap at your own risk
C**R
just to replace the aged stock two
was all good , did two batteries in truck,wait for cold now,make a diff. IDK.cant hurt though.
A**R
Works well
I used this wrap on a new Odyssey battery. The materials are right, and installation was easy. It would be nice if they included enough material to use on the top of the battery. I used 2 insulation kits and covered most of the top of the battery, well short of the terminals.
Z**Z
Expensive but it works and I could not find a cheaper option
Expensive but it works and I could not find a cheaper option for the same quality.
G**N
Battery cover
Great 👍 product
ترست بايلوت
منذ شهرين
منذ يوم واحد