Desert Online General Trading LLC
Dubai, United Arab Emirates
Desert Online General Trading LLC
Dubai, United Arab Emirates


🔥 Heat Up Your Drying Game! 🔥
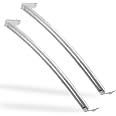
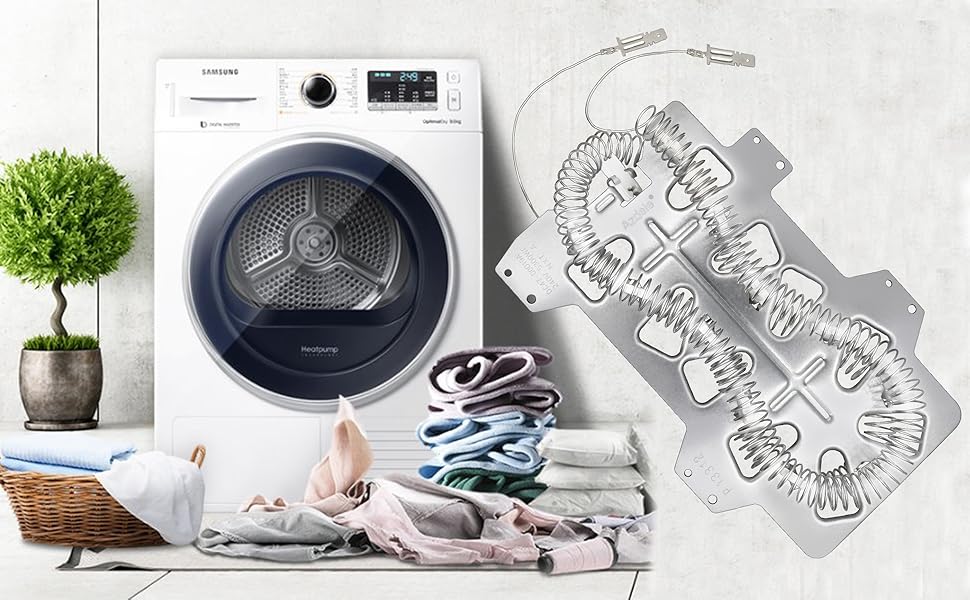
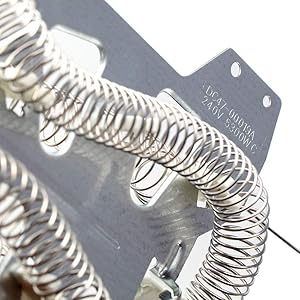
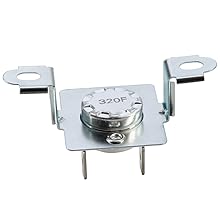
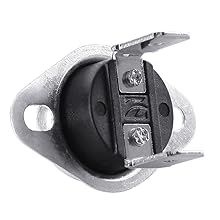
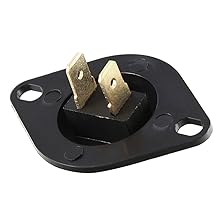
The Azdele DC47-00019A heating element kit is designed for Samsung dryers, featuring a 25% longer wire for enhanced heating efficiency. It replaces various models and includes essential safety components, making it a reliable choice for quick and easy DIY repairs.

| Manufacturer | ALEW Direct |
| Part Number | DC47-00019A |
| Item Weight | 1.17 pounds |
| Package Dimensions | 10.87 x 6.89 x 2.76 inches |
| Item model number | dc47-00019a |
| Style | dc47-00019a Kit |
| Usage | samsung dryer parts |
| Included Components | Case |
| Batteries Included? | No |
| Batteries Required? | No |
| Warranty Description | 1 year |
G**D
Great product - inexpensive - easy to install
Bought this item in October 2023 and am having to replace it mid January. Contacted the seller and they sent a new replacement immediately. The OEM part with Samsung is over 200$ so this is a greatly priced item. If you’re even the least bit handy, you can tackle installing this part. YouTube has great tutorials on the disassembly/re-assembly.
A**R
Repair easier than thought
This was a rather simple task. Tools used- flat blade screwdriver to pop top front edge of dryer top up and release. Philips head screwdriver for all fasteners and pliers to unplug old sensor leads. Take photos as you go to make it easier to put back together. Found a decent youtube video that was spot on doing this job. Zero experience and took me maybe 2 hours being extra careful and double checking my work.You don’t need to even access rear of machine. Just unplug, pull out from wall a bit and start removing the screws in video. I think was about 12 or so in total. The heater coil has two on backside you can not see but feel. I used a short handle Philips on those 2, rest a regular will do or better I had a 24volt cordless with philips head bit.The new kit has everything. Went this route instead of coil only figuring failure could have been caused by one of the temp sensors and replaced 2 in the module. Included a “tips” sheet to watch out for basically telling you to make sure not to have coil touch anything when moving leads to plug into the casing module it fits in. Quality seemed as expected, no issues. Everything went into module housing without any real trouble. The screws are shorter for the module and hard to mix up with rest used on the dryer itself. Working good as new if not better so guess update if fails prematurely which I figure atleast 3 years or so.*Personal tip- when you put the module back together with the coil inside there are two sets of holes, prefit to make sure you got it in right way for your model first, then bend the leads to where the roughly need to be watching not to be in contact with any metal (wire is stiff enough to hold it’s shape once bent) Tack coil with a few screws in module, get connection leads spot on then remove screws and assemble proper.*
H**D
Correct replacement heating coil for Samsung dryer
Have a 5 year old dryer which the heating element burnt out a couple of days ago. The dryer was four months out of warranty. So me and my wife checked out YouTube on how to replace it and it seems simple enough. Part came the next day and was received in perfect working order. Spent Friday evening installing it and it took about a hour and a half from start to clean up. And now are dryer is working like new again. It's not hard to replace just make sure you have a few band-aids on hand cause the metal you are working with is sharp. Other then that it's simple enough to do yourself and save money by not paying a repair person to do it for you. Update as of 01/25/2024 dryer still working well and no issues. Clothes are stilling drying perfectly.
C**Z
Saved me a lot of money
This worked on my Samsung dryer. For the longest it kept shutting off until it eventually never heated up and would just shut down after 2 minutes of run time. I replaced the coil and all the sensors and I can’t remember the last time my dryer was working this good. Followed a YouTube video and it saved me over $200 repair costs from some one else. I would follow the YouTube video or take a picture of your sensor wiring and follow that and not the picture it comes with for the sensors, mine did not match what was on the picture. Coil look to be better material than what was currently in there too.
U**R
A little confusing but it works.
Installation is fiddly but not overly complicated. I did use a YouTube guide and the results were successful. Some of the additional components were not an exact match to my unit, but review of the text on them helped match them up.
ترست بايلوت
منذ يومين
منذ أسبوعين