


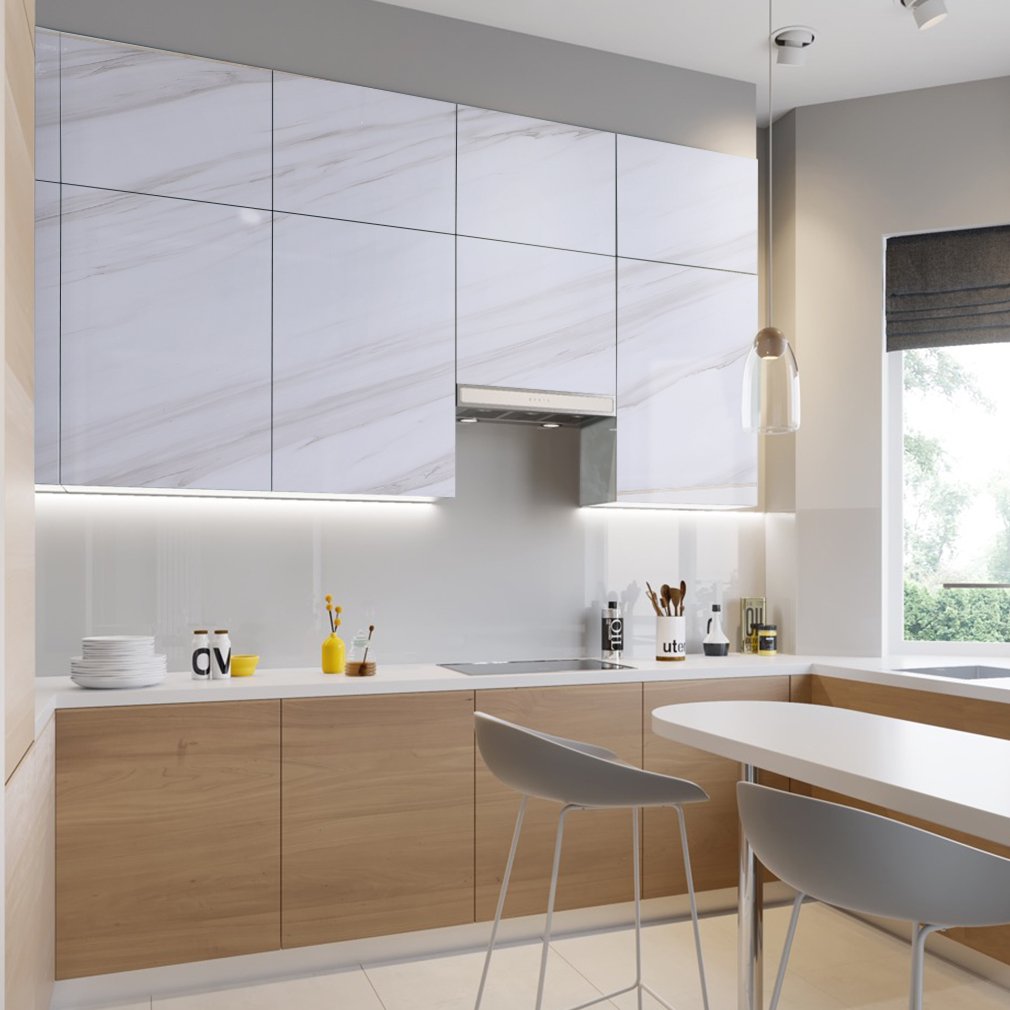

✨ Upgrade your space with marble magic—no renovation required! 🏡
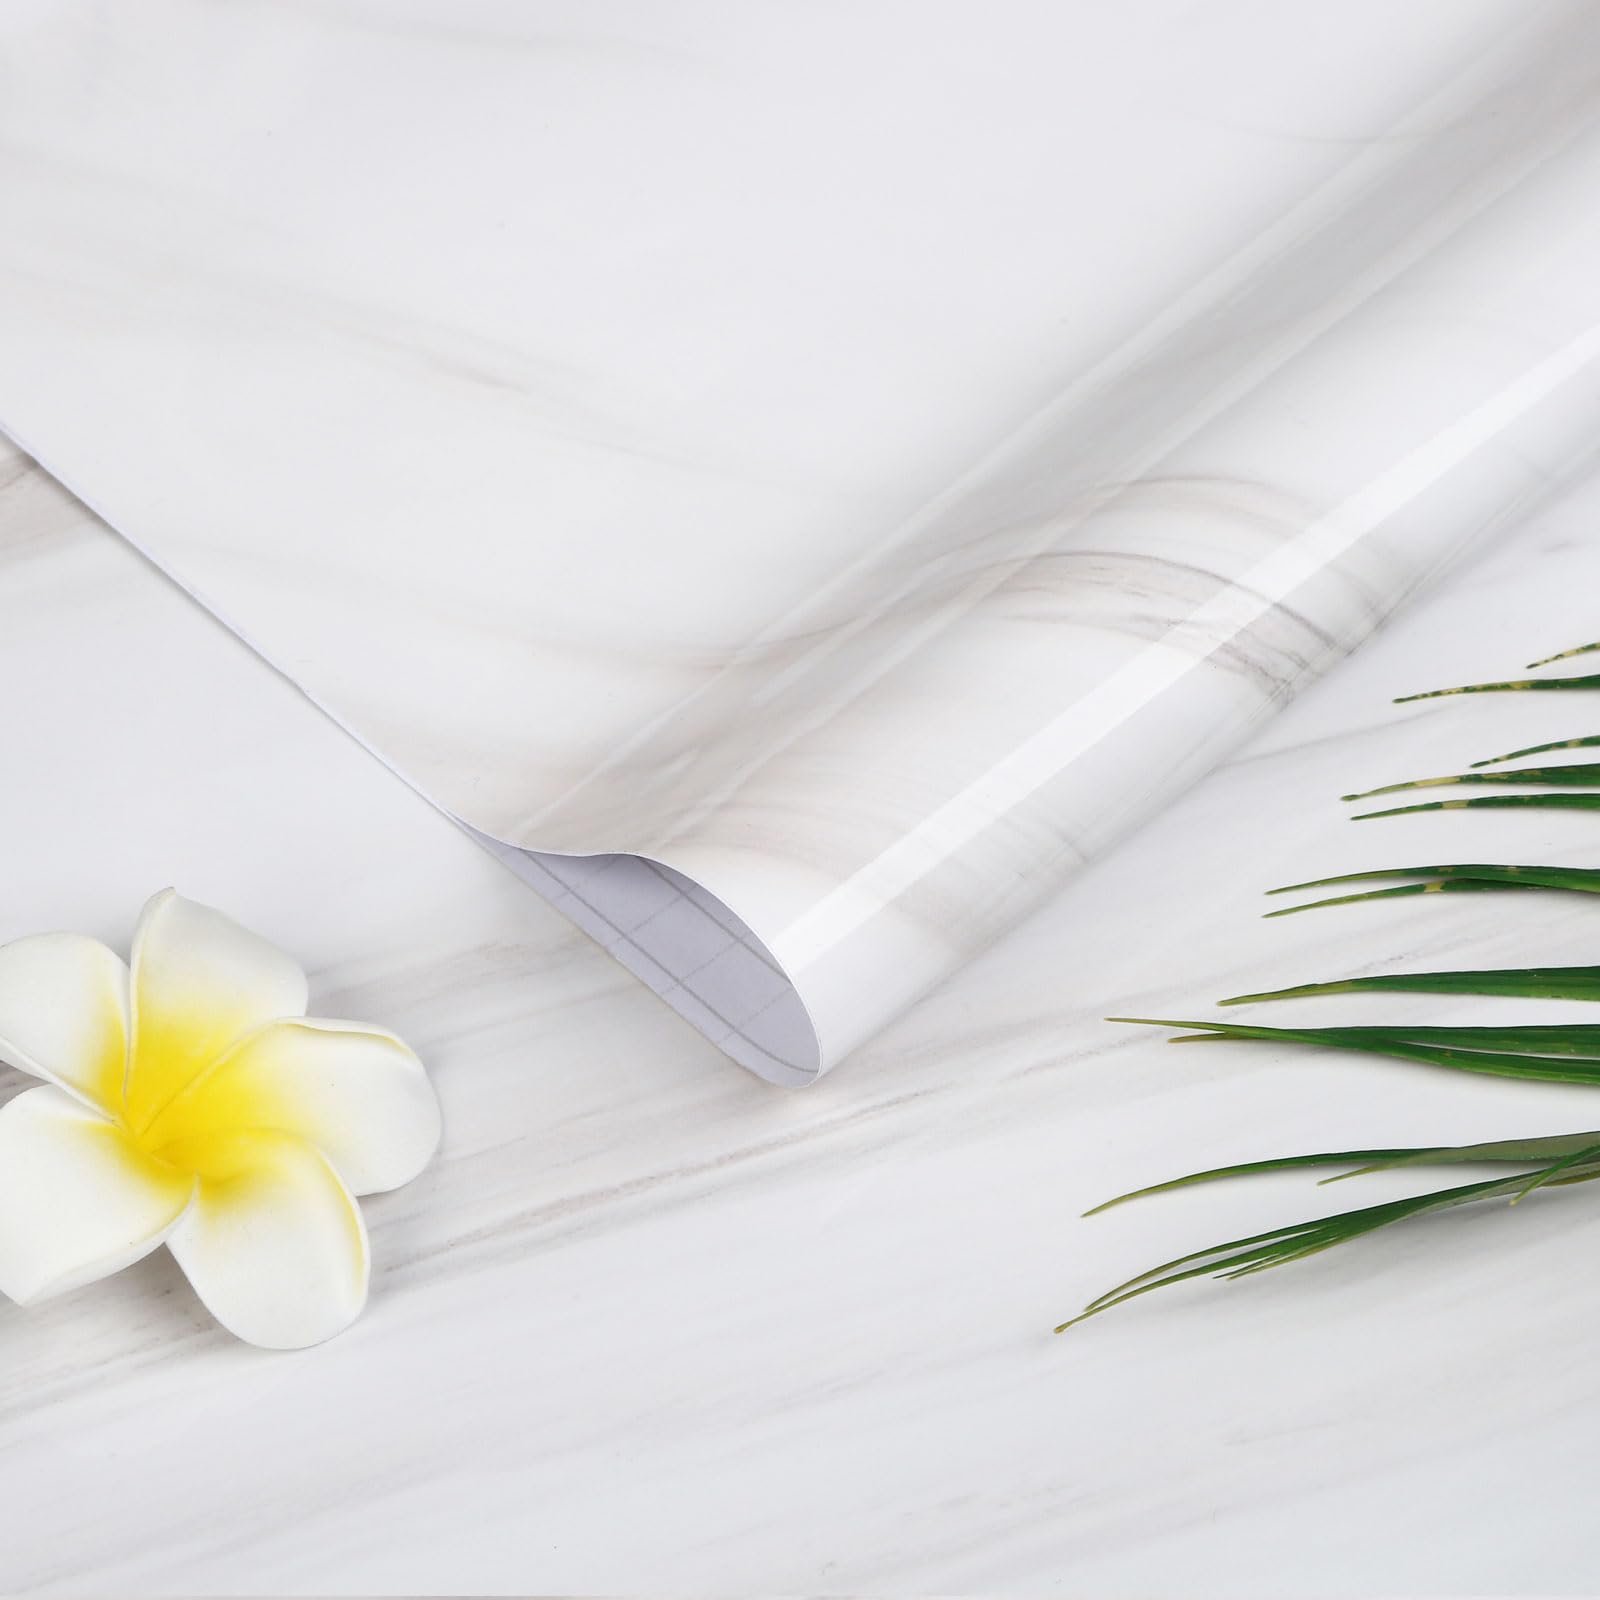
Oxdigi Marble Contact Paper is a large, self-adhesive PVC sheet (196.7" x 23.6") designed to instantly elevate cabinets, countertops, and other flat surfaces with a realistic marble finish. Waterproof, removable, and featuring grid lines for easy cutting, it offers a renter-friendly, stylish, and durable solution for modernizing any room without the commitment or mess of traditional renovations.


| Brand | Oxdigi |
| Color | White Grey Brown |
| Material | Polyvinyl Chloride (PVC) |
| Product Dimensions | 196.7"L x 23.6"W |
| Recommended Uses For Product | Cabinet, Countertop, Cupboard, Desk, Table |
| Special Feature | Open Grid Line , Peel and Stick, Removable |
J**N
Modernize your rental!
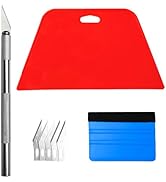
I recently moved in to a house that is over 100 years old and you could definitely see the age in the kitchen. With renter friendly contact paper and stick on tiles, I have managed to turn the old speckled, damaged vinyl counter tops into a more modern farm house look. My boyfriend was very hesitant at the idea and the amount of work that it would take, but once he saw the completed project he had no complaints. This contact paper was thick and easy to lay. The look of the contact paper is also the best, least artificial looking marble I could find. We purchased the White Grey Brown. For reference there are two before pictures, two right after completion, and 2 pictures from living with them after about a month. There are some fine scratches in places and if you look for some of the speckles from the original counters you can kind of see them through the paper, but even with that it looks 1000x better than what it looked like previously. For application, move slowly but confidently. Start with a corner, at an angle and lay it down. I bought a wallpaper kit here on amazon, and the tool with the felt edge allowed me to comfortably scrub out any bubbles or folds without worry of scraping or ripping through the contact paper.
D**K
I love it
I’ve had this on for about a month now and it’s still Nice and shiny, it clean wells but I’m not gonna lie it was hard trying to apply it because I was doing it myself and it recommends 2 ppl to install. It’s so sticky but if you use the windex method it’s so easy and you can do it yourself. I was able to do my entire kitchen counter with it and If you unstick it, it doesn’t leave a weird residue or anything, that’s with or without the windex. Very strong stick and so chic and clean looking which I love. Seriously looks like I spent a ton of money on my counters
N**C
Matte Paper is best for Countertops!
I initially purchased the shiny marble paper called “white gray brown.” I tried it on a couple of small countertops and it was impossible to install. The bubbles were difficult to get down. I’m not an expert but I’ve installed many papers before this so I have some experience. I had an extremely smooth service to work with but this paper was really difficult to maneuver. It also wrinkled up and scratches easily. I decided to order a matte marble paper from the same company and that worked like a dream. Marble should not be extremely shiny so to save yourself some headaches, I recommend getting the color “white black gray.” Its MATTE and looks beautiful. It doesn’t stain easily, barely bubbles when applying, super thick, excellent quality paper. Omg it was so much easier to install and you can barely see overlap. I would recommend installing the paper straight across instead of Vertically. Also my smoothing tool helped but using the heal of your hand under a sweatshirt sleeve can be very helpful when installing. Keep clean lines, bubble free surfaces and caulk the edges of your sink or any loose corners and this will look real, last a long time and be a fresh cheap update to your kitchen! So far everyone is shocked at my contact paper Reno!!!!!
E**H
Looks great in my bathroom!
It looks great and was wide enough to cover my bathroom counter without needing the line up edges and have a seam. (It's too short for my kitchen counter) A friend came over and when I told her she was shocked and thought it was just the counter top. She said she never would've know (even with a few little mistakes on my part) Working around the round sink was pretty hard and the paper "broke" a few times. It's brittle and sort of snaps if it's over extended in the wrong way but that's just the nature of this kind of thing. This was my first big success with this - I tried to do a round coffee table once and it was just a disaster. 100% need an exacto or craft blade. idk if a bulkier utility blade would've done the trick. It took about 2.5 hours to do this much space, but again the round sink was a challenge, as was lining up the seams at the back splash area. A straight forward counter top would be easier though and take way less time. I watched a few tutorials and it made sense, it just took time and patience. Definitely do some homework ahead of time, watching it done by someone who can show you to how avoid mistakes was huge.
J**.
Not the easiest to work with but I figured it out
I work with vinyl a lot and did not think this would be super difficult but this takes some figuring out. I wasted a lot of this (more than half the roll) trying over and over and finally got it, thankfully. Just a few tips that helped me and some notes- - I was using a vinyl “scraper”, just like using a credit card to smooth it down as I went and that was a nightmare. It did not work for me. Would have never in a million years assumed just using a rag or paper towel to lightly rub it down would work better (pictured). When I used the scraper there were folds everywhere and it ripped like 3” into the project. The scraper I have is not sharp or anything either - it’s specifically made for vinyl. - the patter does NOT match up. I swear. I tried everything. Please know that. I am a perfectionist and it was driving me crazy but, just something to know - lay it down with a good inch or so extra so you can cut the excess off later. I would also recommend a ruler or something to keep your lines straight. It’s pretty thin so even if you’re being really careful and your blade is sharp - you’ll have wiggly lines - this is more like off-white and brown/grey with much more brown than grey look to me. I was kinda bummed after laying it down and comparing it to my white cabinets that it was SO much different. Again, I’m weird and it bugged me but it might not bug you. Especially if you don’t have white cabinets, you wouldn’t notice the off-white so much. - practice makes perfect. I used almost the entire roll on a SUPER tiny project because I messed up so many times so if you have the patience, practice on a small piece of wood or something first so you can get the feel of it. I’m way more confident for the next project now. ** I was searching the internet everywhere trying to see if I could pour epoxy over contact paper and I couldn’t find much at all. I decided to just go for it and I am so happy I did. I used a clear epoxy with a small amount of a sparkly powdered dust to it and poured it over my countertops and it looks beautiful. Not only does it looks really pretty but epoxy countertops feel like legit stone and you don’t have to worry about the paper. *** THIS IS A PERMANENT METHOD THOUGH. A lot of people use contact paper as just a temporary thing or rentals - epoxy is 1000000% permanent so don’t do that if you’re wanting to take it off later.
M**L
Totally shocked that it was as beautiful as it was
Hi ok so I was looking to redo my kitchen! i was fine with paying the money for new counter tops. But I was like like not! I went online and i will say I saw so many ideas. When I came across this I thought it looks great. But I thought maybe it’s just pictures. I read all the review and was soo shocked on how many people loved this product. It was so cheap and I was like why not if anything I’ll peel it off and get all new countertops. I will say it’s NOT EASY. But my friend and i are both artist. So we had a lot of ideas on how to make this work. It’s only going to look good if you know how to use the paper. We used a blow dryer to get out any wrinkles. We used a towel while laying it down. TAKE YOUR TIME! It will totally be worth it. I got the white and brown paper which is basically white and gray which is what I wanted. Not sure why it’s listed as brown. The pattern is lovely. Order enough so that way you can match up the patterns. The patten does repeat so it’s not hard to match it up nicely. I would defiantly buy this project and most deff recommend it.
N**S
Elevates the style at a decent price
I used this contact paper to elevate the look of my "cheap" office desk. The thickness and finish of the paper is perfect. Seems to be great quality so far. It took me a few minutes to get the hang of installing it without air bubbles, but once I figured it out, it applied nicely. My only concern with the thickness is the edges of where I had to fold the paper around and under the table; it's difficult to create creases on the edge of my desk so there are some air bubbles (see 3rd pic) and I'm afraid this may come off later, but it's too early to tell. Not everyone will be applying this paper to the same type of product, so this may not be an issue for your project.
L**R
Dissappointed
The paper is very thin and has a very sticky /strong adhesive which I discovered was totally frustrating, difficult , basically impossible to cover a large area with cutouts .(bathroom counter with double sinks). Maybe if there were no sinks, and or faucets (which I removed) it would have had better results. Honestly , I don't think even that would have made it any less difficult. When peeling off the first part of liner 3-4 inches at a time, then attempting to line up with the counter/wall/backsplash the paper was sticking to the countertop on areas that I hadn't lined up yet, and I when I lifted paper to re align it would tear. Also paper was folding, bubbling , wrinkling ...Had issues mostly with the paper getting stuck to the backside of paper liner which isn't coated so it couldn't be used. I was having to re-measure, re- cut and start over and over. Had to throw out over half the roll ( 28x118. ). As it wasn't usable. I had enough to try again this time doing smaller sections, but still has the same problem. So many air bubbles creases I can't do the rest of counter so now I'm trying to remove it and it's taking me a long time because of the super sticky adhesive!! That's why I at least gave it 2 stars. Strong super adhesive , and the color and pattern are very pretty. If you can get it on smooth, and your able to line paper up evenly the first time, not having to lift back at AT ALL. then I think this paper is for you! Not sure how someone said that the paper was not sticky at all??.
ترست بايلوت
منذ شهر
منذ شهرين


