🔥 Elevate your home gym game with the ultimate joist-mounted pull-up bar 💥
The Ultimate Body Press Joist Mount Pull Up Bar is a premium, heavy-duty ceiling-mounted fitness solution designed for serious athletes. Featuring four padded grip positions, commercial-grade alloy steel construction, and a 350-pound weight capacity, it offers unmatched stability and versatility. Easy to install with included hardware and templates, it transforms any beam or rafter into a professional-grade workout station, perfect for expanding with accessories like ab straps and gymnastic rings. Backed by a 10-year warranty and designed in the USA, it’s the definitive upgrade from doorway bars for millennial fitness enthusiasts seeking performance and style.
Brand | Ultimate Body Press |
Color | Black |
Maximum Weight Recommendation | 350 Pounds |
Mounting Type | Ceiling Mount |
Material | Alloy Steel |
Special Feature | Multiple Grip Position |
Product Dimensions | 42"W x 12"H |
Age Range (Description) | Adult |
Item Weight | 4.88 Kilograms |
UPC | 804879259282 |
Global Trade Identification Number | 00804879259282 |
Item Package Dimensions L x W x H | 23.25 x 17.9 x 2.9 inches |
Package Weight | 4.88 Kilograms |
Item Dimensions LxWxH | 18 x 24 x 12 inches |
Brand Name | Ultimate Body Press |
Warranty Description | 10 Year Limited |
Model Name | Joist Mount Pull Up Bar |
Suggested Users | unisex-adult |
Manufacturer | Ultimate Body Press |
Part Number | JMP |
Included Components | Joist Mount Pull Up Bar |
M**Y
A Solid Product with Some Installation Challenges
A photo posted with this review shows the parts that arrived in the product box. The hardware was in good shape. The instruction sheet was ripped and crumpled, but readable. The instruction sheet said nothing about the included lag bolts and the included paper mounting template. The latter was slightly crumpled but usable and much appreciated. The paper mounting template contained further instructions, including how to use the lag bolts and how to use the template itself.I installed this pull-up bar in our ancient, low-ceiling garage on a 3"x6" (actual measurements) joist. Because of the unusual thickness of this joist, I had to use the included lag bolts rather than the included machine bolts. Luckily, I had the recommended 7/32" drill bit.A challenge for my one-person installation was how to support the bar while getting the lag bolts started. As it turned out, the empty product box gave the exact height boost needed by my step ladder to perform this support function. Another photo posted with this review shows this Rube Goldberg arrangement.Also shown in the Rube Goldberg photo is a socket wrench attached to one of the partially screwed-in lag bolts. You simply must have a socket wrench to install the lag bolts. You do not want to try to screw in the lag bolts with the little box wrench provided with the product. (The box wrench will probably be adequate if you use the machine bolts in your installation, but a socket wrench will still be a major improvement.)Another photo posted with this review shows the finished installation: rock solid!Because of the low ceiling in our garage, I can hit the low point of my pull-ups cycle with full arm extension, dangling in the air, only by bending my legs 90 degrees at my knees. Hey, it works! I demonstrate this technique with two other photos posted with this review.
S**M
Great for the home gym
If you have access to a solid beam in your home and want a decent bar for pull-ups, chin-ups, or dead hangs, this one is a good choice for a good price. Though the bar is a two-piece unit rather than a single bar, when assembled it is solid as a rock. Depending on the height of your beam, the supporting bars that attach to the beam might prove a bit long at 14”. My suggestion for installation is to fully assemble the unit first, then put it in place before drilling the first hole as directed in the included sheet. It comes with both lag screws and bolts to accommodate any thickness of beam. You should have a good socket wrench to set the screws/bolts; the included wrench won’t do the job. Once in place, this bar is plenty strong. Lots of grip options. This is an upgrade over what I’ve been using.
J**N
Most sturdy way to mount a pull-up bar - make sure you have the right tools
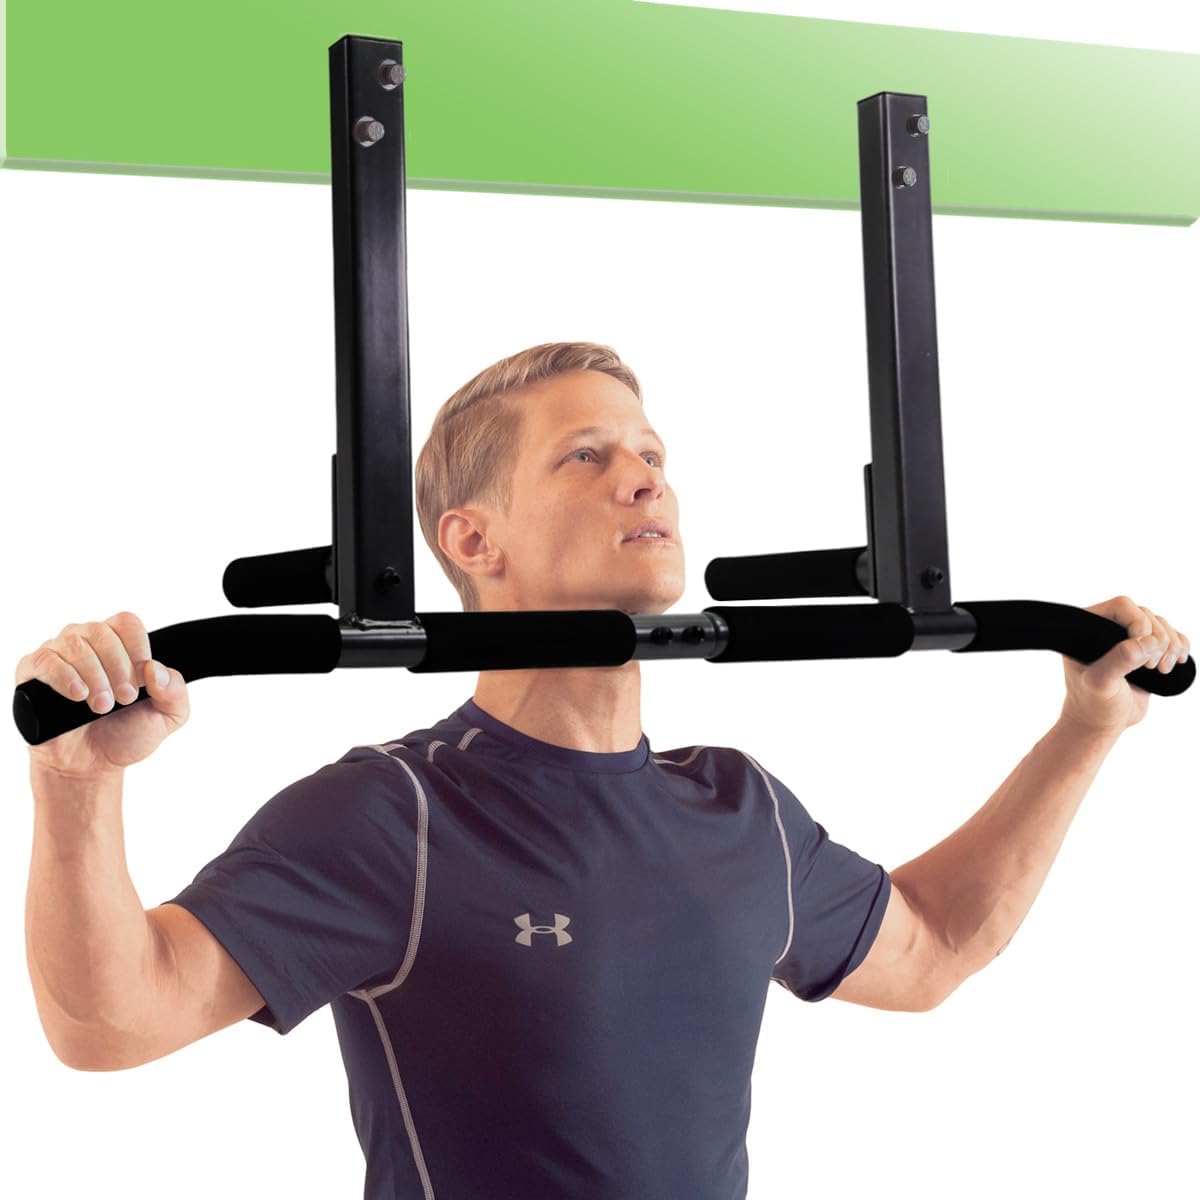
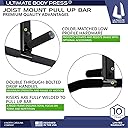
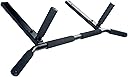
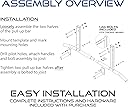
I was looking for a pull-up bar to use with P90X. I was leery about door frame bars, partially because none of my door frames are really situated well for it. There are pull-up bars that install into wall joists, and others that will screw through sheet rock into a ceiling joist. I'm sure that installed right, these can be sturdy, but the nice part about the Ultimate Body Press Joist Mounted Bar is that it doesn't screw into the bottom of the joist, but rather hangs from bolts going through the side of the joist. This means that your body weight is not hanging on the screw threads, but rather on the joist and bolt themselves, far more secure.To install this bar, you need access to the joists. That means cutting a hole in the ceiling or using an unfinished area. You can finish over it later, but the point is you need to reach the joists. It calls for a 7/16" drill bit. If you haven't checked your tool box, it is likely you don't have this exact size because they don't come with most sets. I didn't want to use a bigger size because I didn't want too much play in the bolts, so I went to Home Depot and bought a 7/16" drill bit for about $8 (DEWALT DW1128 7/16-Inch Black Oxide 3/8-Inch Reduced Shank Split Point Twist Drill Bit). I also couldn't get my Power Drill into the joist space, so I bought Milescraft 1390 Drill90 Right Angle Drilling and Driving Power Drill Attachment for another $20 to make the holes at a right angle.Installation at that point was fairly straightforward. The bar comes in two halves that join in the middle. You make the pilot for the first hole, assemble the bar, hang it from the first hole while you mark the other 3 holes, remove the bar, drill out the holes, and then mount the bar with the 4 bolts.There were a few points I felt the instructions could have made more clear. There is no guidance as to how high on the joist you should mount the bar. I did some internet searches, and found you should have at least 10" of clearance to the ceiling - I made mine about 12" so I had some head space, but also plenty of bite into the joist. The bar comes with a stamped metal "wrench" for adjusting the bolts, but it will be far easier if you have a standard socket set and wrench for tightening the bolts.The bar does come apart in the middle. I assume this made manufacturing and shipping costs less. I would have preferred a solid bar, but the two pieces overlap quite a bit internally. It seems rock solid once you add the two screws, so it is hard to complain.Overall, it's a great value, and you'd spend almost this much on parts to build one yourself. I highly recommend it if you have the space, or are inclined to open your ceiling a bit and do some refinishing.
ترست بايلوت
منذ شهر
منذ 3 أيام