
💧 Refresh your routine with effortless purity!
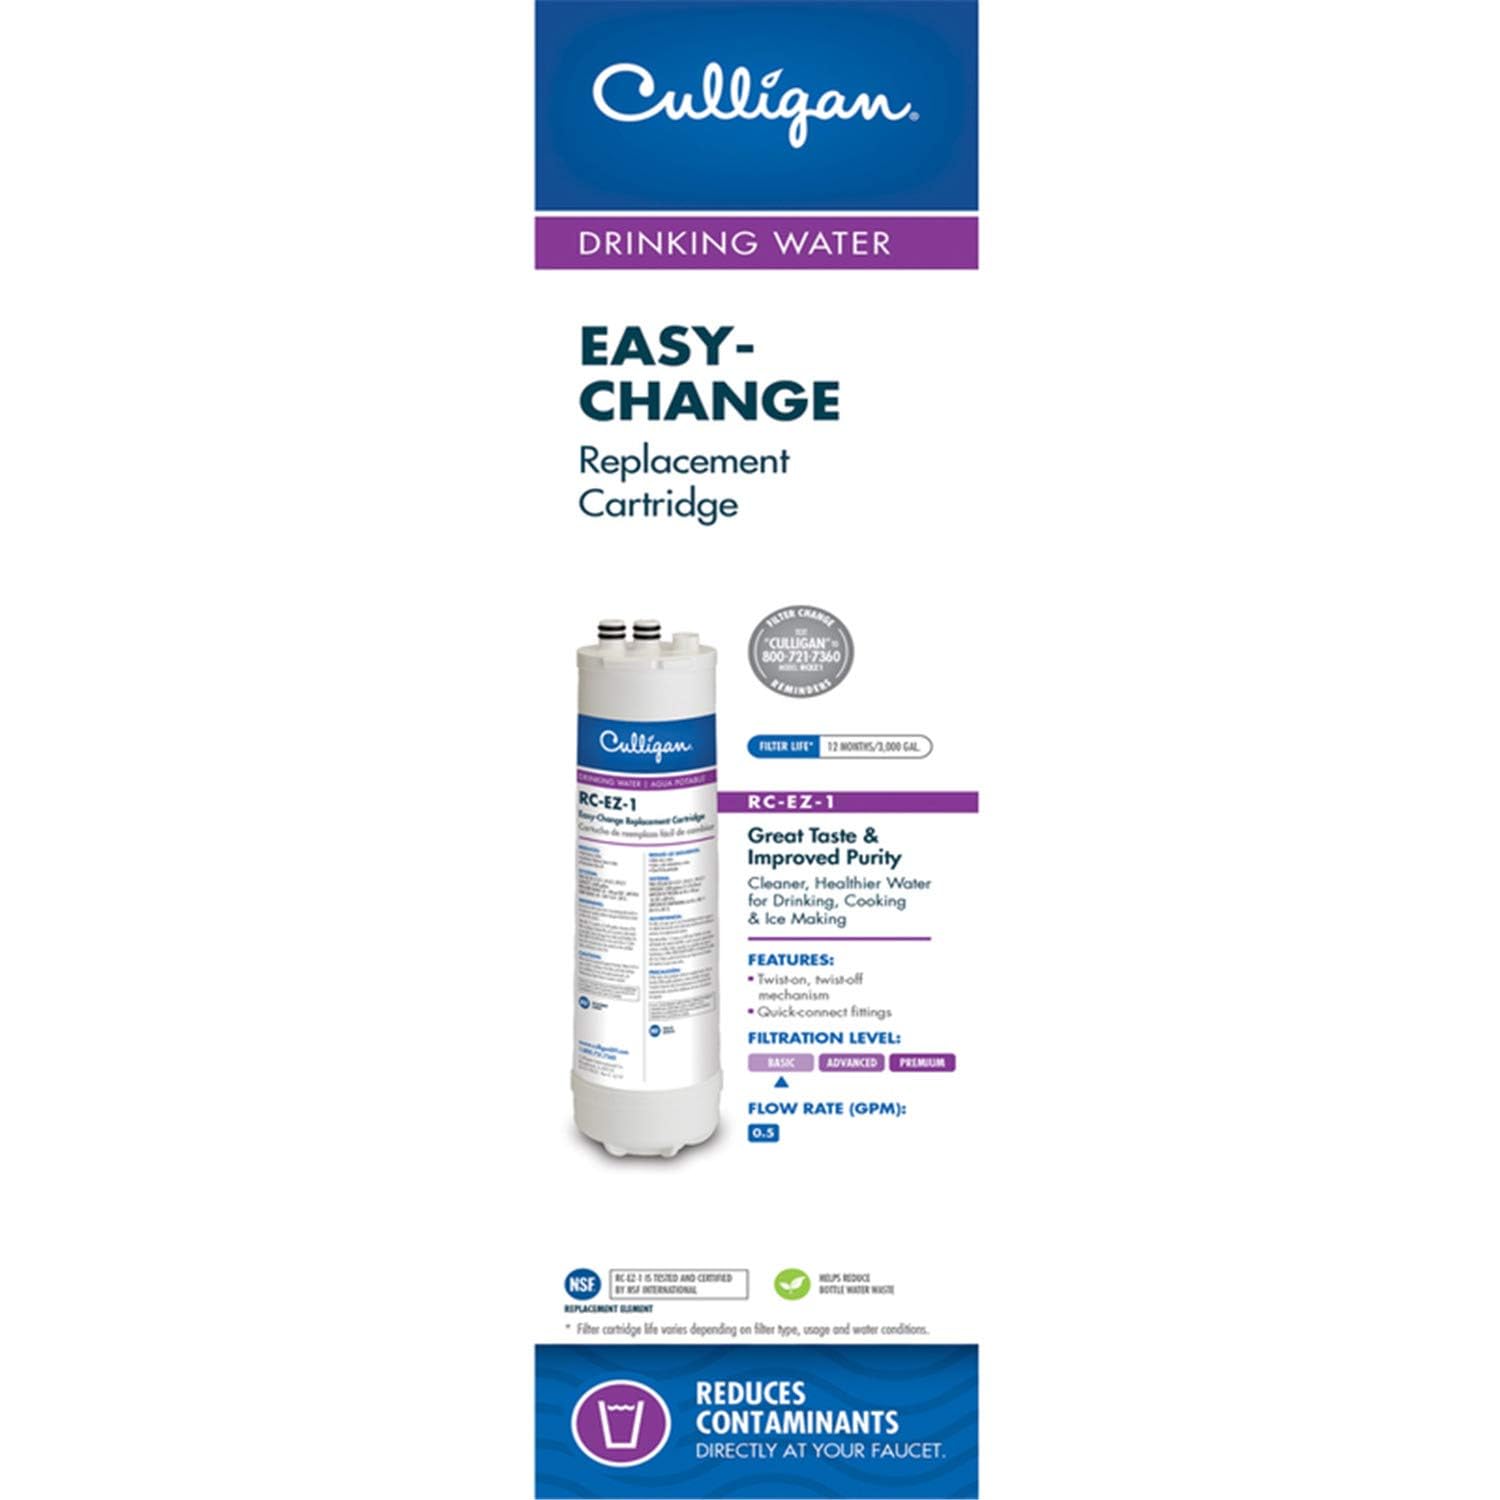
The Culligan RC 1 EZ-Change Replacement Cartridge delivers up to 3,000 gallons of clean, great-tasting water by reducing chlorine, particulates, and odors. Designed for easy twist-on installation under sinks or in refrigerators, it fits multiple Culligan systems and comes with a 5-year warranty, ensuring reliable, hassle-free filtration for up to 12 months.


| Brand | Culligan |
| Special Feature | Chlorine Reduction |
| Installation Type | Under Sink |
| Power Source | Manual |
| Item Weight | 1 Pounds |
| Model Name | Culligan RC-EZ-1 |
| Maximum Flow Rate | 0.5 Gallons Per Minute |
| Upper Temperature Rating | 100 Degrees Fahrenheit |
| EU Spare Part Availability Duration | 1 Years |
| Supported Water TDS Level Maximum (PPM) | 500 |
| UPC | 885572570638 885453135611 885312988532 885590387478 885498282677 808112763178 809390005790 807032975111 885865966469 163120786367 033663006508 643749297111 078433255403 806294986934 182682383838 132017517254 885920925127 716080031802 885824123933 885183510559 885385463936 885786870906 |
| Global Trade Identification Number | 00033663006508 |
| Manufacturer | Culligan |
| Part Number | 01019055 |
| Item Weight | 1 pounds |
| Item model number | RC-EZ-1 |
| Is Discontinued By Manufacturer | No |
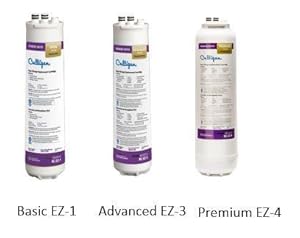
| Size | EZ-1 (Good Filtration) |
| Color | Multi |
| Style | Replacement Filter |
| Pattern | Cartridge |
| Item Package Quantity | 1 |
| Number Of Pieces | 1 |
| Water Consumption | 3000 Gallons |
| Cutting Diameter | 2.5 Inches |
| Mounting Type | Plate Mount |
| Certification | Chlorine Reduction |
| Special Features | Chlorine Reduction |
| Batteries Included? | No |
| Batteries Required? | No |
| Warranty Description | Warranty |
| Assembled Diameter | 2.5 Inches |
R**O
Great filter, easy to install.
I’ve been using this filter for the past couple of years, great tasting water, very easy installation. Family of 3, we replace them every 3 months and about 300 gallons of usage.
S**E
Perfect, Simple Easy Install
I purchased this to replace an inline filter installed by my plumber two years ago. In order to replace the filter he had installed I would have to go down into the crawl space under my condo which is a long trip through three fire doors which starts in a full basement and ends under my place which is a dark crawl space about five feet high where the shut off is. Then I would have to go back upstairs dissassemble the filter, unscrew the compression fittings and then go back down under to turn the water on and hope nothing was leaking when I went back upstairs. Needless to say I didn't change the filter until it clogged and the icemaker stopped working. This gem took less than 10 minutes to install start to finish, including mounting, and I never have to make that trip again to change a filter. I have copper tubing that comes up about 10 inches out of the floor and from there plastic tubing is joined which ran about two feet to the existing filter and then there was about three feet of plastic tubing running from the filter to the fridge. I took a chance and did not turn off the water. Using my garbage can to catch any water I cut the fridge side of the tubing from the existing filter and a bit of water drained out. I inserted this cut end into fridge side of the new filter housing. I then (holding it over the garbage can) cut the water source side of the tubing from the existing filter and quickly inserted the tubing into the new filter casing. The cut wasn't clean, water sprayed out and the tube was not secure, so I removed it made a clean cut and reinserted - perfect. About a gallon of water ended up in the garbage can between cuts. I mounted the casing with two self drilling drywall anchors and secured the tubing into a foot diameter circular return with a twisty tie. It's working perfectly, no leaks, and the icemaker is once again making ice. I'm thinking of replacing my undersink filter with one of these when I use up my filters, it's a good filter but the housing has to be cleaned with bleach and it takes about a half hour to clean the houseing and change the filters and this is just so much easier, just unscrew the filter and swap it out. For the price this is terrific!
T**Y
Easy install and money saver
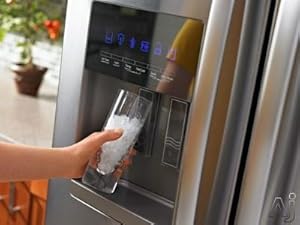
Perfect. I installed the filter inline for my refrigerator ice maker/in the door water dispenser instead of using the expensive everydrop #1 filter. I installed this downstairs where it has easy access. The filter I bought is good for 500 gallons or 1 year. I highly recommend it if you can remove the filter in your refrigerator and still get flow without having it. I could and now the water is filtered by this Culligan system.
M**R
Pretty good filter
Works as it should. However it does tend to leak water from time to time when it’s bumped or the sink is tapped. Otherwise it works as it should.
B**N
Excellent filter for a decent price
I had one of those filters that you put on the end of your faucet for a number of years. It worked pretty well until I finally noticed that water had started leaking out from the base of the faucet neck. Apparently after all this time the back pressure caused by that filter and the weight of it levering down on the neck was causing the internal gaskets to fail. I removed the filter and the leaks stopped. But, this left me without filtered water. I wanted filtered water still but without the hassle of a pitcher in the fridge or having to replace my entire faucet due to the back pressure and levering caused by the on the neck one.Looking on Amazon I found a number of filters of varying prices and ultimately I decided to take a chance on this Culligan unit because the price was decent, the name is well known to me, and it had pretty good reviews. So far in the month or so that I've had it installed I'm quite satisfied with it. The water comes out at a very decent pressure, far better than my old on the faucet based filter.The kit comes with a plastic bracket that fits to the wall, some plastic tubing, a little adapter to put in-line with your cold water feed, some screws, the filter cartridge and the faucet.The faucet is not a super high quality item. It's mostly plastic, but it feels pretty solid for my needs. It actually comes in several pieces that you put together during the installation.I started my installation by drilling a hole in the sink. Make sure you have a sharp drill bit of the right size. The size they ask for is 5/8" which is one size larger than you'll find in most off the shelf drill bit sets. I thankfully had a 3/4" bit laying around from a different project, but my bit was fairly dull after that previous project so drilling was a bit of a challenge for me. I compared my 1/2" bits to the threaded stem on the base of the faucet and decided it just was not worth the risk of making too small a hole. The threads on the stem are all plastic and could be easily damaged by jamming the works into a hole that wasn't big enough. So do yourself a favor and get the right size drill bit before you start.After I had the hole drilled I unscrewed the wing nut from the base of the faucet and removed the metal plate. This left a plastic gasket on the base of the faucet that came off and I had to put back in place. After looking at the pictures I finally realized that the handle is supposed to go on the side of the faucet so I set the faucet in the hole and then reached under the sink to put the metal plate on and thread on the nut. Be careful not to over-tighten this as you could easily strip those plastic threads. Once it was snugly on the base felt pretty solid. I then took the neck of the faucet and attached it to the base and it looked pretty sharp, with no sign of the mangled hole I had drilled to put this in place.Next I shut off the cold water and proceeded to disconnect the feed line from the cold water connection on my faucet. I applied a little nylon plumbers tape to the connection and screwed on the plastic connector that came with the kit. A little more plumbers tape on the bottom and I reconnected the cold water feed line.After that I took the plastic bracket and using a sharpie clearly market the in and out sides so I wouldn't get confused later and hung it on the back wall with the included screws.Once all the major pieces were in place I took the plastic hose line, this is the same diameter as the kit that feeds my ice maker on my fridge, and carefully measured and cut two sections. On the base of the faucet you'll have a little plug that goes into the tube and a collar that goes over the hose. This threads onto the base of the faucet and once snugged down creates a good connection. The other end you simply wet and insert into a friction lock on the plastic bracket. The other line is even easier as it uses the same friction locks on both the hose line adapter and the plastic bracket.Finally I took out ye olde sharpie and wrote the date on the filter to remind me when I had installed it and connected it to the bracket by twisting it into place. Once it was snugly connected on went the water and after a quick check for leaks I turned on the faucet and a jet of water came streaming out. The instructions say you have to let it run for about ten minutes or so to let it flush out material from the filter. After the directed time I filled up a cup of water and tasted the sweet tasteless taste of success.The best part is that there is absolutely no impact to the water flow on my regular faucet and the new faucet provides water at pretty much full pressure. I'm sure this will go down over time but it is much better than my old filter.Looking at this solution I can see where if I ever so desired to step up to the two or three cartridge solution I could easily swap out the bracket by simply removing the plastic hoses from the friction locks. So if you are questioning whether you need the single cartridge or three cartridge solution know that you should be able to easily upgrade.
Trustpilot
2 weeks ago
1 week ago
