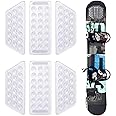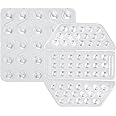

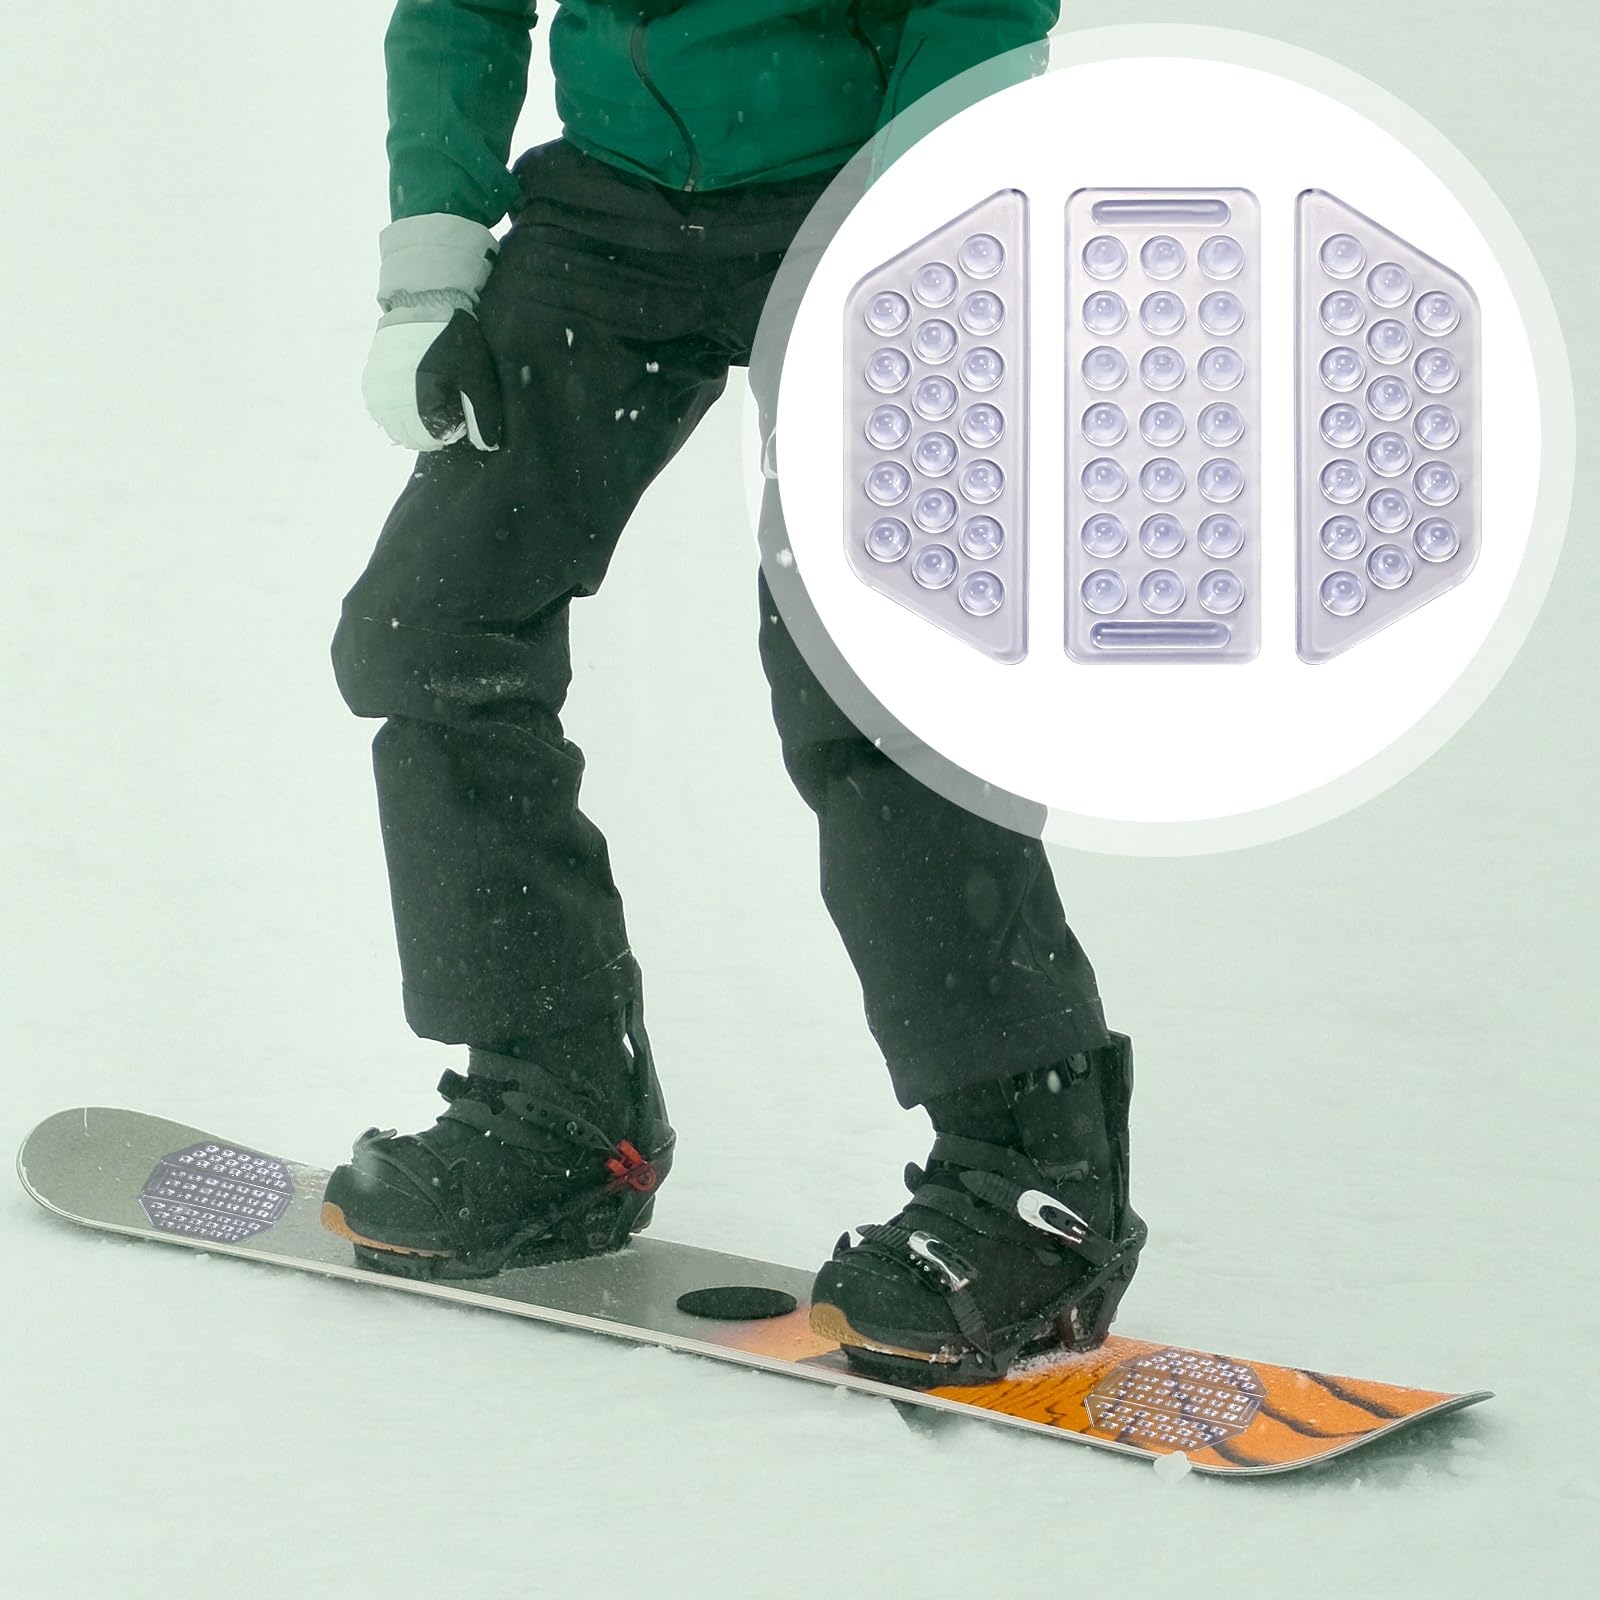
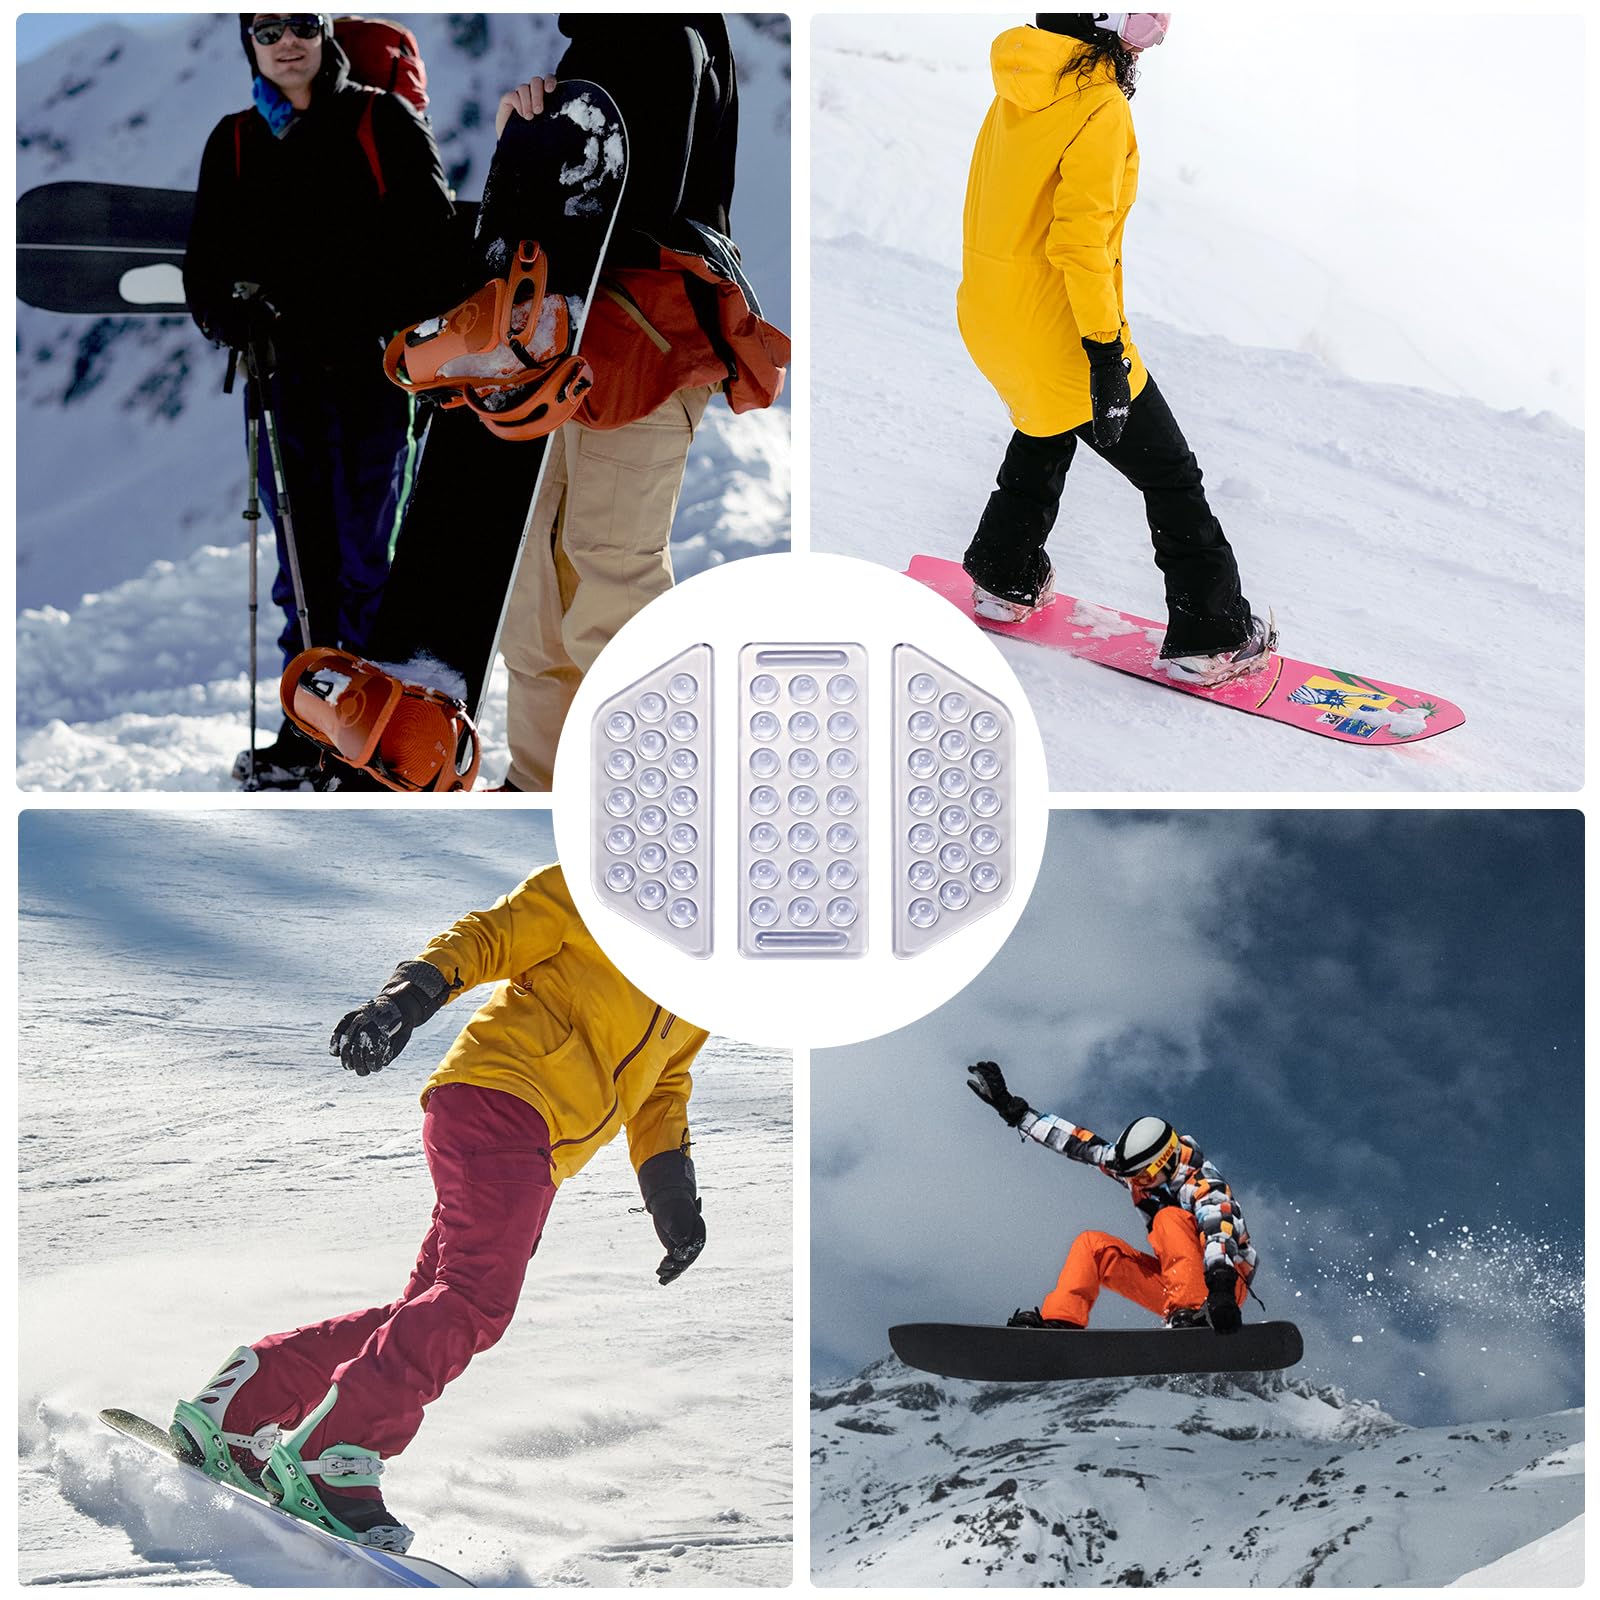
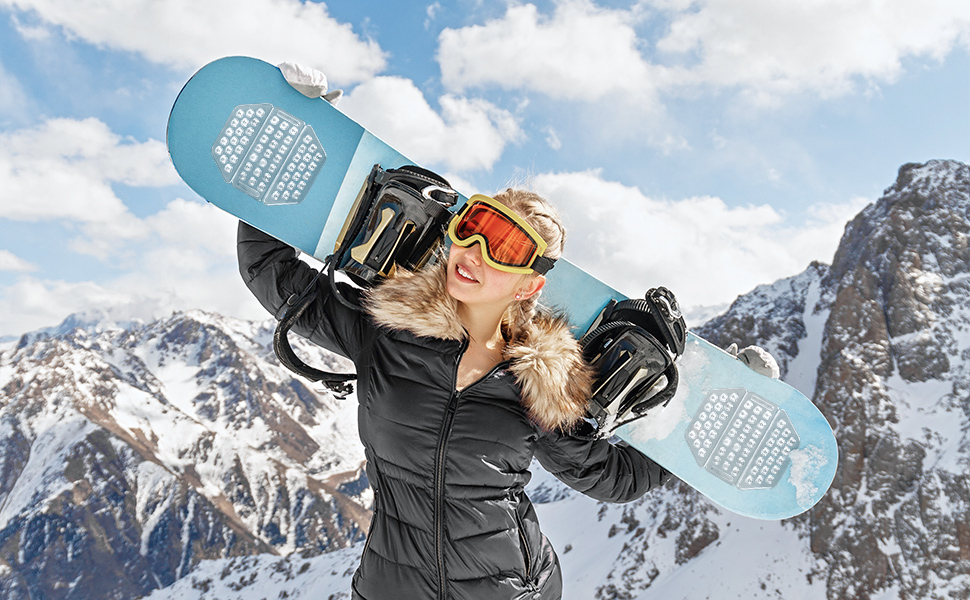
2Sets of 6pcs Stomp Pad, Clear Anti-Skidding Snowboard Stomp Pads Skis Board Grip Pad Mat for Snowboarding Snow Board Accessories


| Item Package Dimensions L x W x H | 5.2 x 4.45 x 0.75 inches |
| Package Weight | 0.14 Kilograms |
| Brand Name | PEUTIER |
| Model Name | 22341 |
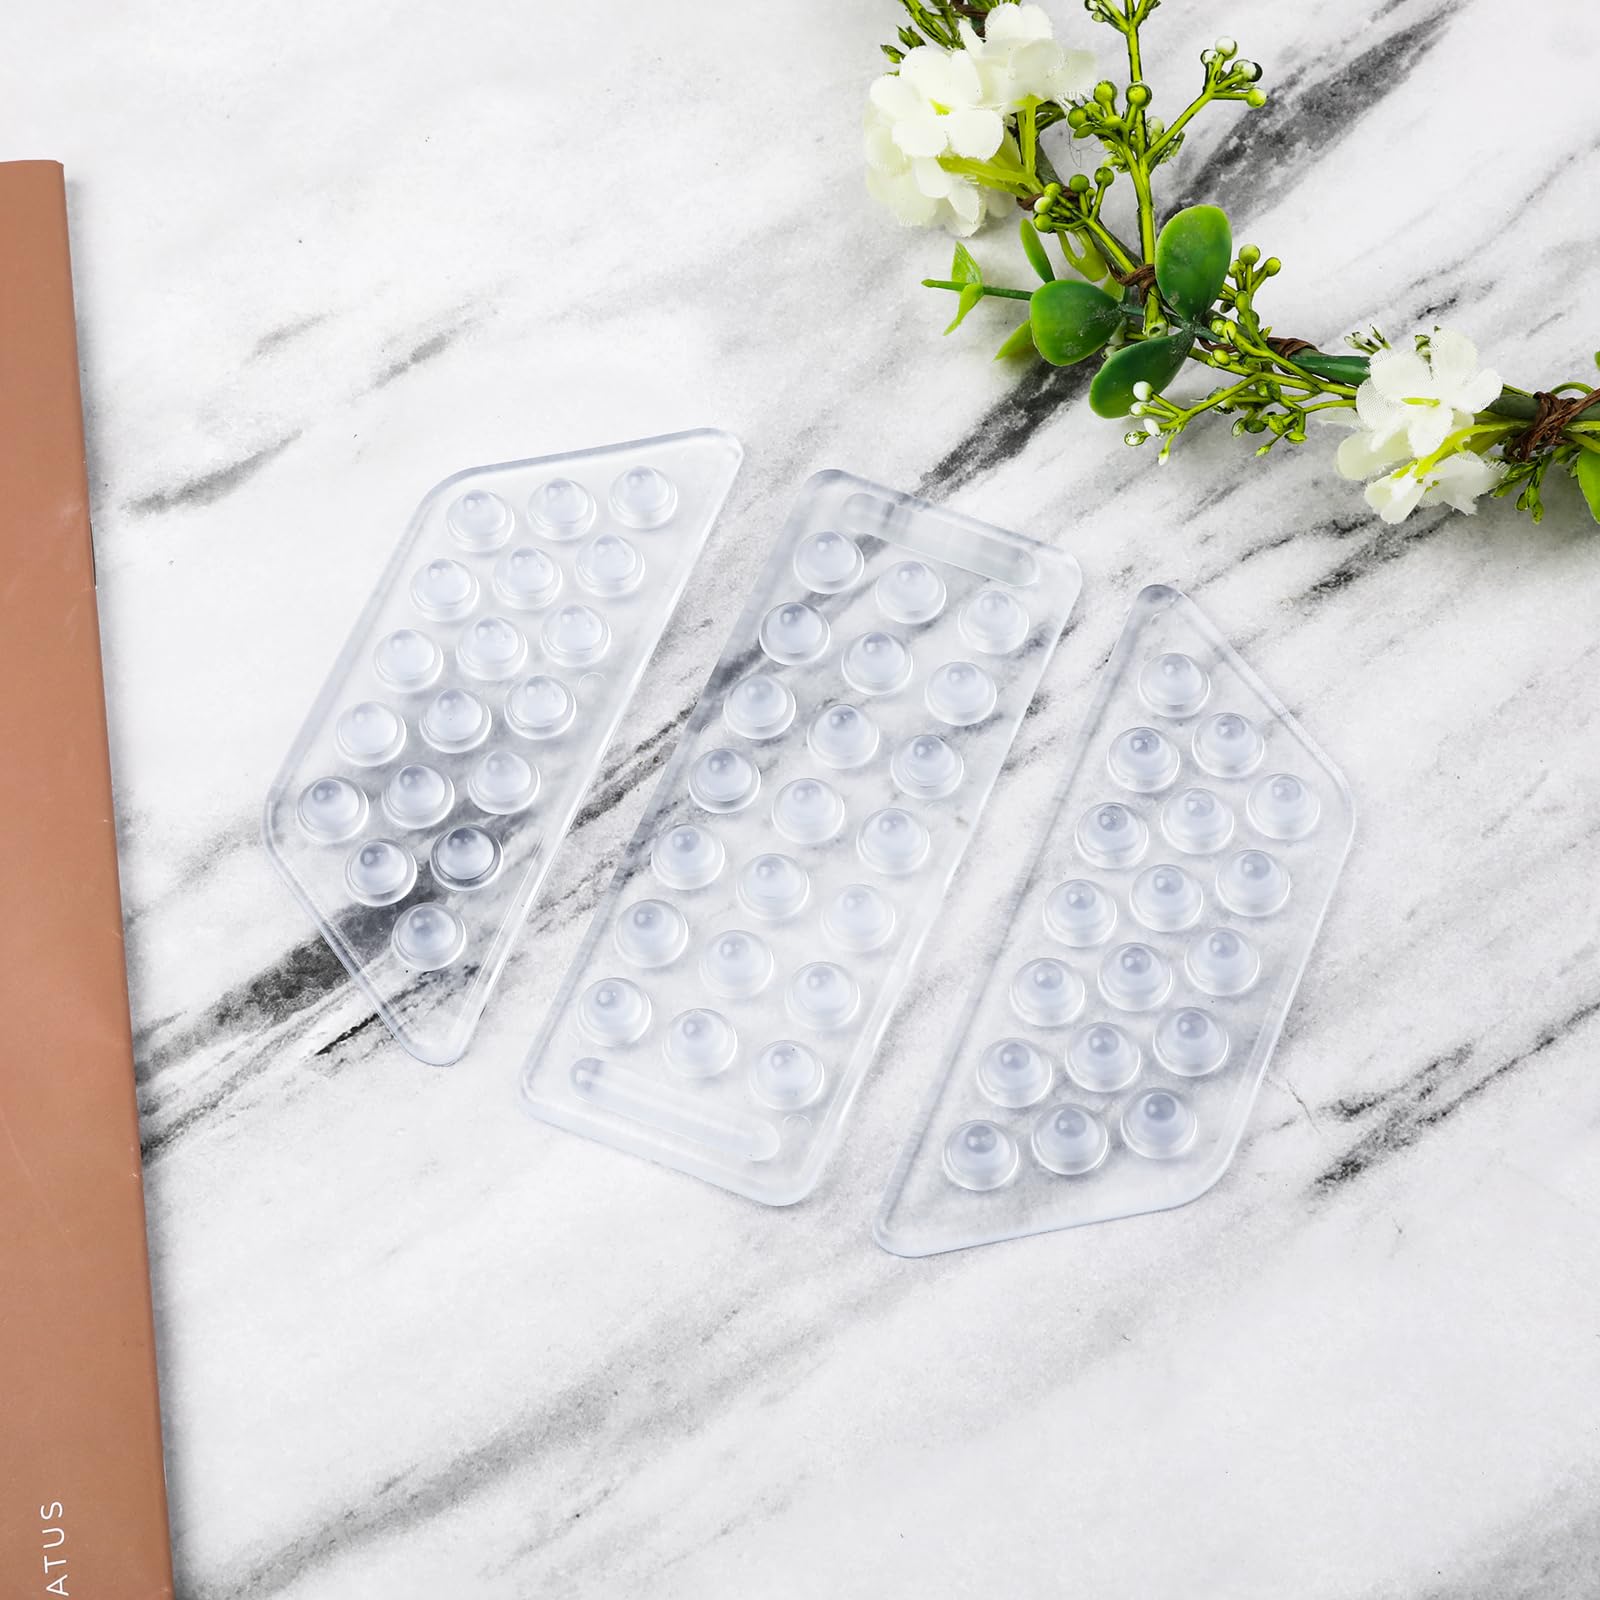
| Color | Transparent |
| Manufacturer | PEUTIER |
| Part Number | 126647 |
| Included Components | Stomp Pad, Tape |
| Size | 4.3 x4.96 inch |
S**U
Good deal. Easy to apply.
Good deal. Easy to apply.
C**F
Does not stay on board...do not buy!
The 3-piece stomp pad was nice the first day of boarding, but all three pieces fell off in the snow on day 2 and early day 3. No stomp pad most of day 3. The middle section stayed on the longest, but when I stopped at the bottom of the hill, it just fell off as I was sitting there. The outer pieces fell off somewhere on the mountain and were lost. Also, snow gets in between the small bumps so the grip of the bumps when getting off the lift is not there. I had installed it according to the instructions 4 days prior to the trip so there's no excuse there.I suggest getting higher pointed shark teeth spikes like the Dakine Spike stomp pad.
U**T
Easy to install, shouldn't be any complaints about these.
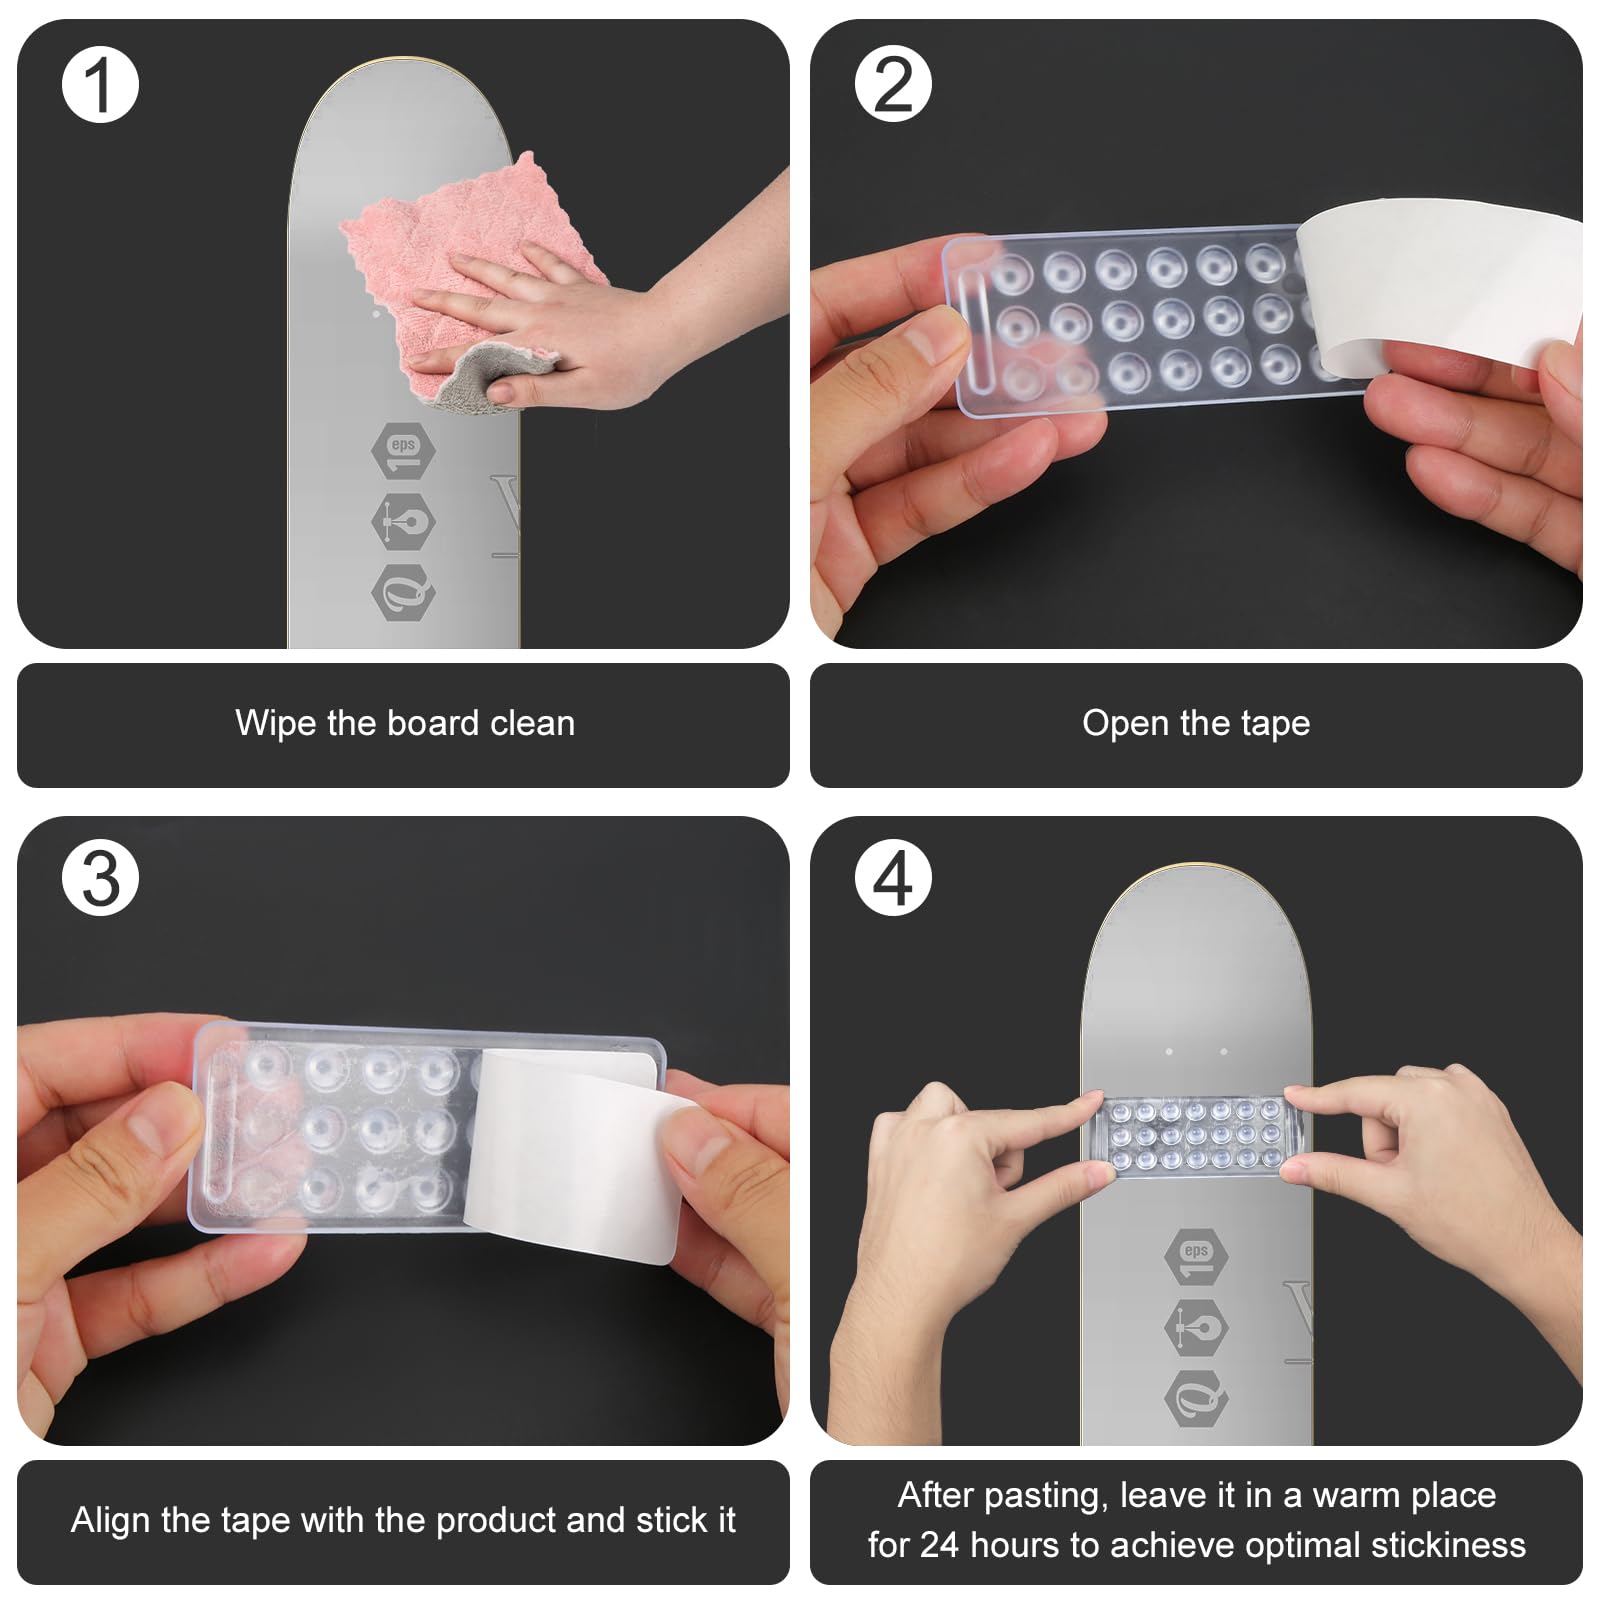
The media could not be loaded. I just got into snowboarding earlier this year. I rented a board my first time and decided to buy one afterwards because it will pay for itself after x rentals. I didn't know what pads were that I saw snowboarders with on their boards and recently learned about them and bought these.These are such a simple thing to install and the only issue anyone should be having, would be QC issues with the pads themselves. I did not find any problem with the adhesive not sticking and it's actually pretty tacky. I do however feel like the pads I received are a bit on the yellowish side and aren't as clear as they appear to be in the photos. Almost anything that is clear will eventually yellow over time. So there is no telling how long these sat in stock before they were sold. One of the pads were also a bit warped, but that is easily fixable with a blow dryer. Those two issues are the reason I removed a star (mostly the yellowish look).Anyhow, I've been an avid DIY'er for many years, and have always had OCD when placing stickers or anything of a sort. So here are my personal tips.1. Remove the adhesive border from around the adhesive stickers. By doing this, it will leave you with only the adhesive you need to work with, and will allow you to place the clear pads on top of the adhesive to see exactly where the adhesive will land. If you bought the black pads, then this wont apply to you, but there is still an easy way to figure this out with the screwdriver (or equivalent) method.2. Clean off the back of the pads with rubbing alcohol. This needs to be done to remove any manufacturing chemicals left behind on the pads.3. Grab yourself something with a flat end to stick about 1/4" of the adhesive sticker to it. By doing this, you do not have to handle the adhesive with your hands, which will ultimately transfer some natural finger grease to the adhesive. This will also allow you to place the adhesive as close to the pad as possible w/o making contact.4. Get the adhesive as close as possible to the pad while keeping it centered. Once it's to your liking, and centered, then tap it. If it's not centered, then the screwdriver will help you to peel it back up and not have to use your fingers. Tack down the remaining amount of adhesive in a top to bottom or left to right motion to avoid any bubbles.5. Heat up the pads with a blow dryer. This will allow the adhesive to fully stick to the pads. At this point, if you have pads that are warped, then the pads will soften up enough to straight them out. Set something on top of the pads until they cool and any warpage will come out.6. Align the pads on your board how you want them. In my case, I have them almost centered, but with a slight offset closer to the heel side of my board, since that's the area that you usually make contact with first when putting your foot down.7. If you have OCD and want the pads perfect, then use masking tape to create a border around where you want the pads. Otherwise, just stick them to the board.8. Give the area you are going to stick the pads to a quick wipe down with alcohol. I say quick, because alcohol will actually remove some paints, if used too long with firm pressure.9. Remove the adhesive, and place the pads where you want them. Once you have them positioned correctly, press down firmly on each pad to stick them to the board. You will notice the adhesive (applies to clear pads only) actually going from a whitish to a clearish look as you press on it. You will also be able to see any air bubbles or areas that aren't making contact. In my case, I also pressed and push down on each of the spikes, as to allow the adhesive under each spike to make contact with the board.10. Apply heat to the pads with the blow dryer. This will warm up the adhesive and allow it to stick better to the board. Press down and give all of the pads firm pressure. At this point, you are done, unless you want to set something on top of the pads, which I didn't.What more can you ask for? You get two sets of pads for less than $9.
R**T
Keeps snow off
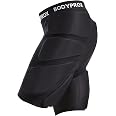
This is great for keeping your boots clean when you are snowboarding. I would recommend you put some weights on the sticker for a couple of hours when you apply it to make sure it stays. I wished that the adhesive was already on there but it will keep your boots clean of snow.
D**T
Love it!
Easy to apply, sticky and perfect for all shoe/board sizes!
B**.
Stomppy stomppy doooo
What can I say, delivered fast, keeps my boot from a sliding.
N**R
Don't waste your money
Complete junk. Fell off my board during the first run.
R**E
Weak adhesion
Kit comes with 2 sets, 6 pieces total. Comes with additional sticky tape to attach them to the board. That being said, on a cold day, 18f, I all but one of 3 I installed came off. The board was preheated, so I cleaned with alcohol and the pad was heated with a hair drier. This is not my first rodeo. The adhesive provided is also a bit smaller than the actual pad which makes no sense. For the next set I will use my backup adhesive, clear carpet tape.Another thing note is that the nubs are round and rather close together so not a ton of grip. If the snow is warm and sticky it will lock in between the bumps.
ترست بايلوت
منذ شهرين
منذ أسبوع