


🛠️ Repair Today, Relax Tomorrow!
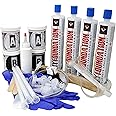
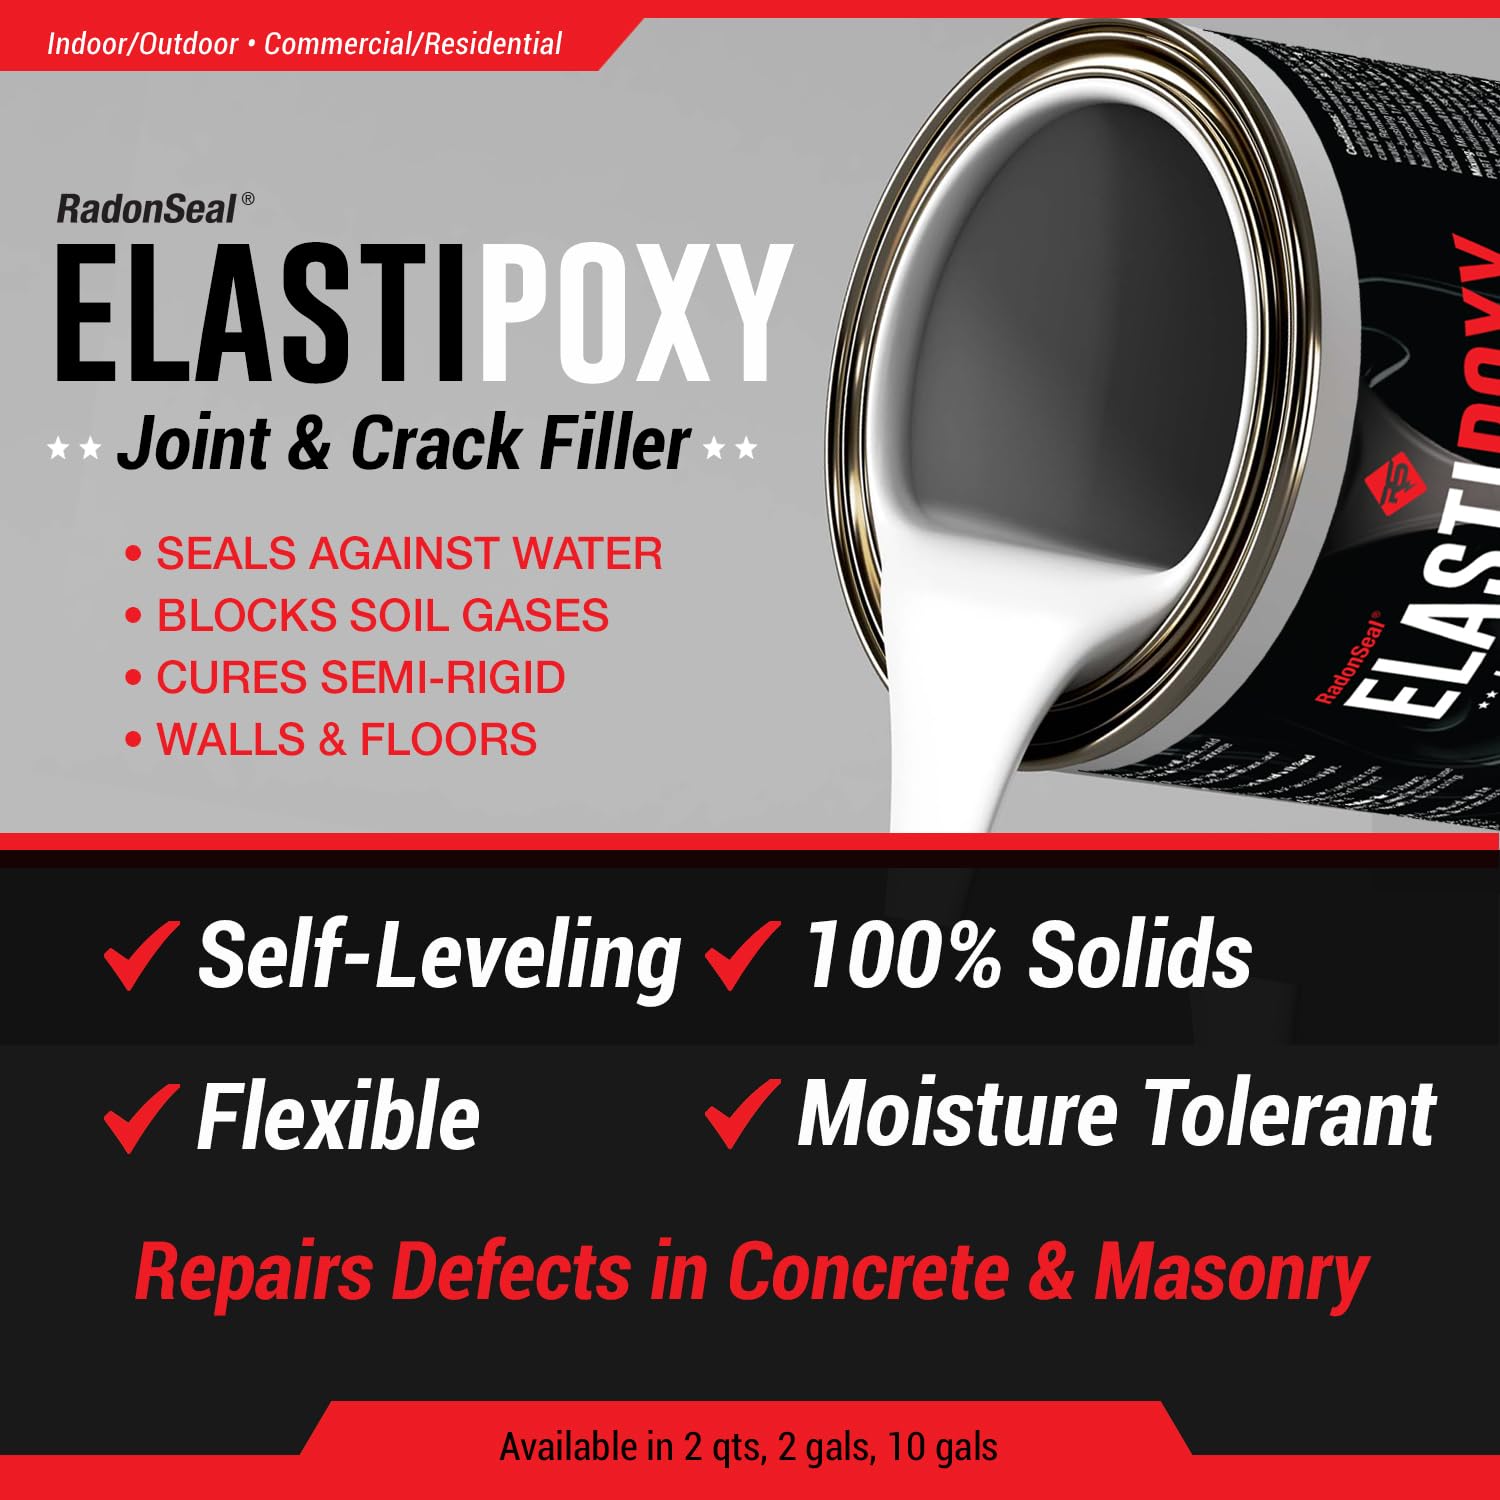
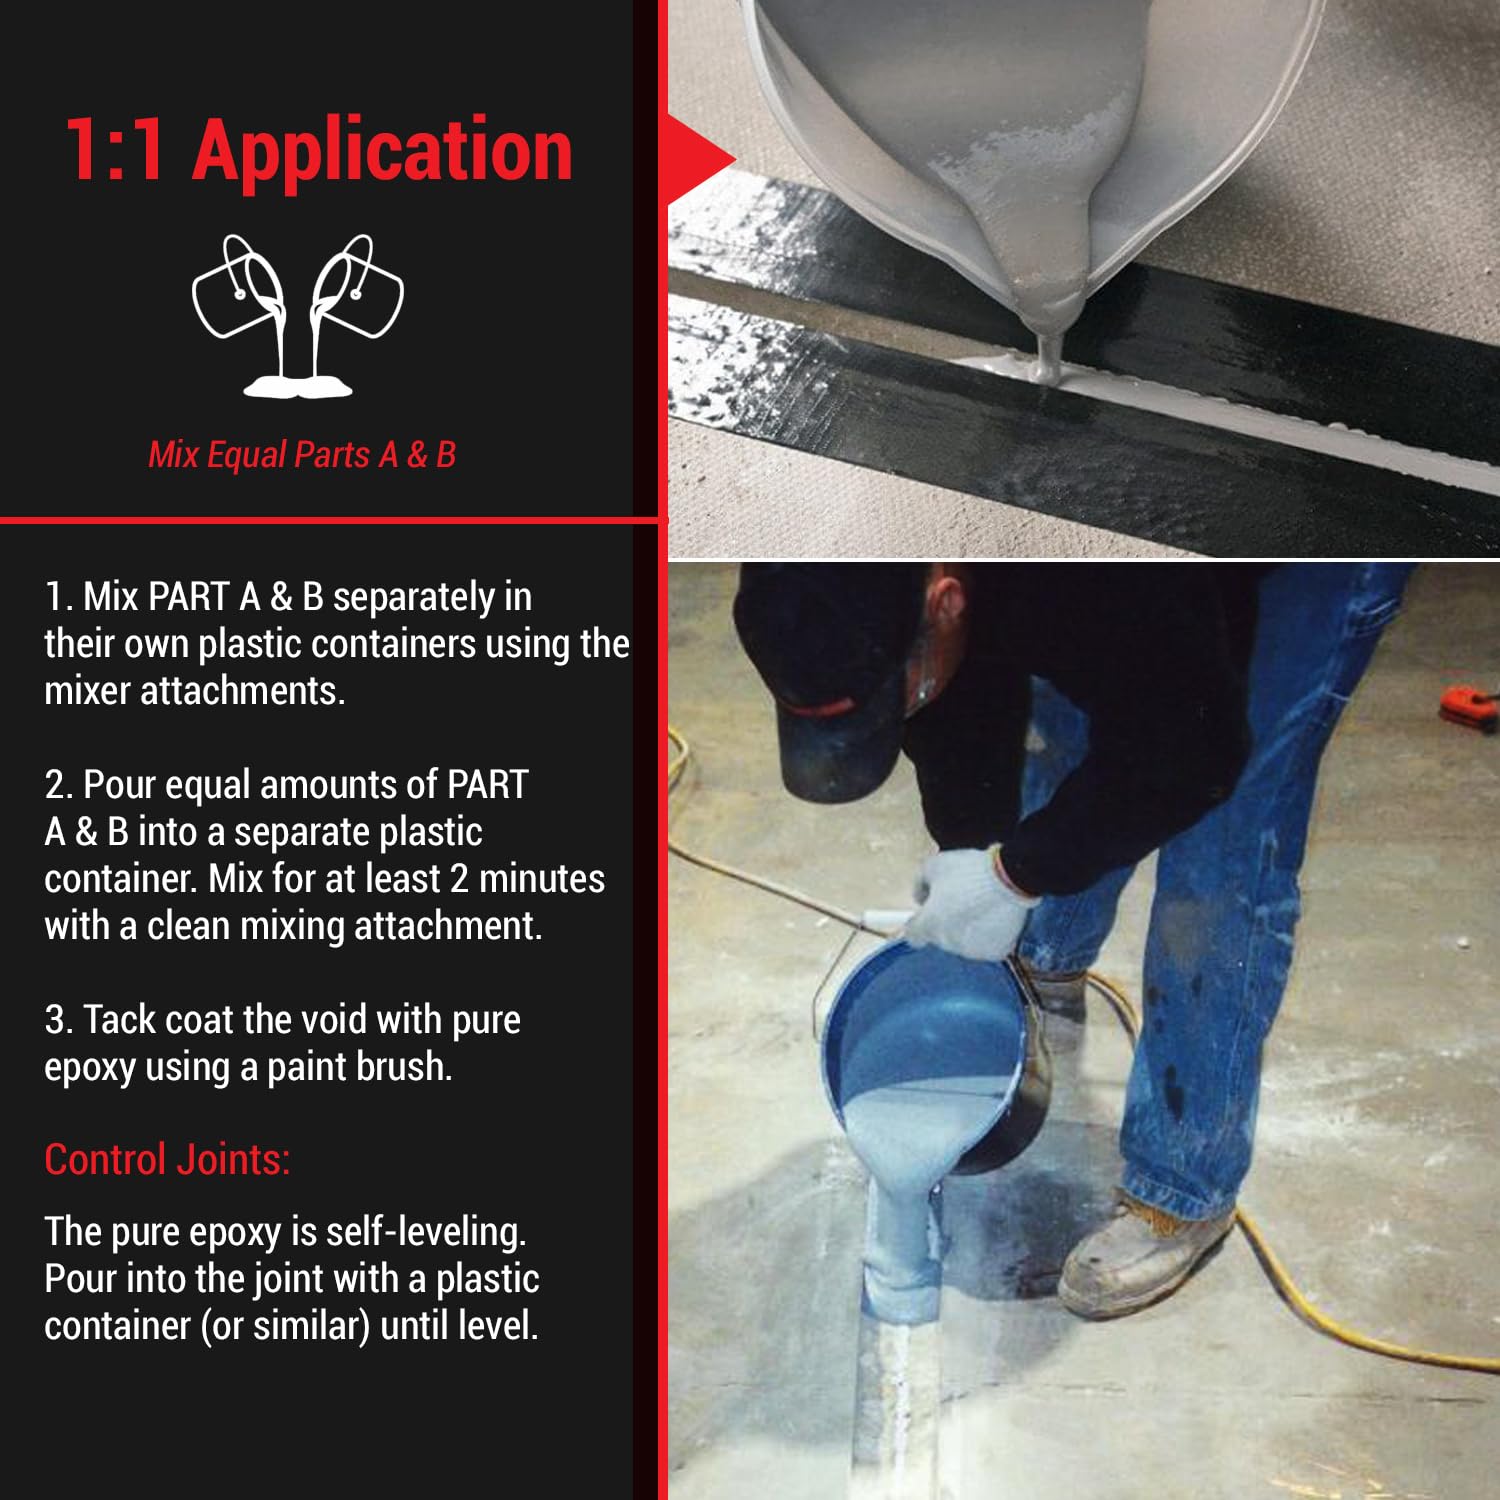
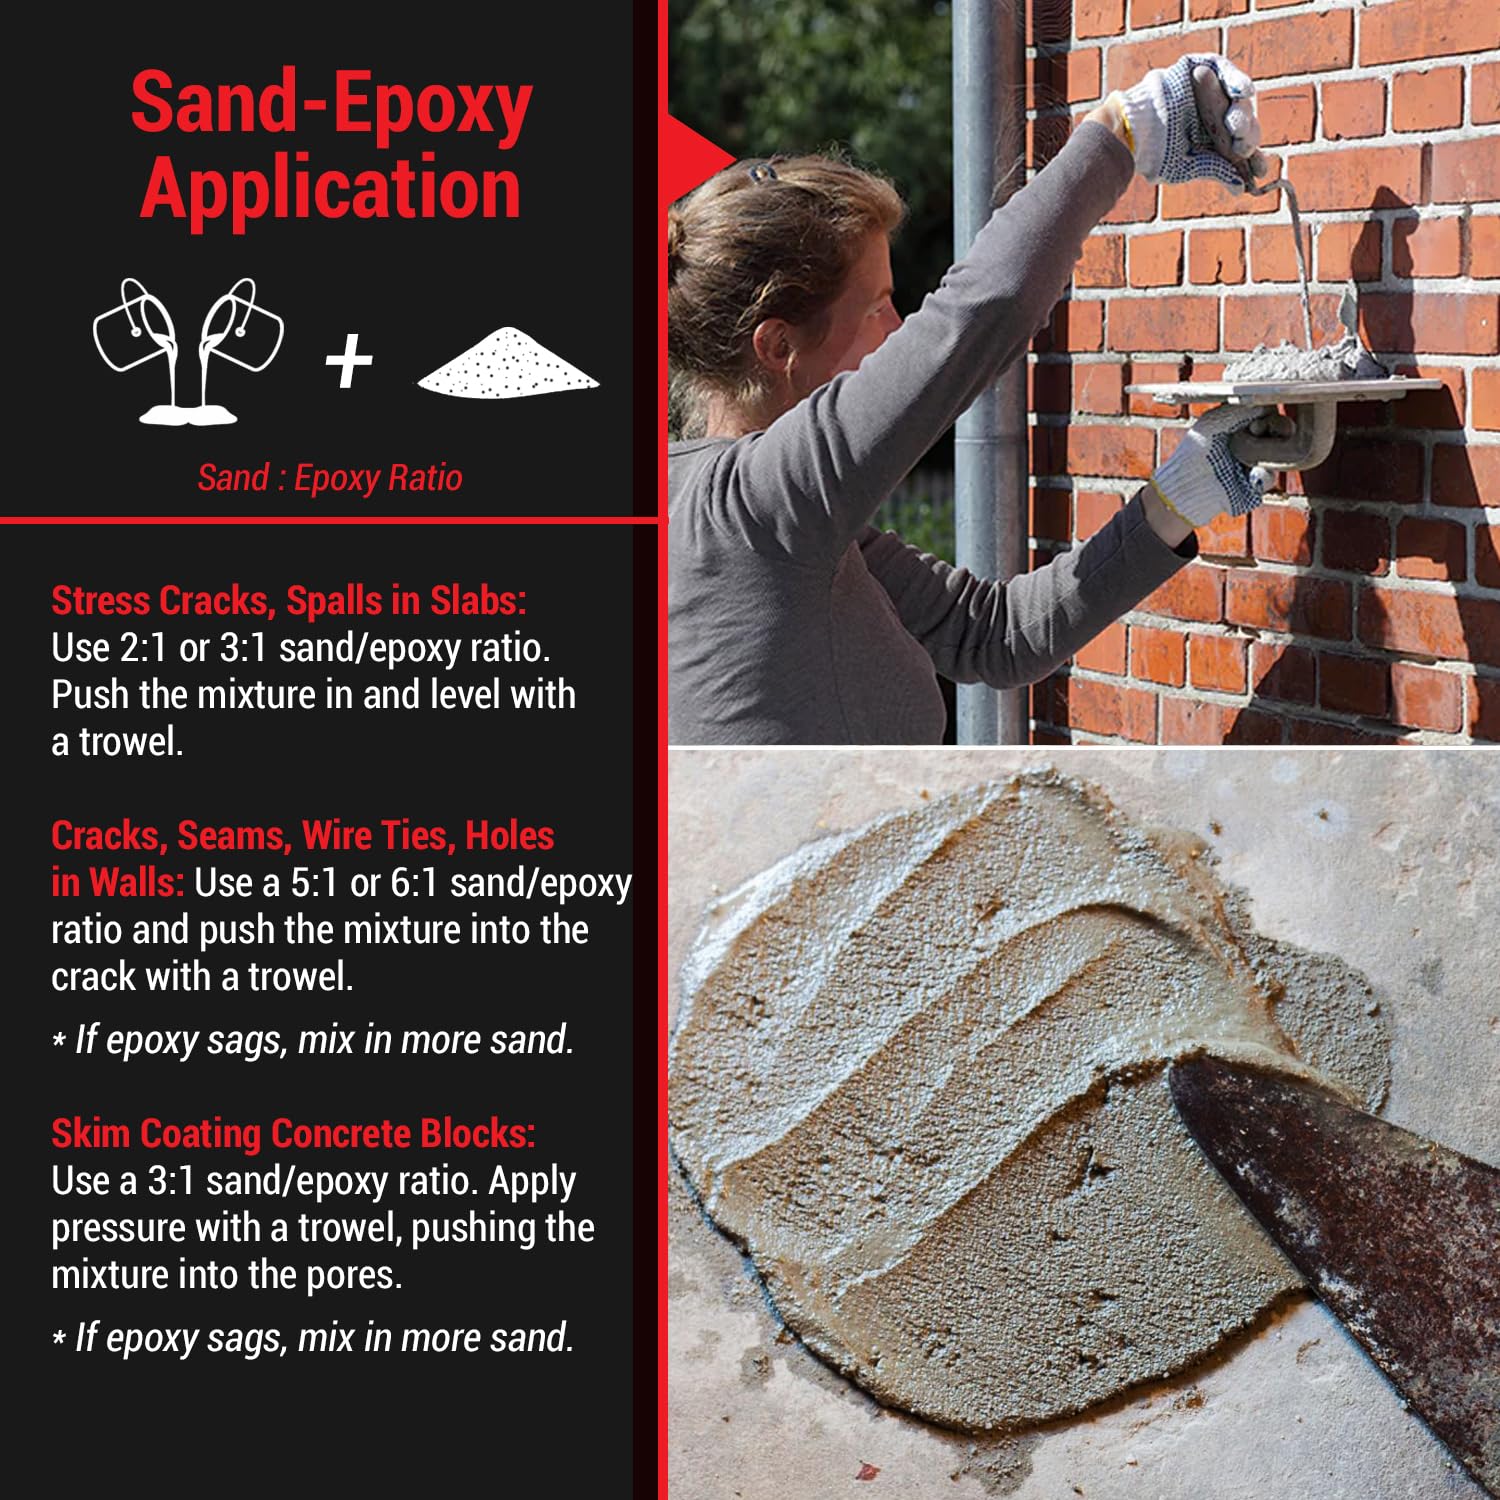
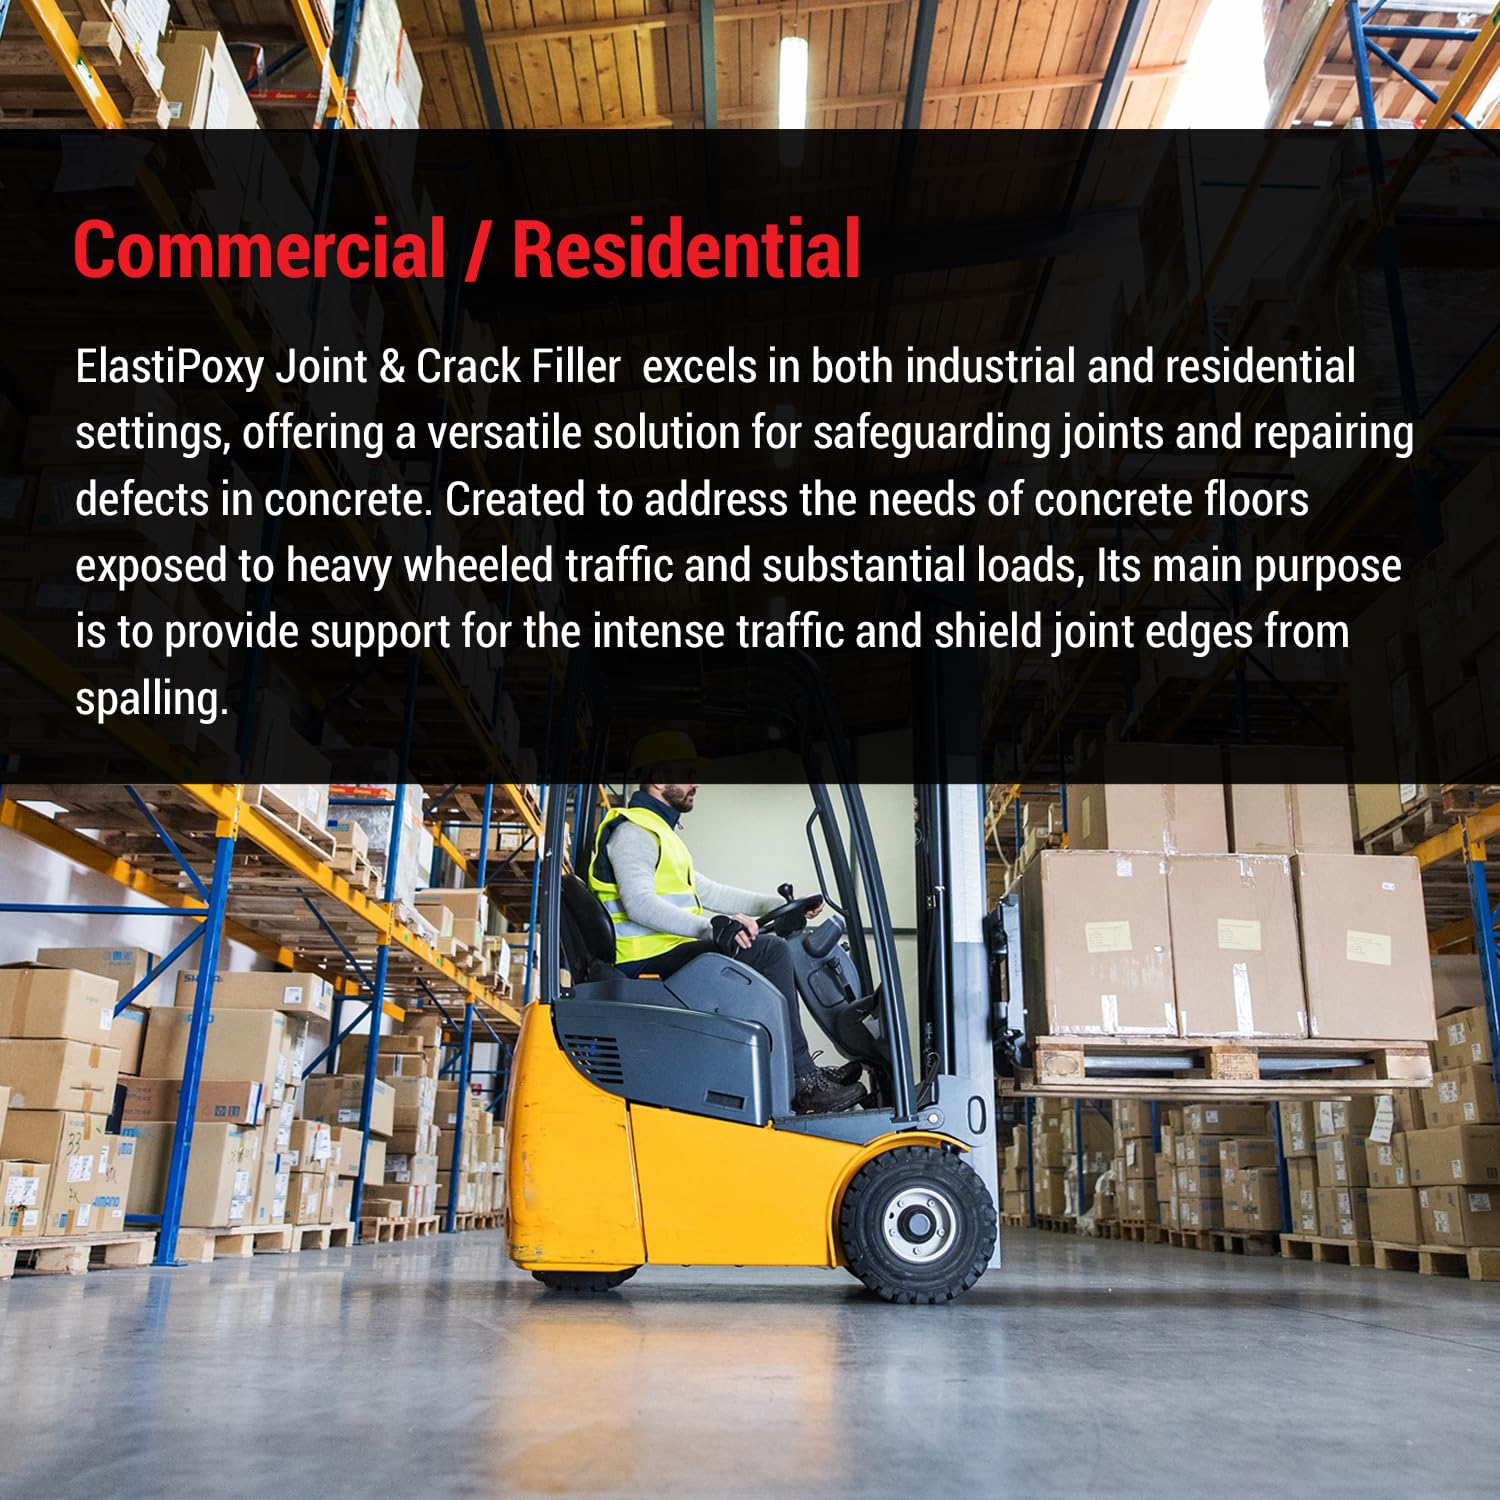
The ElastiPoxy Concrete Joint & Crack Filler Kit is a high-quality, flexible epoxy sealant designed for permanent repairs of concrete joints and cracks. With its unique formulation, it adheres to damp surfaces, making it perfect for basements and driveways. This 2-component epoxy allows for easy mixing with sand, enhancing workability and strength, ensuring your concrete surfaces remain intact and visually appealing.


| Manufacturer | Novion |
| Part Number | 340 |
| Item Weight | 9 pounds |
| Package Dimensions | 13 x 8.5 x 7 inches |
| Is Discontinued By Manufacturer | No |
| Batteries Included? | No |
| Batteries Required? | No |
K**T
You need double the amount if you really want flat topped joints
I am giving this 5 stars because it does exactly what they say and was a complete kit including mixing paddles and cups. Everything went according to direction. It is expensive and I was hesitant to buy 2 kits for my 3 car garage but I should have. If you are having second thoughts about buying more than you think you need, heed this warning. The hassle of removing everything from your garage (tools and other expensive, theft targets) and prepping everything and then doing the joint fill and flooring coating while that stuff is at risk of theft is a giant bucket of stress that is far more "expensive" than an extra kit!! Seriously, just buy the extra and if you don't use it send it back. I will make another recommendation that will help the install. Get foam core to partially fill the joints and get a caulking gun to run a bead on the bottom of the joint to glue down the foam core so the joint filler doesn't "float" the foam core up and leak under it. Every place I used caulking went well and where I thought the foam core was tight enough, it wasn't. Lessons learned for me. Other than that my project was successful. When this cures, it has a slightly rubbery feel like silicone but a lot firmer. So far my polycuramine floor coating is not cracking or showing any issues where the joints are.
J**.
Happy with epoxy mixture with added sand
Worked pretty much as described. The only problem was after I added dry sand the propeller on the me ice furnished broke off.I mixed it with a putty knife and it worked great.
P**U
Didn’t meet the expectations
The product manufacturer claims that it works better than all other products in seams between concrete slabs. I found that not to be the case. This epoxy cracked just a couple of days after pouring it using the instructions as closely as possible.
M**R
Tips before use
This stuff works great but they are very proud of their product ($$$$). Make sure you let it sit before use (gets rid of bubble holes when set up). They recommend filling concrete control joint with sand. I did this and tamped down with side of flat bar and hammer. First time pour, product filler joint, but partially soaked into sand, then needing a second coat, after it hardened $$$. 2 quart cans only covered half of the joints in a 3 car track home garage, with this technique. I reluctantly ordered a second set. Filled joint with tamped sand again. Tried covering sand with electrical and masking tape (to reduce seepage), but couldn't get a solid seal. Then covered sand with thin layer of $14 polyester resin. This put a thin seal over the sand. I let harden, then poured ElastiPoxy over the compacted resin covered sand. The resin prevented seepage. If I had done this technique, I might have done the whole project with one 2 quart set. I recommend doing ElasiPoxy after all concrete prep work is done prior to epoxy coating whole floor, meaning degrease, pressure wash, TSP, and etch. Found a blow torch worked best to remove stubborn oil stains, it's kind of like removing oil shale, but the torch burns off oil once out. Once hardened grind off with belt sander till smooth with 36 to 80 grit. If you are lucky enough not to grind leave it. It tends to build up on edges, so grinding makes it flush. Ground product takes a little more attention when applying epoxy floor coat, as it has just a hint of porosity. Over all product is just what the doctor ordered. Seems to be just a bit more elastic then Bondo, when hardened. Still wondering if Bondo will work because of price, but not willing to experiment due to over-all price of floor. Also used Rust-Oleum "Professional" grade EpoxyShield 2 part epoxy (you have to hunt for it, Summit Racing has it). Regular Rust-Oleum EpoxyShield is a 2 part non-catalyzed paint, which is powdered epoxy suspended in water, it's "Fake News" (found out via YouTube video just before application of the "non-professional product). Then covered with Rust-Oleum Epoxy Clear. Results turned out amazing. Ran Epoxy Shield to outside edge of slab, but stopped clear coat at door's edge due to clear coat yellowing over time, due to direct sunlight. Wished I knew some of this before I started . . .now you have your official tip!
B**.
Manufacturer needs to supply how to videos
I used this product to fill expansion(20ft) and pressure cracks(20ft) in my garage floor to prepare it for epoxy coating. Here are my thoughts: At the end of the day Elastipoxy filled my cracks and with my angle grinder was able to pretty smooth surface - can't see the cracks, but an expensive product. I had to buy two, 2 qt packs to complete my job as I ran out midway through the job. I wish I knew at the beginning of the job what I found out by trial and error using this product. Elastipoxy is significantly easier to work with by adding sand. On my second application I added 20oz of sand to 20oz of the combined product and sooo much easier to handle - much like drywall compound. The issue I had was with the initial application without sand - the product is thin, about the consistency of paint, and if the floor is even the slightest bit un level, Elastipoxy will find the lowest point in the crack and puddle. Adding sand, even for the smallest crack I filled enabled the product to stay put and not drain/move out of the crack. I guess if you had an exactly perfectly level floor(Checked mine with a 4 ft level, looked level but was slightly off) you wouldn't need the sand but if I did this job over I would go right to adding sand with the supplied mixer tool. You'll get more volume too and make this expensive product go a lot further. Maybe I missed a how to video, don't think so but maybe, but in my opinion how to videos showing Elastipoxy with/without sand in different applications is sorely needed. Would have saved me a bunch of time.
B**E
so I thought I'd be fine, but it ran through like water
The product was listed as being the thicker version of the epoxy crack filler line. The thin version had you use white sand to prevent excessive run through and this product was to be my solution for larger cracks. Well, my cracks are about 1/16 to about 3/16 (the floor is stable and the crack is along the seam), so I thought I'd be fine, but it ran through like water. $130 down a crack. make sure you use sand or other backing. The product is very good at adhereing to concrete and it does it's job well. It's like a flexible form of epoxy.
M**S
Cleans up the small cracks
Have to take your time and mix correctly and it comes out great. A little pricey but does the job
Trustpilot
3 weeks ago
1 day ago