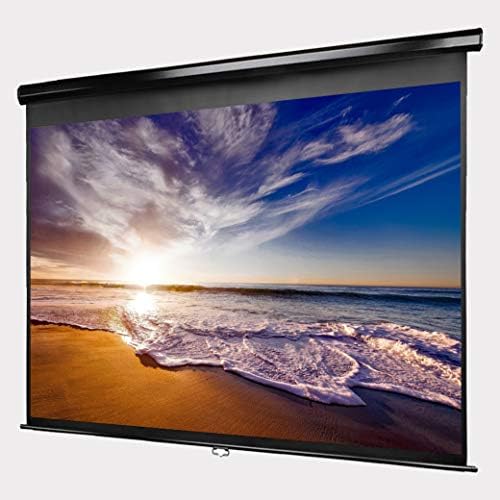


Manual Pull Down Projector Screen – 100 Inch – 4:3 Aspect Ratio – 1.1 Gain – Premium Matte PVC Screen – Lightweight Aluminum Housing – Easy to Install – All Necessary Hardware Included
Product ID: 114496347
Full description not available
G**Y
I was able to walk away victorious with a very nice product. I would have goven 4
I echo the first response regarding the lack of detailed instructions. Probably would have saved tremendous install time. However the pros outweigh the cons. The material seems to be very well. After the light bulb went off a couple times and searching the photos to identify the proper installation for several components, I was able to walk away victorious with a very nice product. I would have given 4.5 stars but option not available.Free tips -Assemble face down.Rear support rails are shipped inside the top and bottom frame, remove before attempting assembly.Springs - Insert plastic screen support rods into screen; two for top and bottom and the longer ones for sides. Starting in the center of top, bottom and both sides insert spring into inner lip in the center on the frame hook facing down. The spring pulley must be utilized to pull the top spring hook into screen holes around the plastic screen support rods. Make sure to start in the center and go outward for all frame supports. This will make the effort easier.Rear support rails - Remove the predrilled screws from top and bottom frame. Align rails with the holes. They will appear too long but the are not. I installed one screw on each rail one screw each on opposite ends. Both rails have grooves on the bottom to latch underneath frame. There is about one inch of force need med to place one rail underneath the unsecured end of the frame. Now once in place (whew!), insert screw and secure to frame. The next rail will be super easy as it will only require moderate force to move the frame down about a half inch to latch under frame.Hard part is now over!!!!! Hang the screen with a second person after mounting brackets on the wall. One person job otherwise.
D**T
Easier to assemble than people lead others to believe.
I ordered the 135” regular matte white fixed screen and was a little worried after reading reviews on difficulty of assembly but was pleasantly surprised it was pretty straightforward.I’m assuming the manufacturer is now adding better instructions because mine came with easy to read semi detailed assembly diagrams and spring procedures.It is exactly as described and let me say that going from a wall painted with projector paint to a fixed screen is a very noticeable difference for the better.The screen material came rolled up with a few wrinkles so I was worried they would be noticeable but as soon as you get about half the springs set they are gone and material stretches perfect.In my case a 135” screen is like having a big theatre in your entire living room lolDisregard the books holding the screen I got impatient and wanted to see how it looked lol.It has since been hung about 4” off of the wall and I bought a 32’ LED light strip that I use as a backlight (which does not bleed through back of screen) and it looks so amazing people swore I had some company come install for thousands of $$ and the screen was just a few hundred and the led strip was just $40
S**P
High Quality Screen
High quality screen. Product is designed and machined well. Image projected on it looks great and the velvet frame absorbs any over flow. Very happy with this purchase so far.Did not have too many issues putting it together (I'm probably a 6/10 or 7/10 on the handyman scale and it took me just under 2 hours by myself.....would, however, recommend 2 people to put it on the wall). Some tips:1) Seems as most complaints have to do with the instructions. Before I received the screen, I went to the Homeland Hardware website and looked through the updated instructions posted in the FAQ tab. Once assembling, the only time I looked at the instructions was to recall what order to put the springs in. It's a pretty logical build. I honestly do not know if the package came with instructions but highly recommend the ones on the website.2) The corner braces seem to have a preferred orientation. If you look at the holes you'll see a slight thread pattern for the screws. Although you can put the screws in the opposite way, if you put it in as intended, it should result in a less brute force.3) The screws needed for the center joints and back braces came screwed into their section. Looking at the hardware kit, thought they were missing before realizing this.4) Springs go around the tension rods. Yes, I know this probably should have been obvious. You'll be happy to know I did catch my mistake before ripping any holes.5) Putting in the springs are the biggest pain. It's not hard, just tedious as there are so many of them. Just follow the pattern on the instructions and you'll be fine.This is a very good screen and I would not hesitate to purchase. If you are worried about the assembly, don't be. It's about as difficult as putting together a prefab piece of furniture.
Trustpilot
2 months ago
2 weeks ago