
DOWNLOAD THE APP


Customer Services
Copyright © 2025 Desertcart Holdings Limited
DOWNLOAD THE APP
🚗✨ See and be seen with crystal-clear confidence!
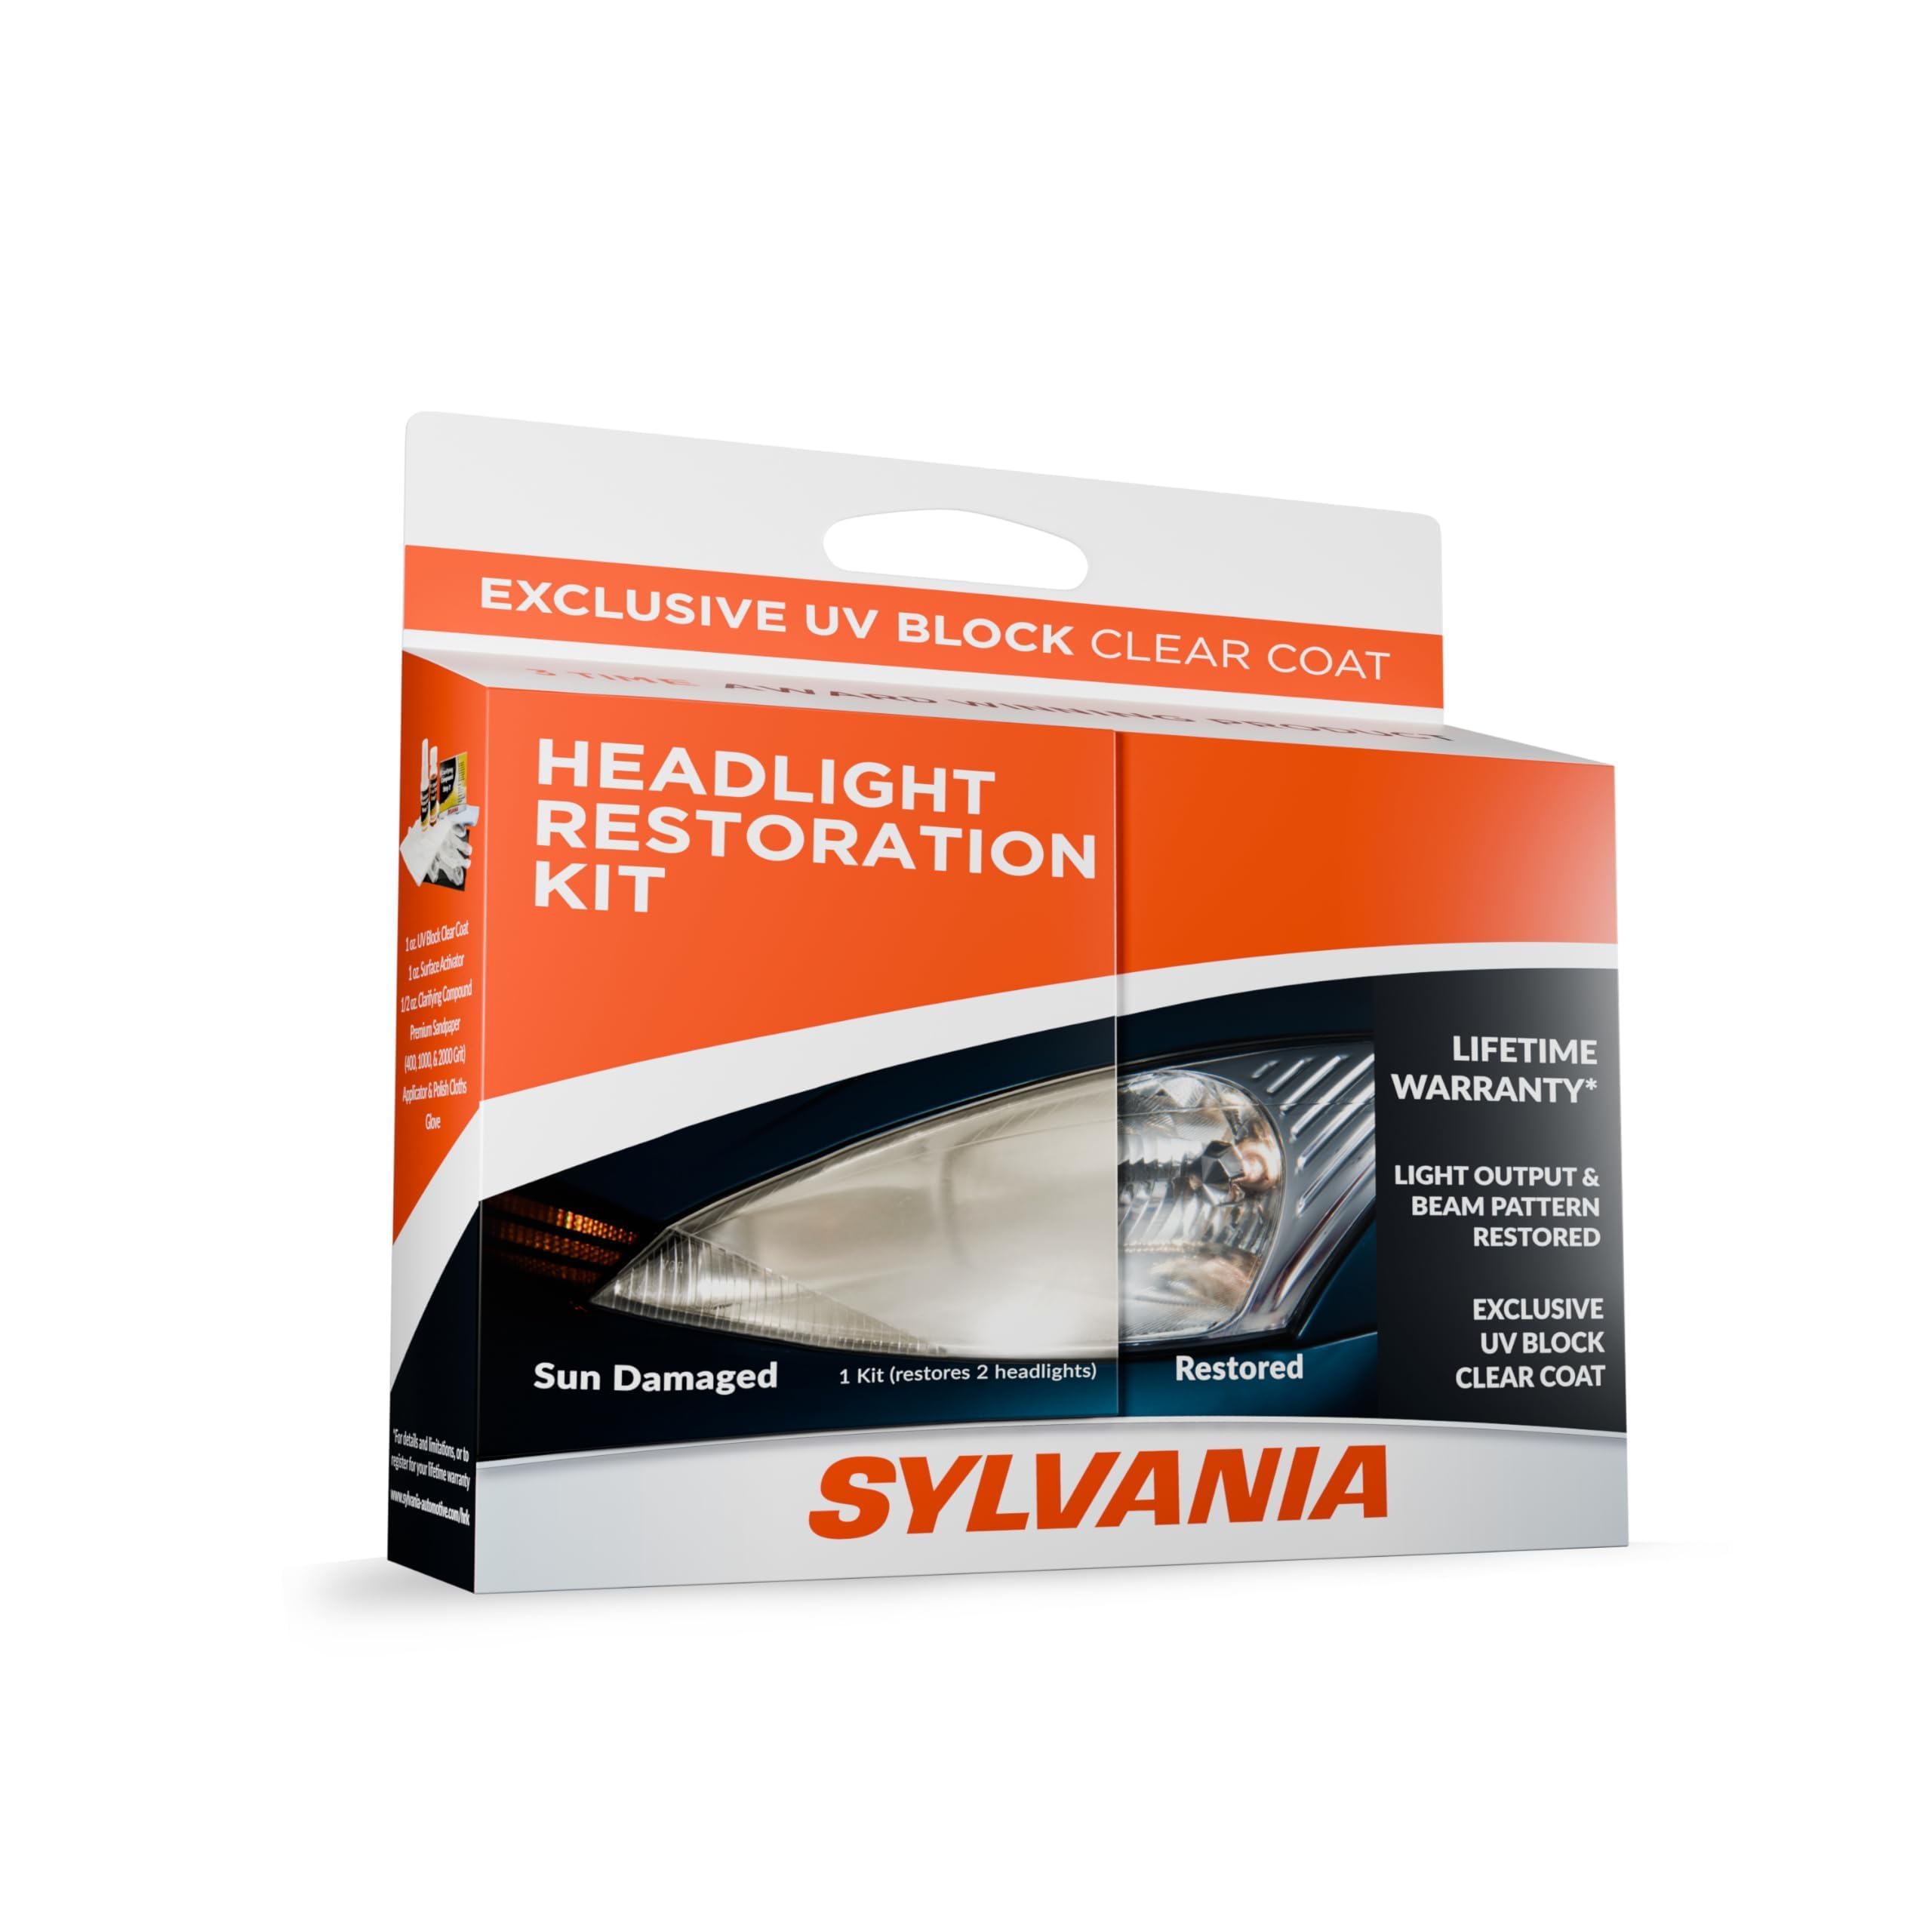
The SYLVANIA Headlight Restoration Kit revitalizes hazy, sun-damaged lenses in just 3 easy steps and under 30 minutes. Engineered for durable clarity and protection, it restores headlights to near-factory condition, enhancing night visibility and safety for a sleek, modern driving experience.


| ASIN | B00429NKWK |
| Best Sellers Rank | #31,348 in Automotive ( See Top 100 in Automotive ) #40 in Automotive Headlight Restoration Kits |
| Item model number | HRK.BX |
| Manufacturer | Sylvania |
| Product Dimensions | 20.32 x 5.08 x 15.24 cm; 136.08 g |
M**Q
Worked as expected 👏 🙌 👍.
Now my car headlights are looking new like factory reset.
J**A
One of the best headlight restoration kit
Amazing results for 10 years old car. No more blinding other drivers. Some elbow grease required for upmost results
N**E
My headlights were completely clouded over and oxidized, significantly reducing my visibility at night. I decided to try this kit before spending hundreds on new housings, and I’m glad I did. Complete Kit: This came with everything advertised. The instructions were very clear and easy to follow. User Pro-Tip: While the kit is comprehensive, I highly recommend using a separate spray bottle with water for the wet sanding steps. Keeping the surface constantly lubricated makes the sanding much more effective and prevents the paper from loading up. Effort vs. Reward: It took about one hour to do both headlights. It definitely requires some "elbow grease" during the wet sanding stages, but don't rush it—the more effort you put into the prep, the better the final result. The Results & Durability: The transformation was night and day. The lenses went from hazy and yellow to crystal clear. Most importantly, it’s been three months since the application, and they still look brand new. It has held up perfectly through harsh winter driving (salt and slush) and several trips through the automatic car wash. Final Verdict: 5 Stars. If you’re willing to put in the manual labor for an hour, this kit will save you a fortune. The sealant actually lasts, which is the biggest factor.
D**.
This is the third time these headlights have been restored. Wait, let me rephrase that. This is the third ATTEMPT to restore these headlights. The first time the dealer cleaned them up a bit so it would pass the bi annual safety inspection. It lasted almost one year. The second time I did it myself with another brand of restoration kit. It got them clear enough to pass another safety inspection but I wasn't very pleased with the result. This time I did some more research and found this Sylvania Headlight Restoration Kit. It was highly rated and Boy! were they right! As you can tell from the before, during and after photos I've included this kit really works. Except for a couple of pretty deep stone... um dents I'll call them because they're not really chips, the headlights are as good as new. I very definitely recommend this kit to anyone that wants to have headlights that shine like new without the expense of replacing them. Now, that being said, I have some advice. Follow the instructions! They are very clear and take you through the whole process step by step. Do not try to hurry through. If it says it should take about five minutes of sanding for this step then set a timer and sand for five minutes. When it says keep it wet, keep. it. wet. I used a garden hose with the nozzle set to a heavy mist and sprayed it every 10-15 seconds. This rinses away the slurry and cleans the sandpaper so that it keeps cutting. If you don't keep it wet the sandpaper will clog up and you will just be wasting your time and energy rubbing your headlight. When you get to the last step, the UV blocker, don't skimp on it. There is lots in the kit to do two large headlights. Don't rub it on in a circular pattern. Use straight strokes from one edge to the other. Don't rub it on back and forth. Start from one side and wipe to the far side, pick the cloth up and then make your next pass slightly overlapping the first. Continue until you have completely covered the lens and then STOP! DO NOT go back over it and DO NOT TOUCH it. Let it dry four to six hours. Now enjoy the fruits of your labour. Your brand new-looking headlights for nowhere near the price of new headlights.
A**M
Excellent product for DIY. It works as it claims, need to be very careful when applying clear coat, do not over apply.
T**R
By following the instructions, this kit really works. Though intended for 1 car, I think it can do 2 cars.
J**S
He usado otros marcas y esta es la mejor. Si hay que seguir las instrucciones con cuidado y echarle un poco de esfuerzo porque no hay necesidad de herramientas, pero los resultados son increíbles, tengo faros indistinguibles de los nuevos.
Trustpilot
1 month ago
2 weeks ago