


AspectPeel and Stick Stone Overlay Kitchen Backsplash - Medley Slate (5.9" x 23.6" x 1/8" Panel - Approx. 1 sq ft) - Easy DIY Tile Backsplash
J**O
Expensive but interesting product
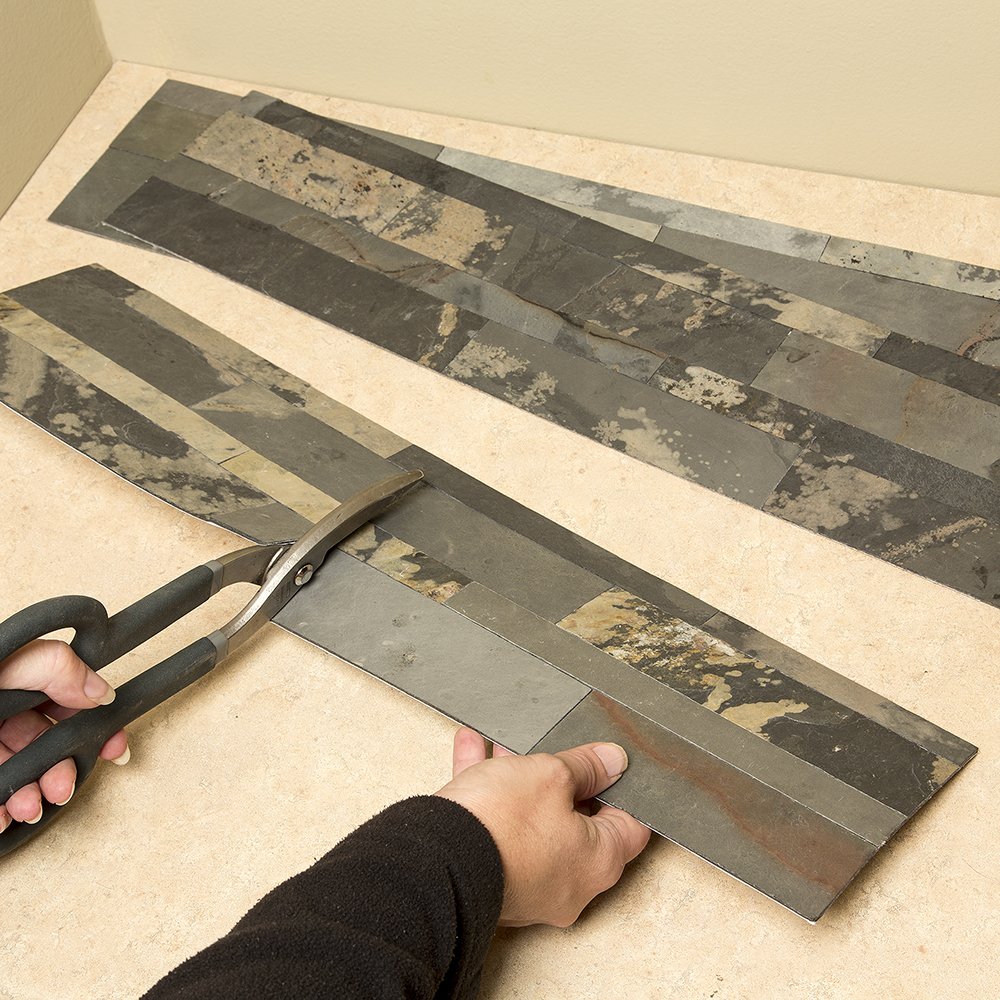
Overall, the product is good and works and looks as advertised. The price is, in my opinion a little high for what this is. This is great for convience factor- and thats how i would recommend it. I would not recommend this as a cost saver.Originally I thought this product was going to save me a lot of money and it would be a lot less expensive than a traditional backsplash. It is only marginally cheaper though. Yes you dont need mortar or thinset.. but those items arent all that expensive anyway. These tiles are $15 per square foot... which is about average for nicer quality mosaic sheets. I have a modest sized kitchen with out a 30 sq ft area between the cabinets and counters. I needed two boxes which set me back about $500. I also bought some construction caulking style adhesive.Installing it was fairly standard for tiling. Generally speaking stuff in a kitchen is not always square.. so you kind of have to just keep adjusting things slightly as you are installing. In the end, you wont even see where you have to tweak lines because it all blends in.I must say the tiles are way harder to cut than advertised. I bought tin snips for this project (ad that into the final cost too) and i had about a half dozen outlets and some other things to cut around. My hand was dead after a few outlets. I also had to cut these long tiles length wise .... that was an absolute bear of a task. It is almost impossible to cut a pristine straight line down the center due to the natural undulation of the rock. My husband and I gave up and bought a table saw. (add that into the final cost now)After the buying the saw things were a breeze. When we finished up there were very large unsightly gaps between the counter splashboard thing and the wall. We then had to go buy a tube of sanded grout caulking to fill the cracks (keep adding!)The product itself was pretty cool. Yes it is absolutely and without any doubt REAL rock. I really cant understand the people who say it is cardboard. ((How can you even say that??, it shatters actual shards of ROCK when you cut it by hand!)) The wall looks the best when there is under cabinet lighting that is turned on so you can see the shadows of the undulations and textures of the rock. In the day light though.. it is pretty hard to detect rough looking texture. It looks pretty flat without the side scraping light effect.I should also add that this stuff stinks to high heaven. It smells strongly of chemical adhesive toxic death. I just opened the box and took all of the tiles out and spread them on the garage floor for a day and that pretty much aired them out. There is no detectable smell once everything was installed. ( im writing this 2 months later fyi)My final thoughts on this again are... it is a pretty cool product. The engineering is neat. I would use it for updating SMALL projects like.. campers or camps. Not an average kitchen.. This product will not save you any money at all.. so wipe that out of your head. (unless of course you have all the tools and products necessary and you have a tiny space)Anyway. I do have some buyers remorse on this because in hindsight this was expensive for just a mediocre looking backsplash.Good luck on your search folks!
R**E
Love/Hate
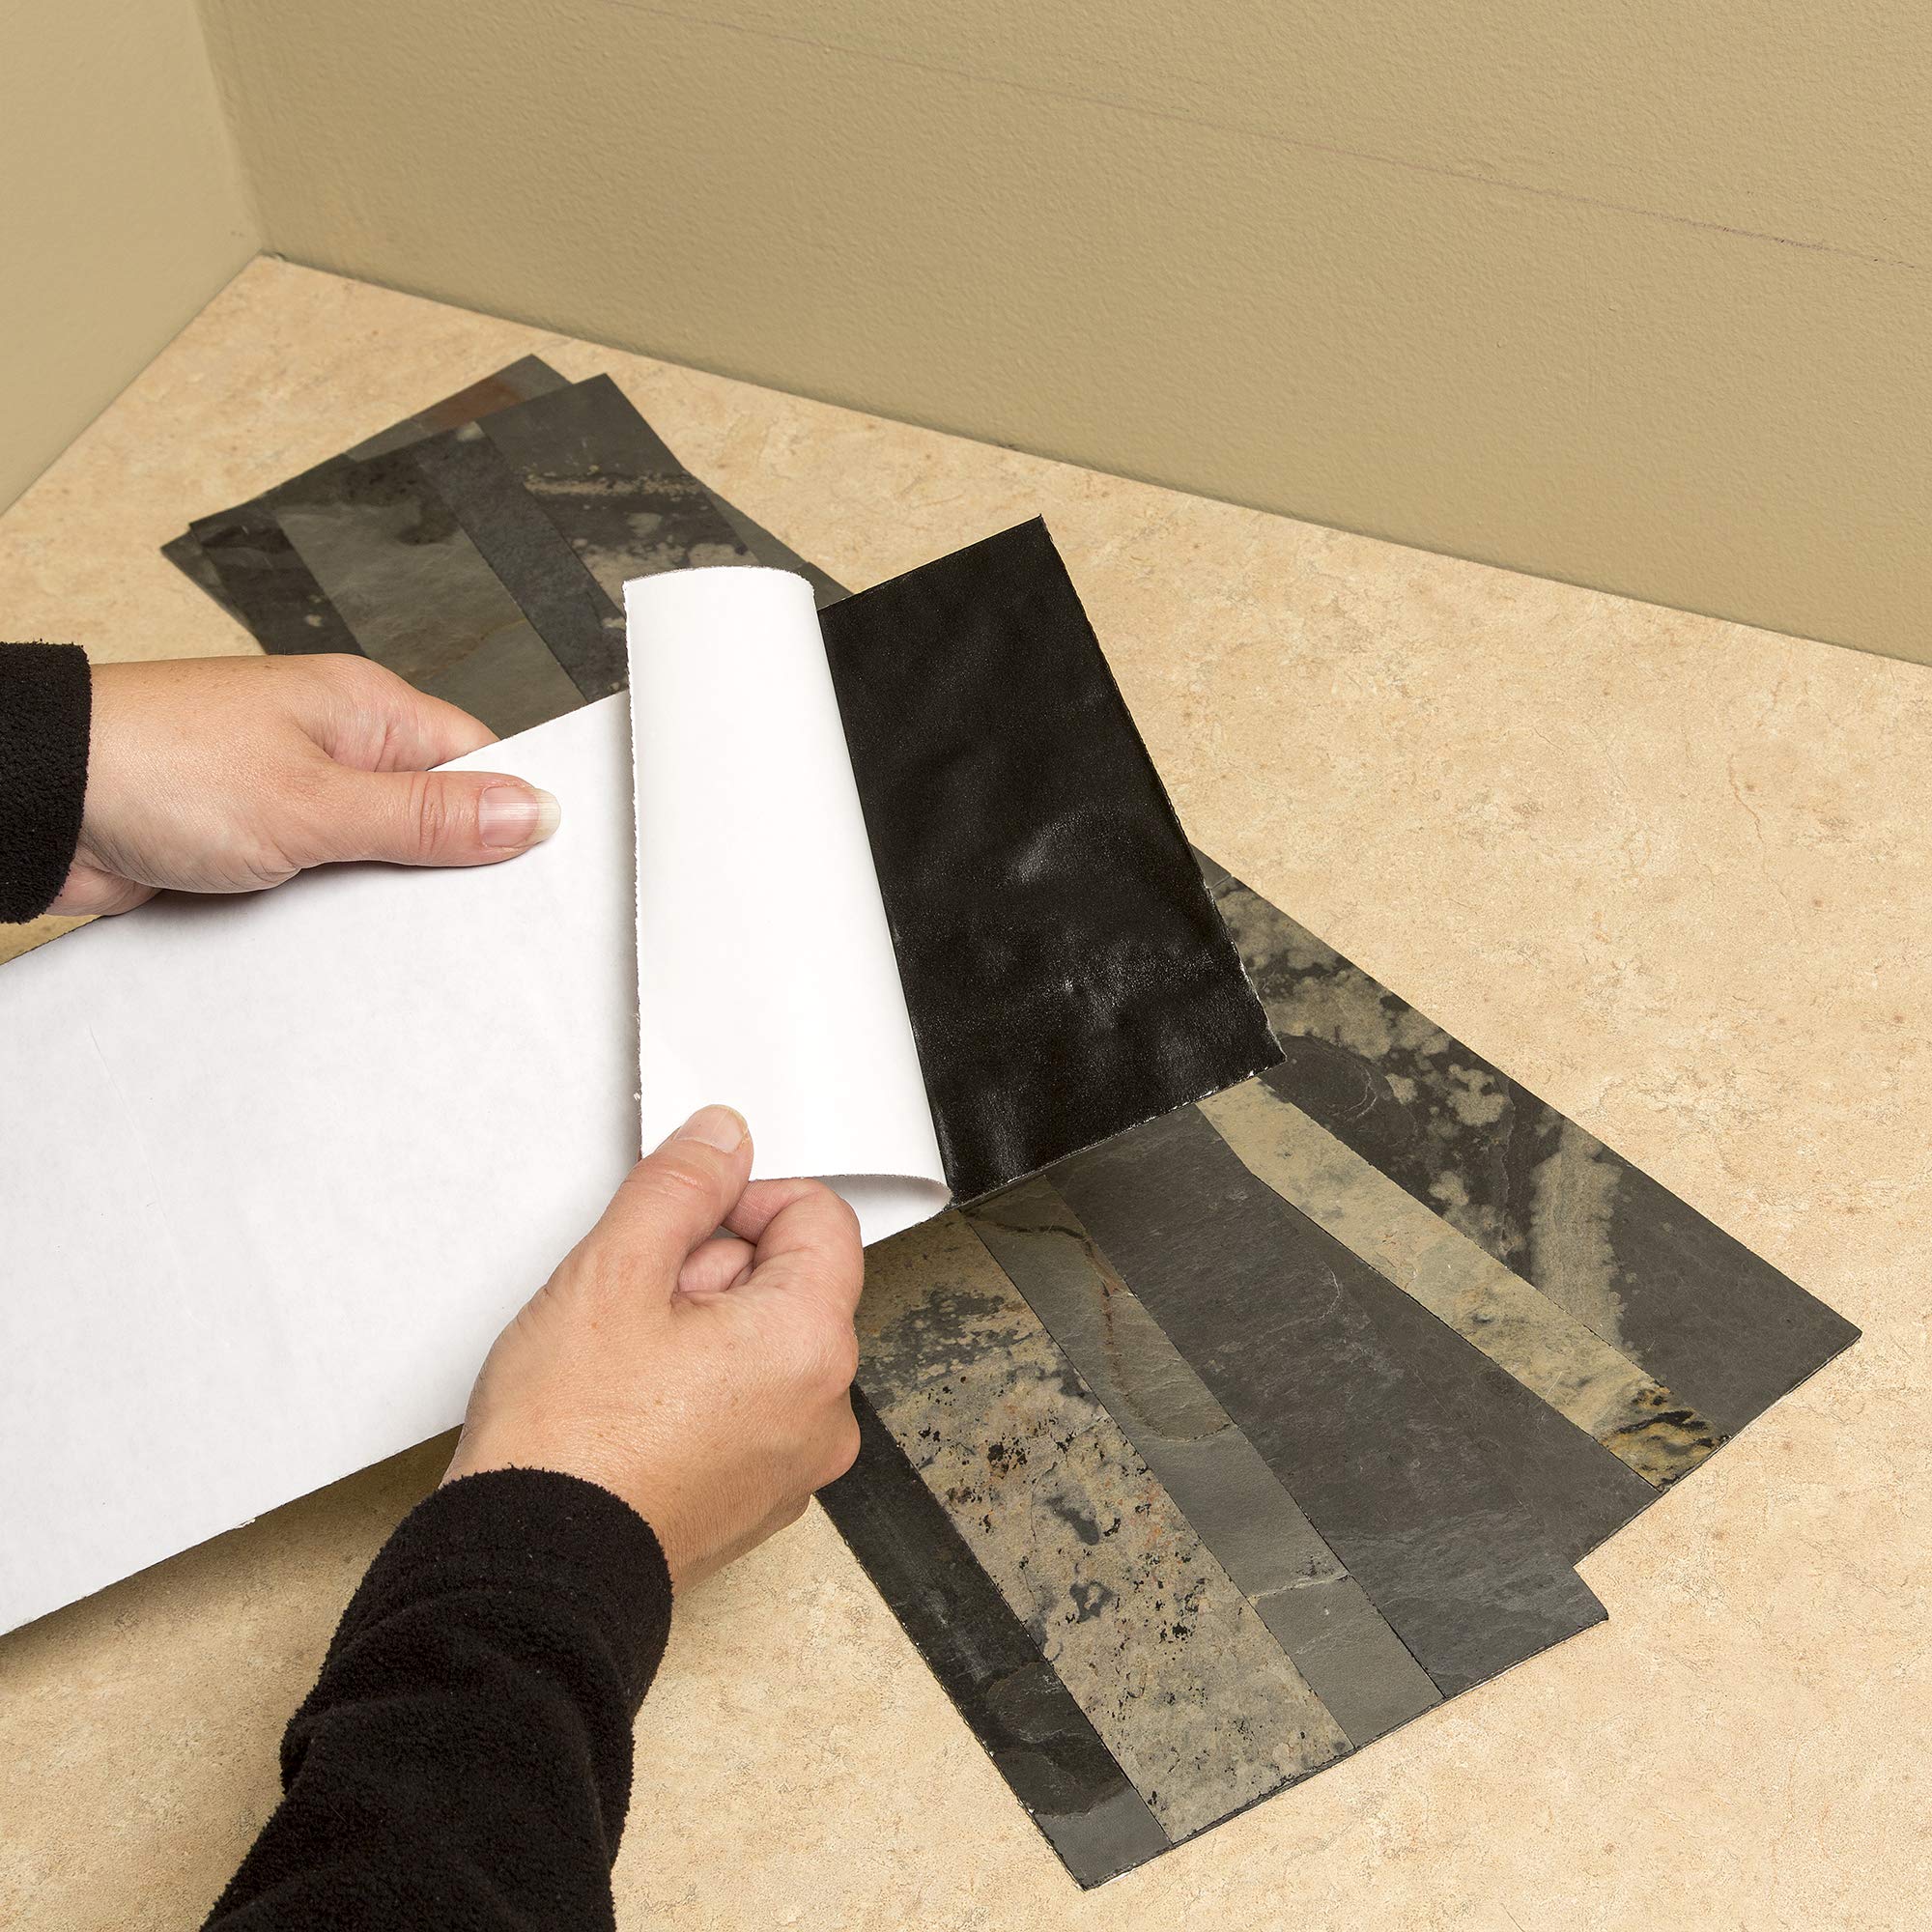
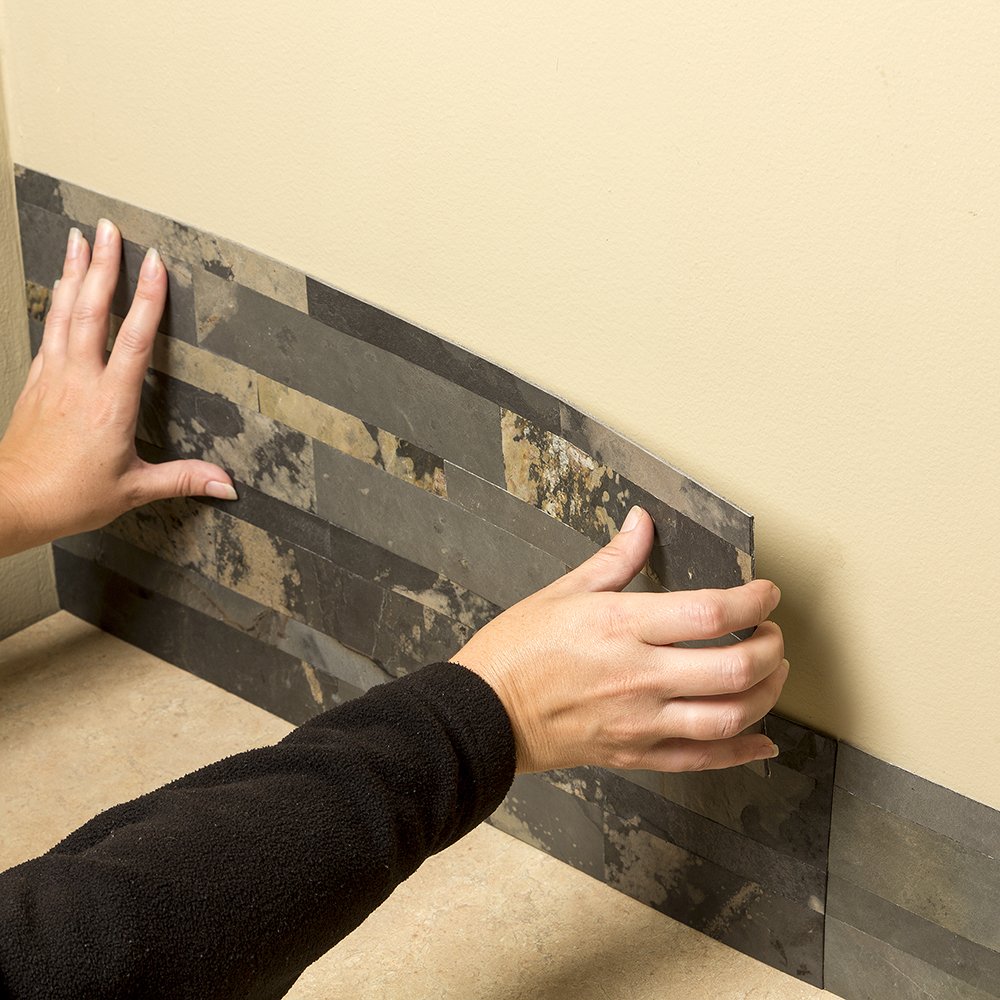
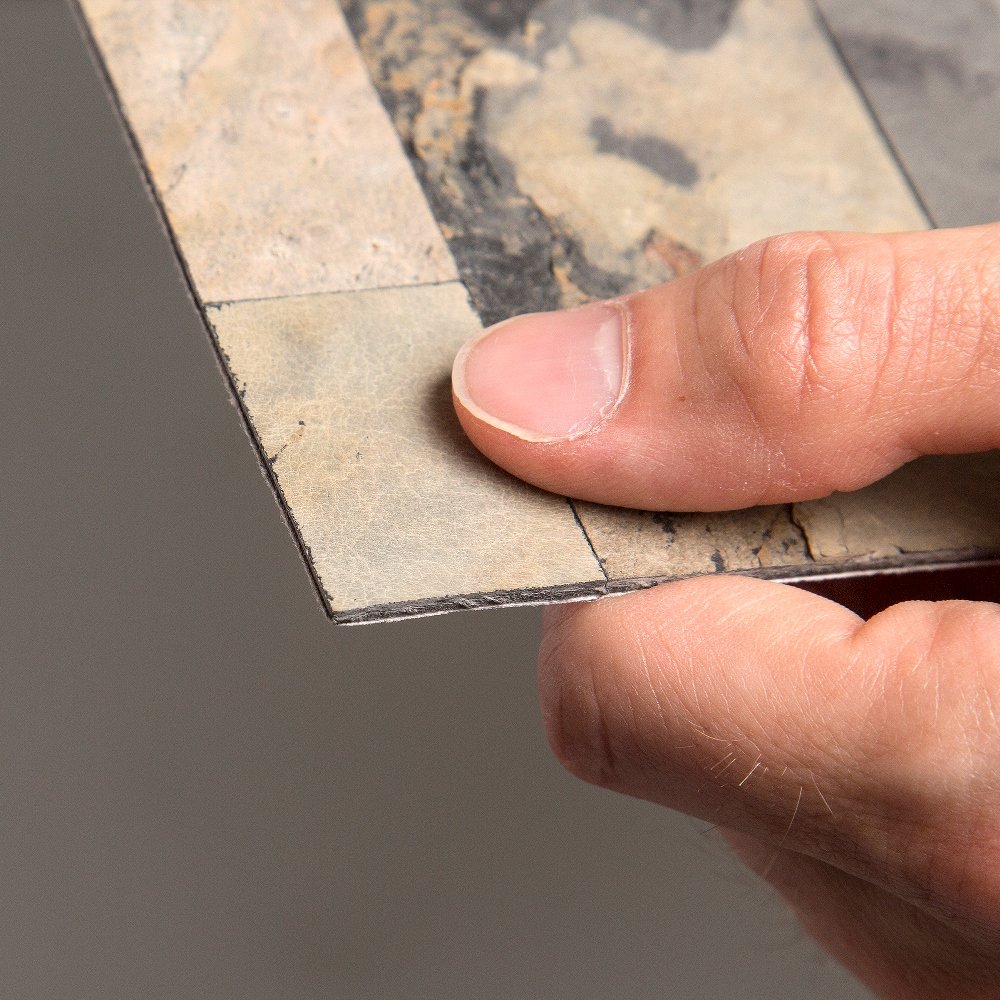
I have a love/hate relationship with these tiles so it’s hard to know where to begin. In terms of looks they’re beautiful and I’d easily give them 5 stars for that. The quality is great and the finished project looks fantastic. I bought these in a store so I’ll say this about the difference. This seller is being very forthcoming and descriptive about what to expect and I appreciate that. Read through all of the information here, and if you’re willing to accept that they’re not as incredibly easy as they make it sound, then go for it! I wish I had come here first.My biggest issue with these initially is that the product packaging makes it look so EASY! The outside of the package literally shows to cut with scissors (or snips), peel the back, and stick it on. NOT THE CASE. Once you’ve cut open the package and read the insert, you see that it can only go on certain surfaces, the surface should be primed first with oil based primer or you’ll need to use a construction grade adhesive; they want you to patch and fill any uneven areas, and they are hell to cut. Once I started reading the directions I was angry because the packaging is very deceptive. I wanted a simple project. The very reason I chose these was to avoid a ton of prep and extra materials, and I definitely didn’t want to rent a table saw. The tiles are very expensive, which I rationalized because of how much extra work it was going to save me – so after reading the insert I was ready to return them to the store and say forget it. Instead, I sat on it for a day and decided to put one up to see how I felt about it, and I’m so glad I did.The adhesive on these is very strong. In fact, I put down my test piece and instantly regretted that I wasn’t more careful because I couldn’t get it back up to adjust the placement, so BE CAREFUL. The positive side of that is they’re definitely up there. I put them over smooth tile that had been spray painted over, so maybe the spray paint acted as a primer. The tile was nice and smooth so that wasn’t an issue.I also don’t know how anyone could complain about the surface of these tiles. They are definitely stone, and they’re lovely. But it is no simple task to cut them, and since its stone (on the surface layer, not the middle of course – as is stated in the product description) it can be uneven and much thicker in some spots than others. This adds texture and character which is great, but I was feeling really grateful that none of my cuts needed to go through the thicker parts or I would’ve been out of luck. I measured, scored where I needed to cut with a knife and blade using a ruler as a guide, and then cut with heavy duty scissors. My hand and arm were killing me the next day. The really nice thing about these is that they are very consistent and beautifully straight, except that when you cut them you can’t possibly cut a perfectly straight line unless you have a table saw. However, being that the stone varies in texture (at least on the ones I ordered) you can hide imperfections pretty well. That’s why I wanted these. I figured I could easily hide little flaws, and I wouldn’t need grout which was a win.Anyway, if you have a table saw – great. It would be helpful. If you don’t, it’s doable but hard. Here’s a photo of the finished project. I have to say that I am SO super happy with the finished result. I can’t stop looking at it thinking how pretty it is. Ultimately, I’m glad I did it but I wish the packaging would be more forthcoming. The color I used is Frosted Quartz.
S**T
Looks nice!
We wound up doing our fireplace in the Weathered Quartz and it looks great! We were able to cut them with scissors in the more narrow spots. Probably best suited for a two dimensional location where it is harder to tell there is no depth to the stone but pleased with the results none the less. Fireplace took the entire box plus the sample that was ordered.
M**4
If you put it behind the stove as a backsplash ...
If you put it behind the stove as a backsplash and cook anything with oil it stains the stick and looks awful. I had to rub the entire area in oil to give it an even tone and a darker look. Only way I found to get around it
Trustpilot
2 days ago
3 weeks ago