
💅 Sculpt your signature style in a flash—because your nails deserve the spotlight!
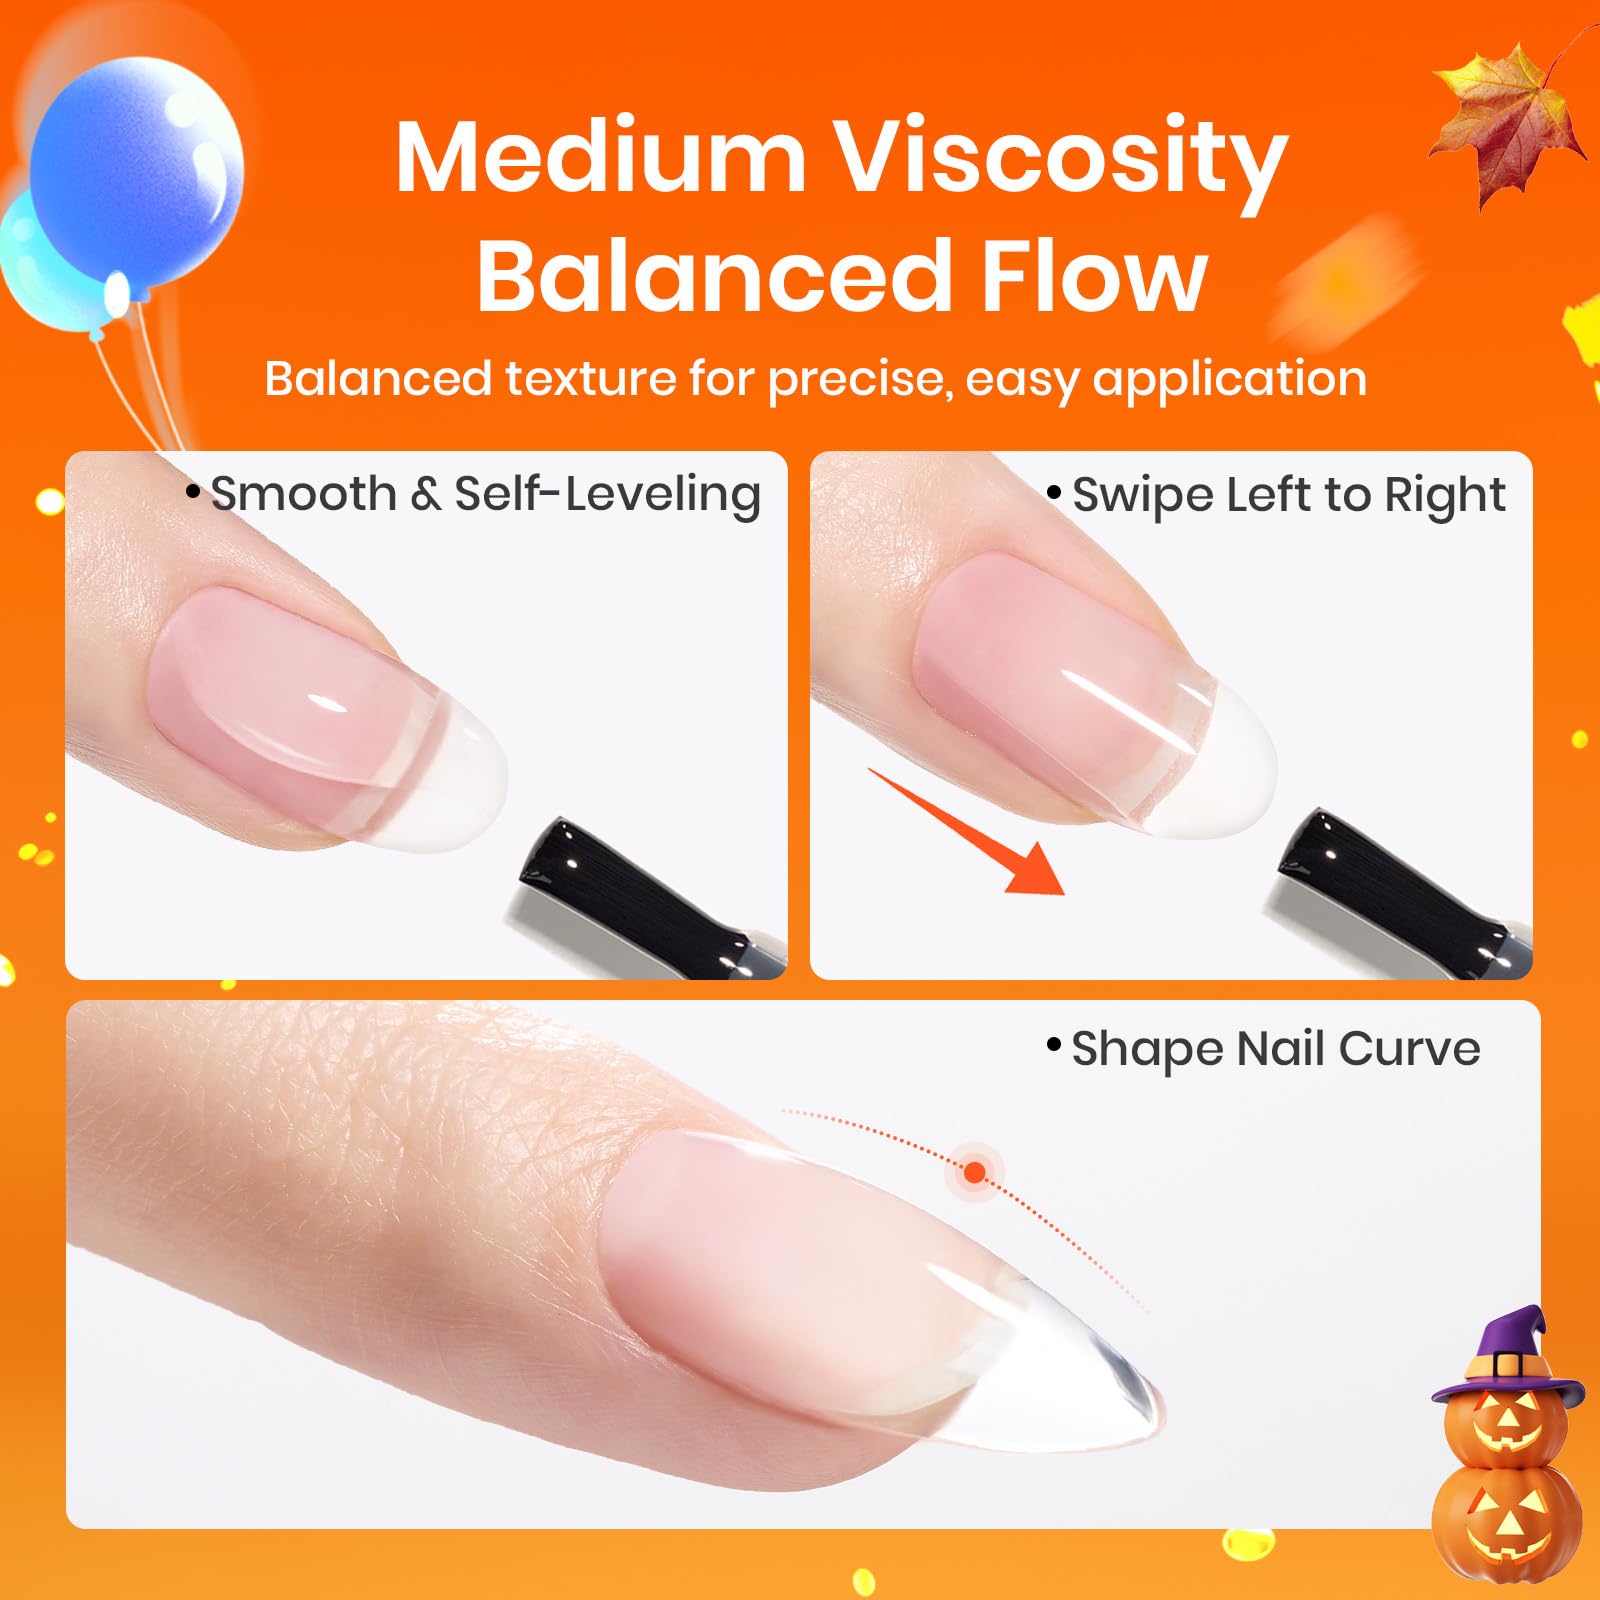
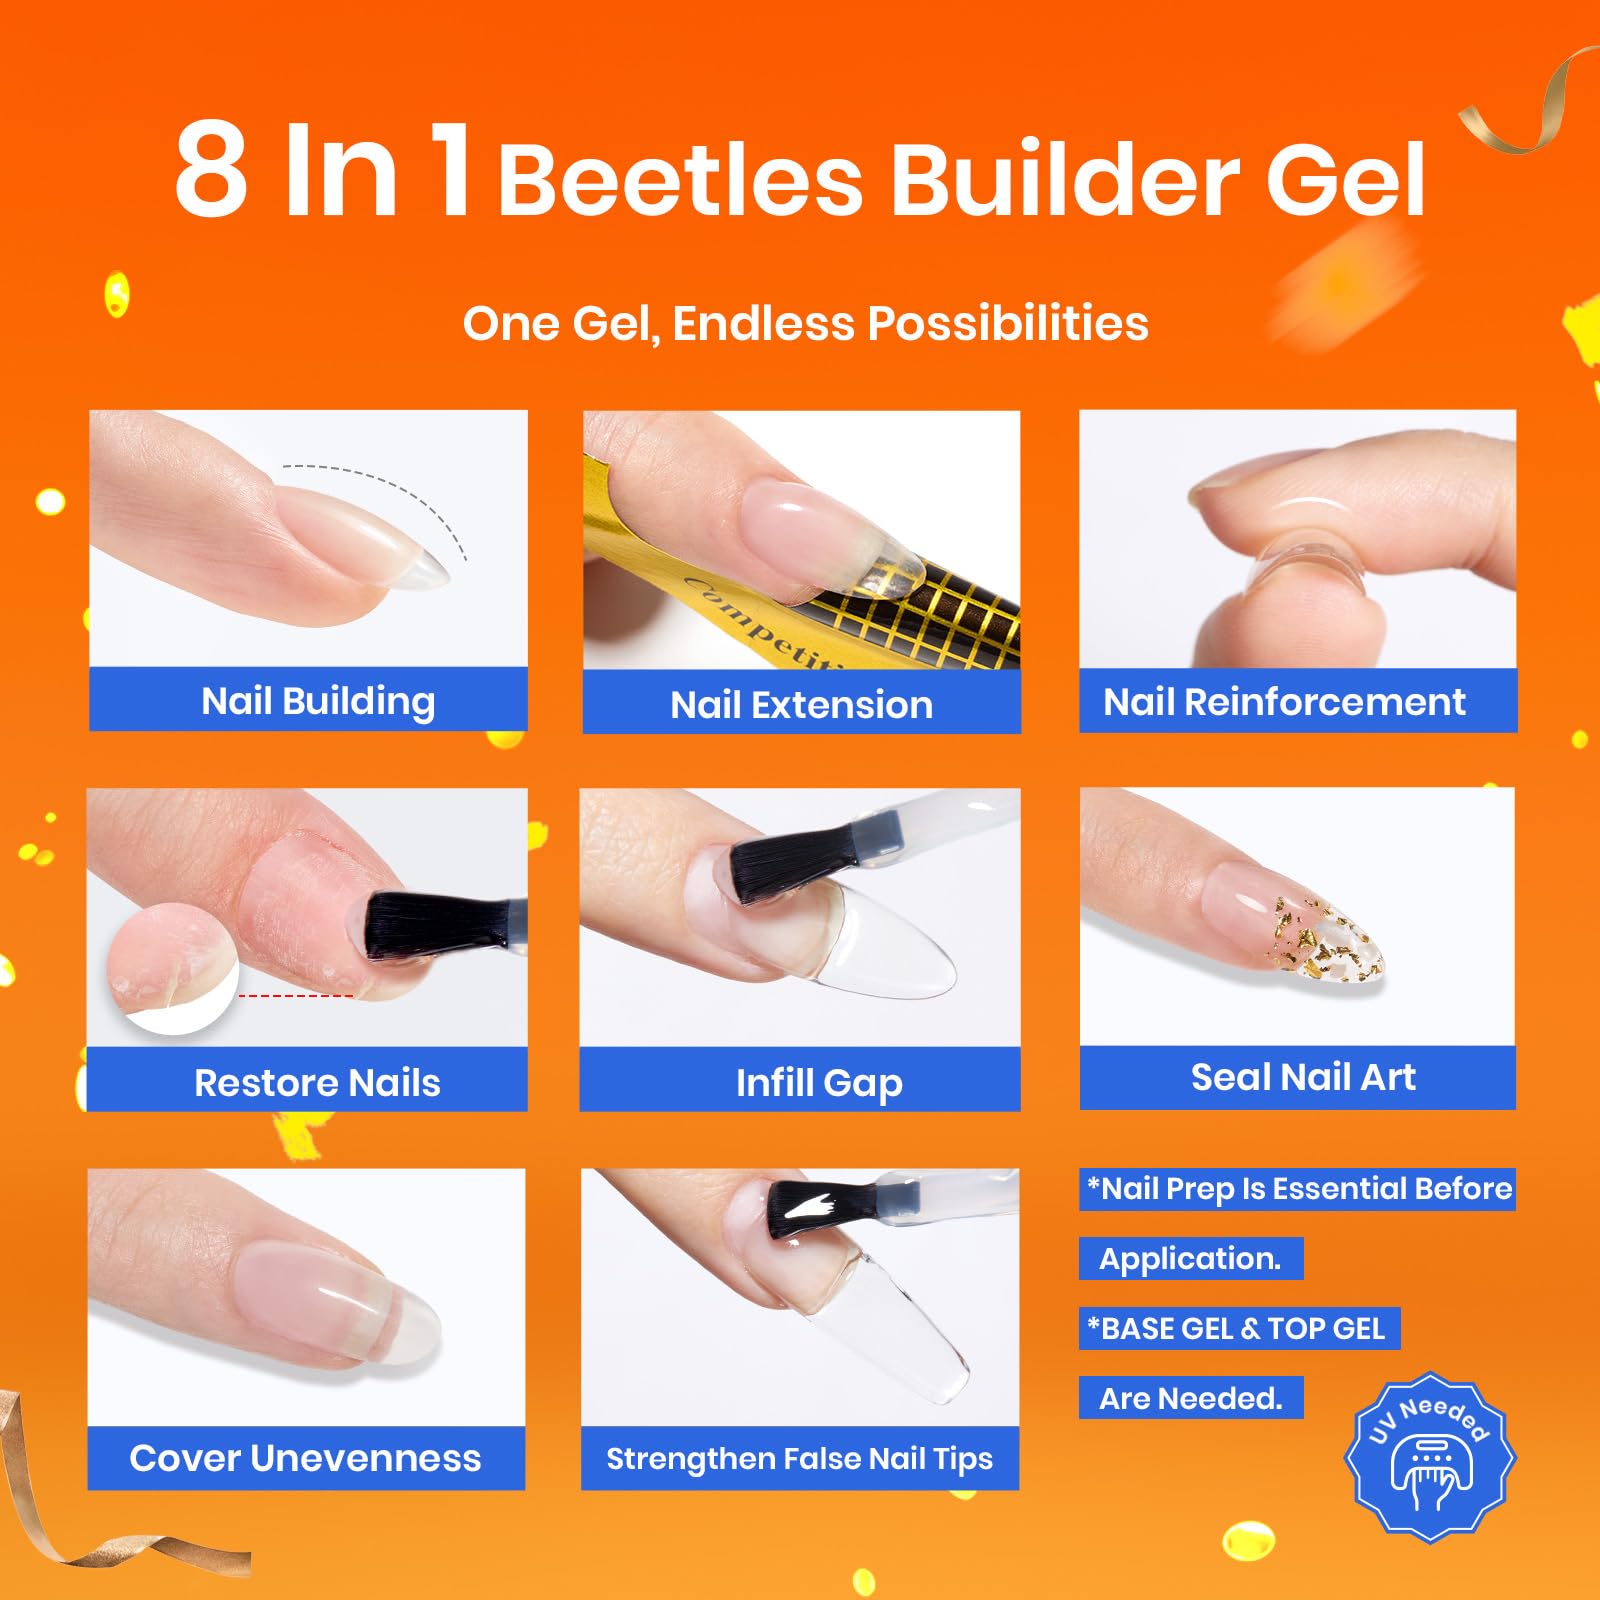
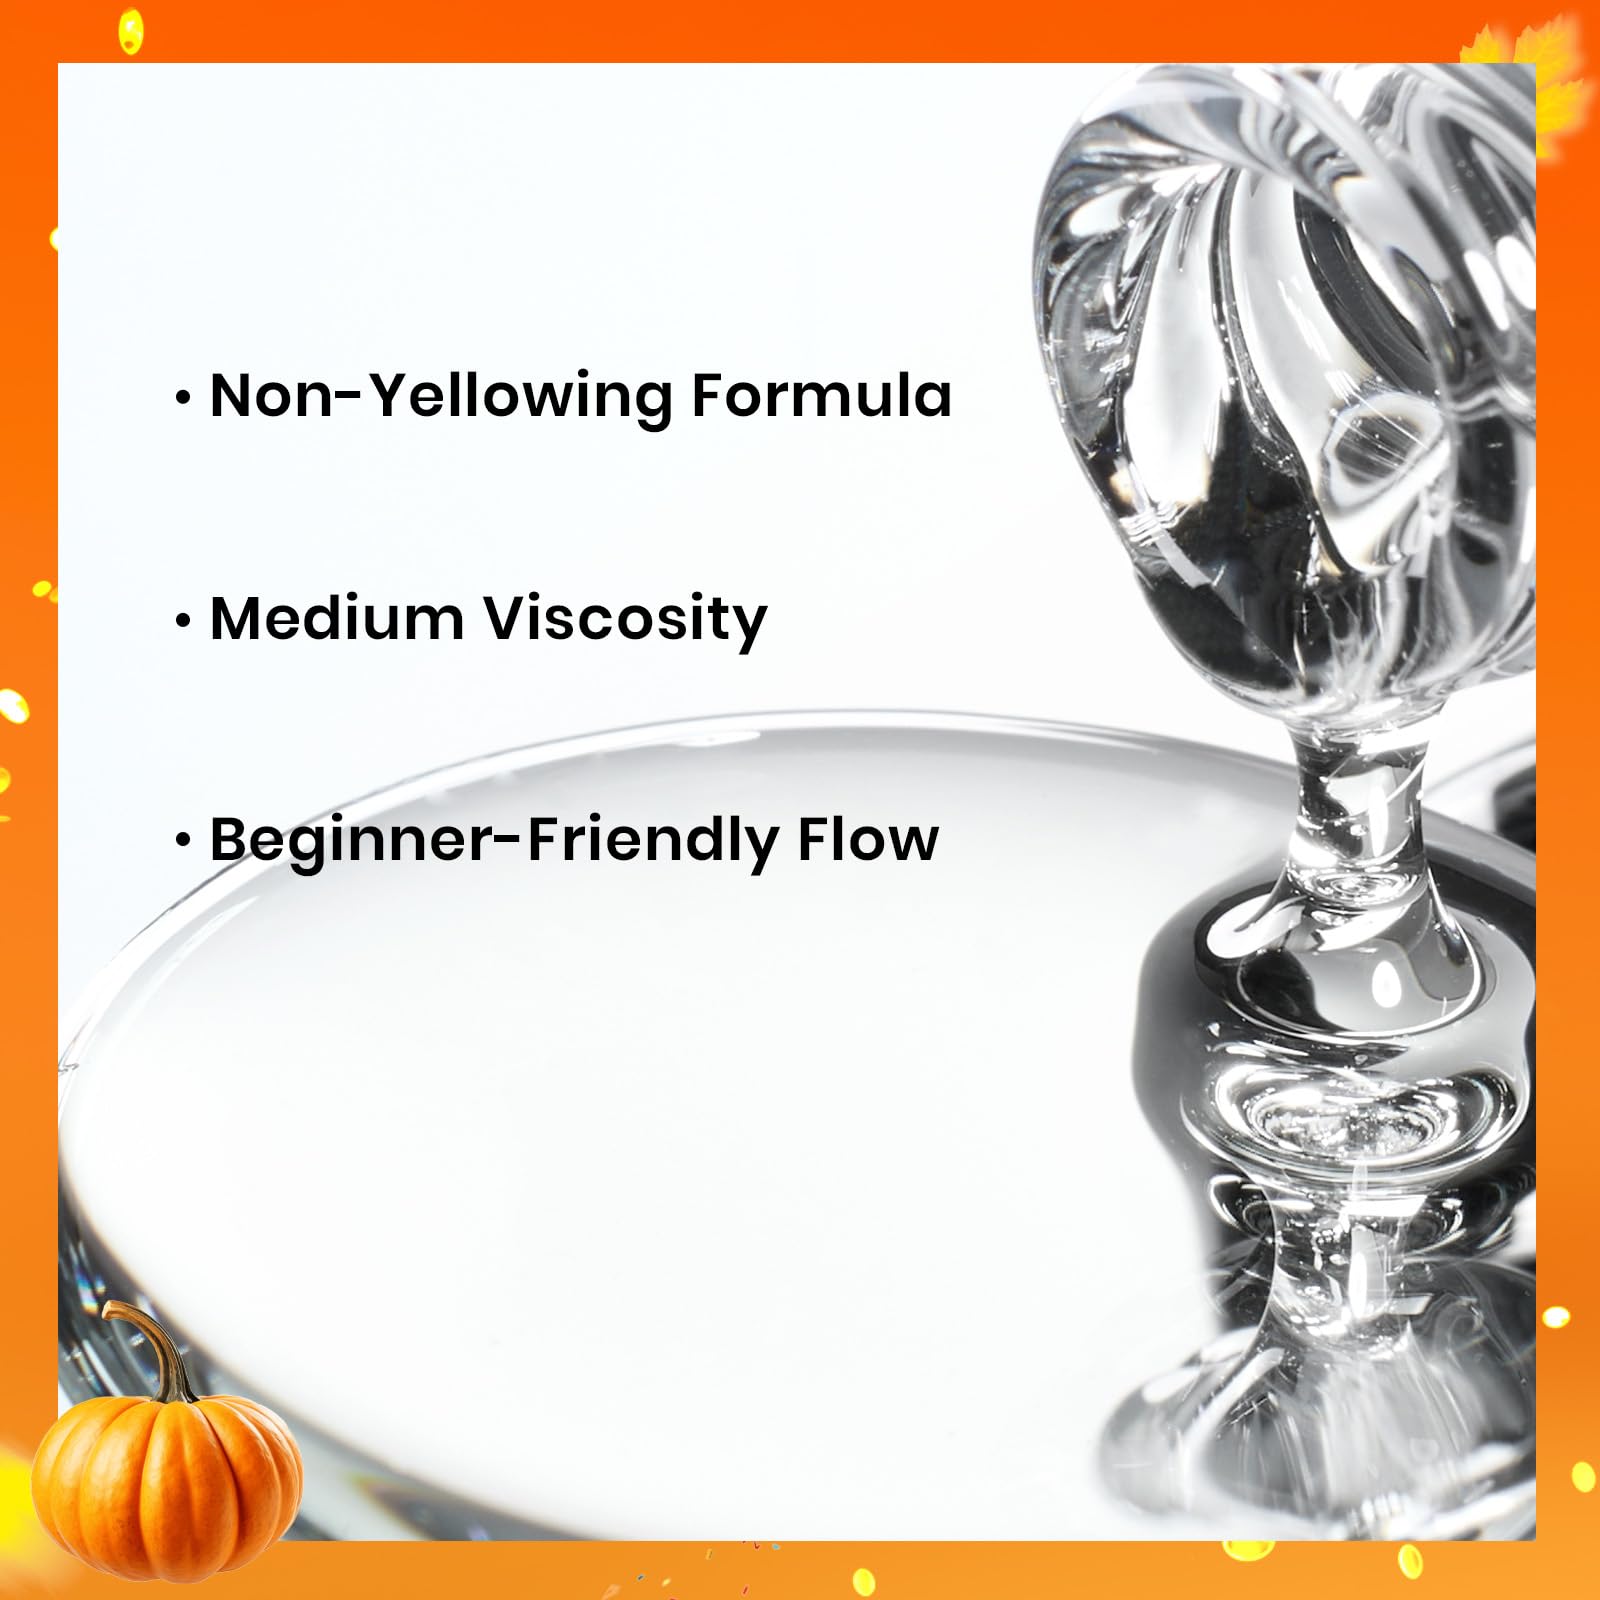
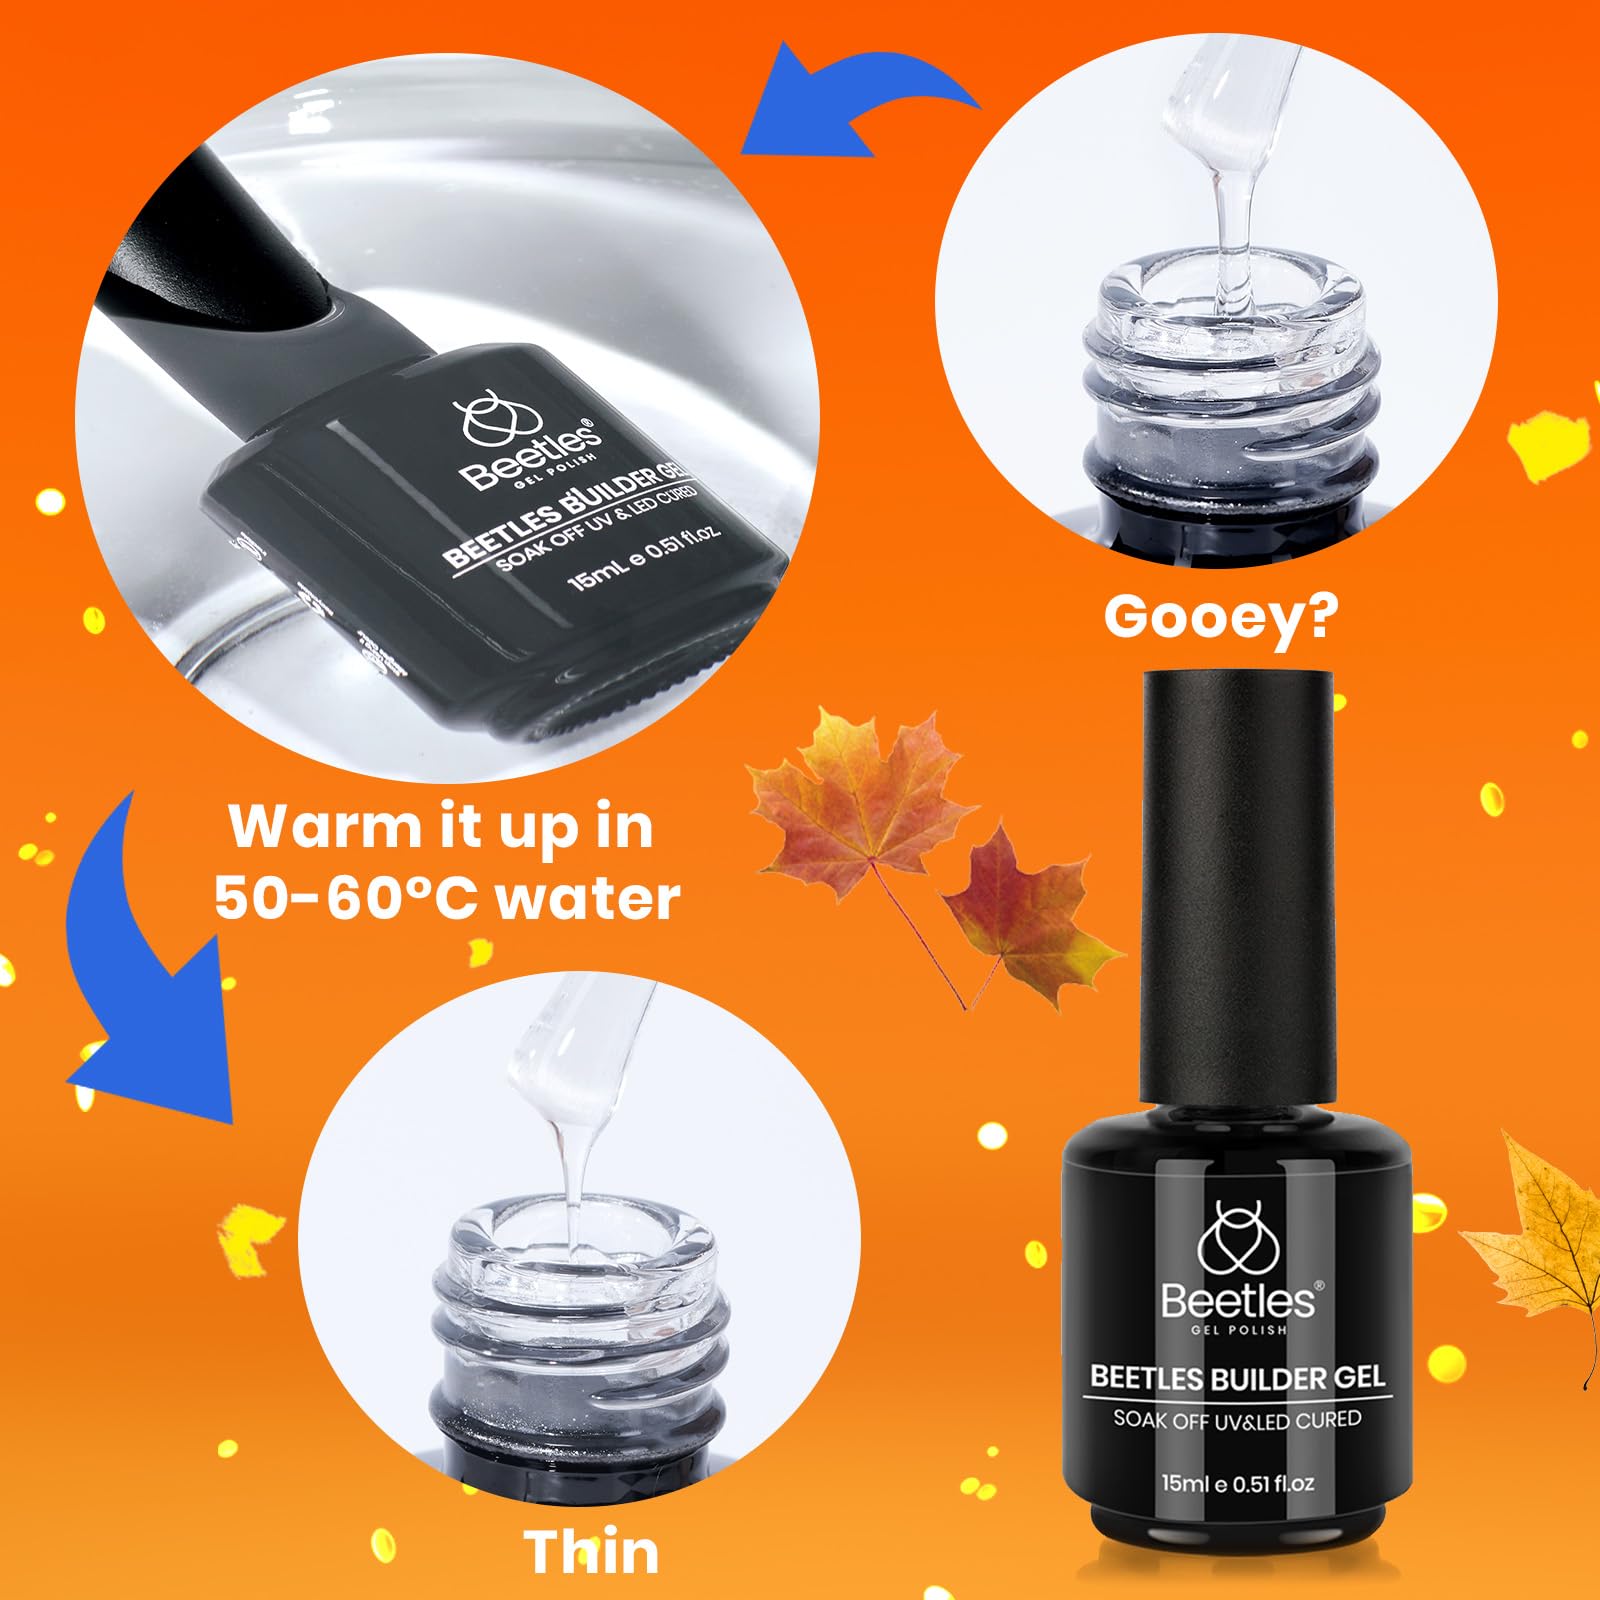
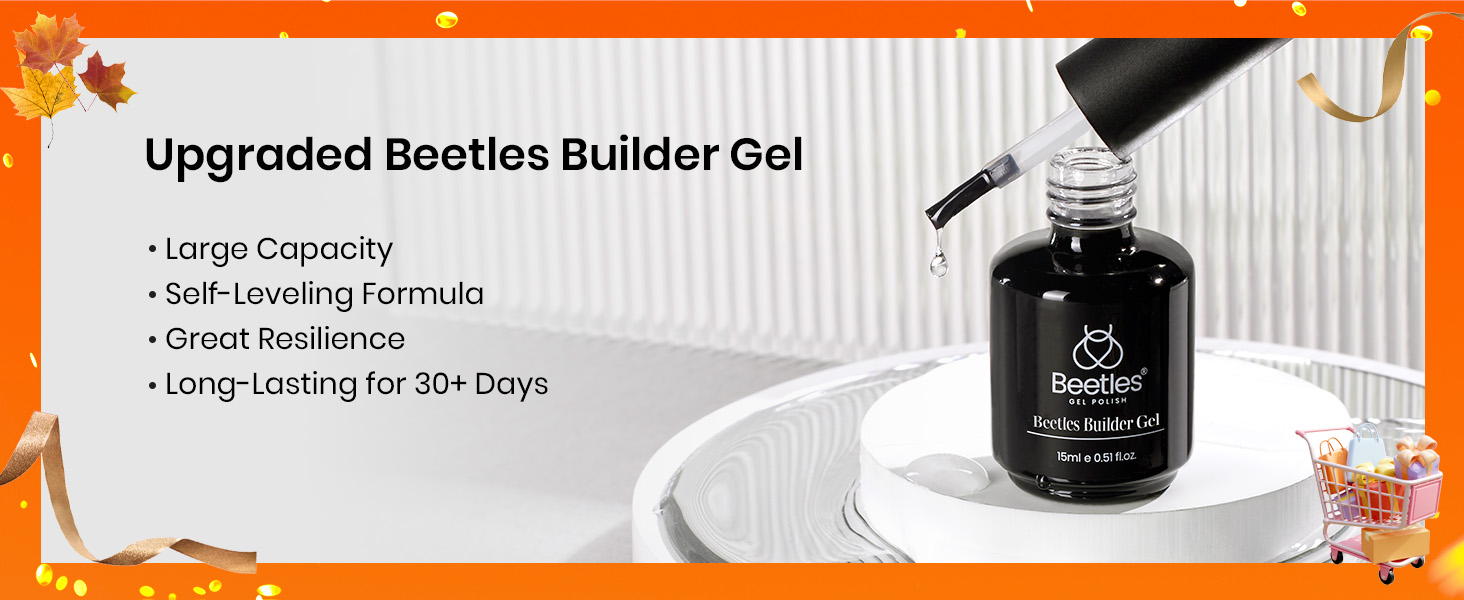
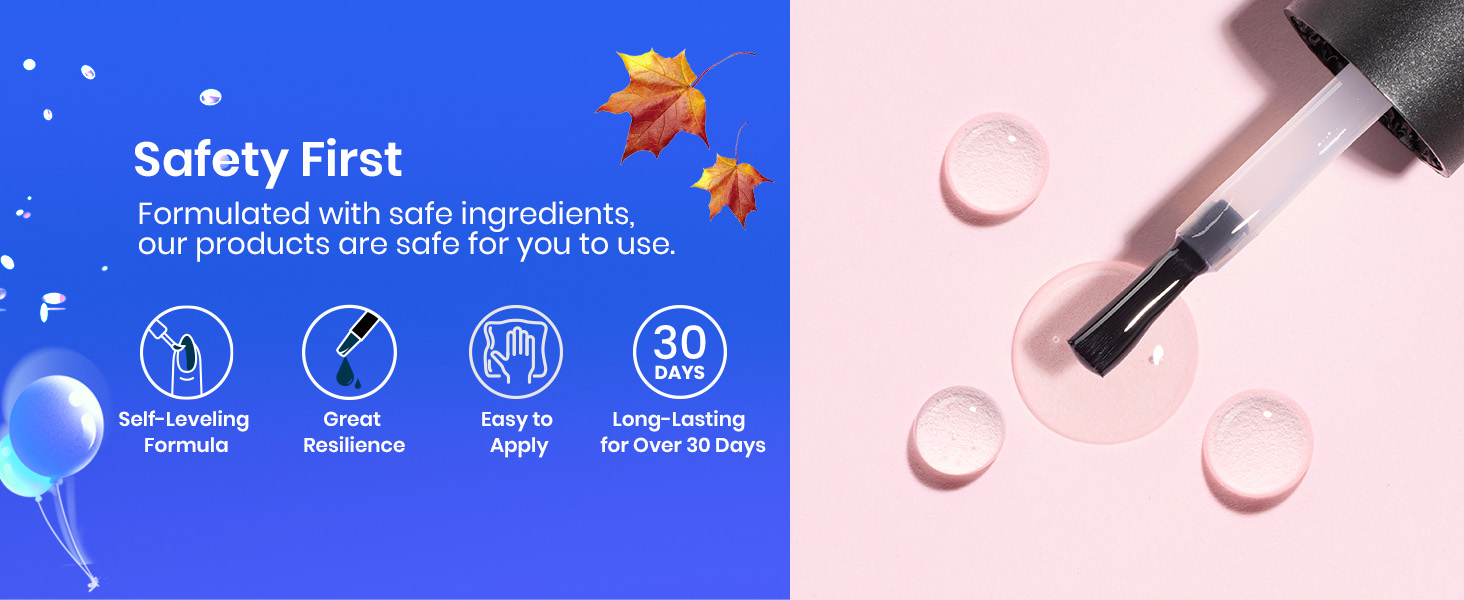
Beetles Clear Builder Gel is a 15ml professional-grade nail gel that combines 7 functions into one: builder, strengthener, extension, and clear color gel. It features a lightweight, self-leveling formula that cures quickly under LED or UV light, delivering durable, natural-feeling nails without the harsh odor or dust of acrylics. Ideal for creating flawless, long-lasting manicures and intricate nail art, this gel is a must-have for millennial professionals seeking salon-quality results at home or on the go.
A**N
Worth Buying!! Easy and Odorless!
I tried this with white nail tips and the entire process was a fraction of the time compared to my usual acrylic powder and monomer. My family appreciated it was odorless. I normally stink up the house lol.Here's what I did and it turned out great.1) Push cuticles back. I didn't clip mine this time because I had an allergic reaction the last time I cut them, so left them.2) Use a buffer to remove the shine on the nails and any dead skin.3) Apply dehydrator to nails4) Use buffer on the nail tip to add texture for better adhesion.5) Glue on the nail extension.6) Apply a layer of base coat. It will be sticky so make sure you don't touch anything that may stick to it. (Avoid skin!)7) Put nail under UV lamp for 120 seconds8) Add builder gel. I like to brush a layer on, then follow up with a pea sized ball at a time to build up thickness just past and just dab the brush to move it around. You will only be able to do one finger at a time because it's a bit runny. Place it under the UV light for 30 seconds to hold it and move to the next nail until all are ready for the official 120 second bake. Use nail file to fix any messy edges. (Avoid skin!)9) Add top coat and put under UV light for 120 seconds. (Avoid skin!)10) Use nail file to shape any messy edges.11) Wash hands with soap and water and add cuticle oil.Make sure you avoid any of the gels leaking off the nail bed. This will help prevent skin irritation and premature lifting.So far the product seems pretty good. Hopefully it will last two weeks, but if it doesn't I still think it's worth buying just to save time and avoid the strong odor of monomor.Follow up:It's been a week since I used the builder gel and it has lasted without lifting surprisingly longer than the acrylic powders that I've been using, so I changed my review to 5 stars. Even though I was very careful I did have another reaction from the beetles product. I'm not sure what chemical agent is in their polishes and gels, but it always makes my skin itch and if I'm not careful I have broken out in blisters all around my cuticles and it runs up my fingers. The itching and pain when that happens is UNREAL and lasts for weeks! I recommend applying their products on one finger (I know that is tough when you are excited to do your nails) and wait a couple of days to see if you have any type of allergic reaction or skin sensitivity to any of their products before you go all in and do a full set of nails.
T**C
Adds strength without thickness
This is a must have when doing your own nails. Adds strength without bulk. The color is neutral and just as pictured. It’s somewhat opaque. Very easy to use, just like painting on any other gel polish and lasts a long time. It’s a great value!
V**N
Highly recommend this great quality product
I love beetles builder gel. It works great! As long as you follow the instructions you will not have any problems. It’s very good quality, it’s thick enough and after I read the instructions my nails came out fabulous! The one tip I felt is very important is after put the builder gel on you need to hold your finger upside down for 30 seconds. That helps the builder gel to balance itself on the nail so it evens itself out before putting in under the uv lights. I heard about builder gel in Europe, I had my nails done there and loved them. When I got back to the states nobody in my area uses builder gel, so I had to do them myself! I opened my amazon app and searched for builder gel , this brand was highly rated. I get better at doing them myself all the time.Very happy with the quality, the colors are great, it dries quickly under the UV lights only 1 minute per layer, that includes your base coat 1 minute, builder gel 1 minute and top coat 1 minute.The price is very reasonable for what you’re getting. The bottle size is an average size for nail products and it lasts a long time. The texture is good, as I said it is just thick enough.I am so happy with this product, I have bought quite a bit of it on Amazon.
T**R
If you’re a beginner, read for tips and tricks!
i love beetles, iv been doing my nails for about 6-8 months now and since the beginning iv used beetles. i love builder gel because it’s a protective layer on your nail, making it stronger and allowing for growth without damaging your nails. this stuff is definitely a learning curve but once you get the hang of it it’s AMAZING. my only issue is that it’s a little runny for builder gel but definitely still easy to use. and this color is absolutely PERFECT for french tips or just a natural overlay.when i initially used builder gel i didn’t know the proper technique so i was just building up multiple thin layers until it was to my liking- and this worked, but not well and wasn’t great long term as i’d have lots of lifting from improper application- for those who are new iv written instructions for the proper application as well as tips iv learned along the way :)FOR BEGINNERS: here are some tips and tricks iv learned as well as instructions, if you’ve never used this before understand that there is a learning curve and it takes lots of practice but after maybe 4-5 sets i now make my nails look PERFECT, better then the salon honestly!start by prepping the nail (remove cuticles, trim nail, buff nail bed, and shape to your liking) i use tips to add length so after the prepping the nail i apply the tips and file them so they’re flush with my nail from side wall to side wall :) but you don’t need to use tips, i just wanted to include this for those who may want to use tips for length!apply a base coat and cure as normalapply a very thin layer of builder gel, DO NOT CURE. this is called a “slip layer” make sure you apply sidewall to sidewall and not to flood the cuticles.after the slip layer you’ll dip back into the bottle and get a “bead” you’ll start right below your cuticle and float the product down- gravity helps this process and this product is a bit runny.use a brush with acetone to clean up the sides and around cuticle as you’ll probably have spillage especially as a beginner. you can also use a detail brush to move the builder gel as needed and get it as close to the sidewalls and cuticles without flooding thembefore curing you’ll want to flip your nail upside down for about 5-10 seconds to allow the builder gel to self level and create an apex, now you can cure your nails. (before curing i always take a brush with acetone and make sure there’s no spillage into my sidewalks or cuticles)after curing wipe with acetone to remove the sticky residue and you can file and paint the nails to your likely as you normally would! :)TIPS FOR BEGINNERS:it’s super important to file the nails after finishing the builder gel application- i mainly only file around my cuticles to make sure it’s flush with my natural nail, this also prevents lifting and was a total game changer for mei used a regular nail file for all of my filing, iv recently started using an e-file as it makes the process quicker, but you can do it either way!one thing i didn’t know, was the importance of gel application. making sure you apply every coat (base coat, gel polish, builder gel, top coat) as evenly as possibly across the ENTIRE nail- sidewall to sidewall, and around the cuticles making sure not to flood the cuticle as that will cause lifting within days.you want the slip layer, and the actual application to be as smooth as possible, the most important thing iv learned is to take my time when applying the slip layer and ensure the slip layer is smooth- it will almost guarantee that the bead application will turn out beautifully. iv gotten this part down to where the only filing i need to do after application is around my cuticles to make everything flush, and then crisping up the shaping a bit :)i also recommend only doing one finger at a time, otherwise the uncured builder gel may run and end up lumpy from gravity as you move your hand around. i like to do my thumb first on its own, then i’ll do my pointer and middle finger together, and my ring and pinky. but if you’re a beginner stick to one finger at a time :)i hope this helps someone
Trustpilot
1 day ago
5 days ago