Desert Online General Trading LLC
Dubai, United Arab Emirates
Desert Online General Trading LLC
Dubai, United Arab Emirates


🚗 Capture Every Moment, Day or Night — Your Ultimate Roadside Witness!
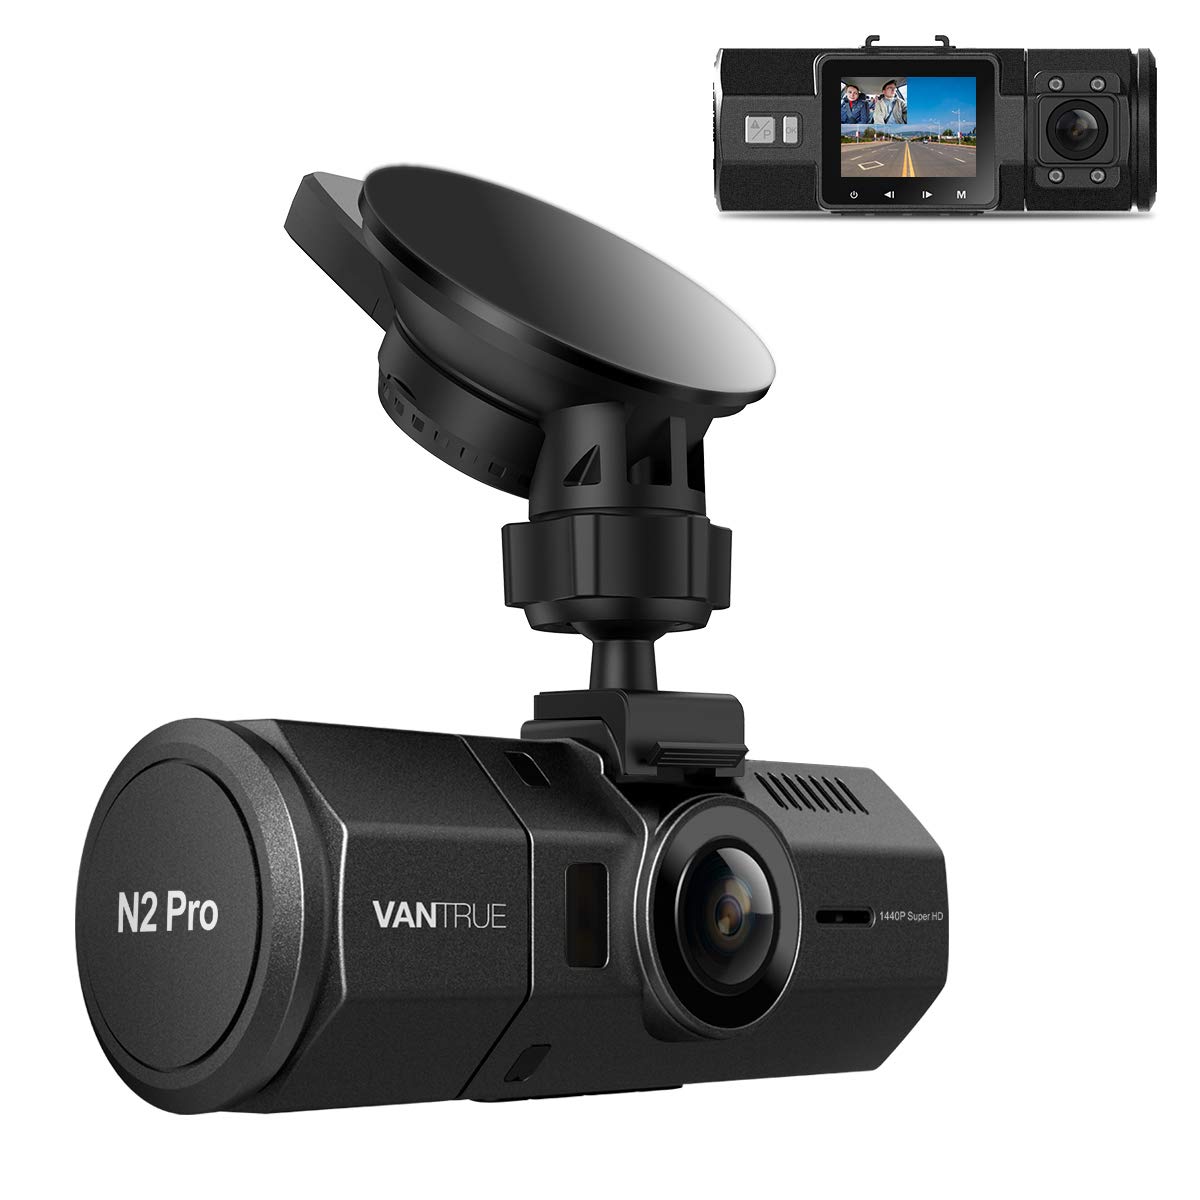
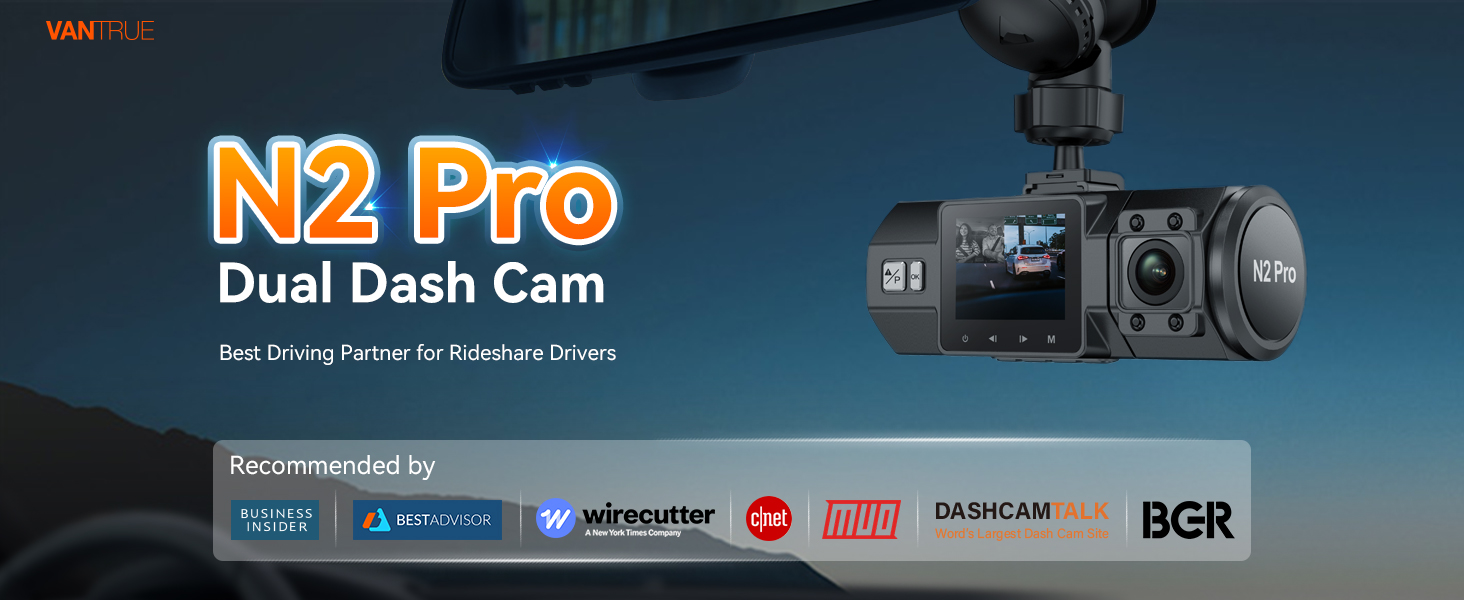
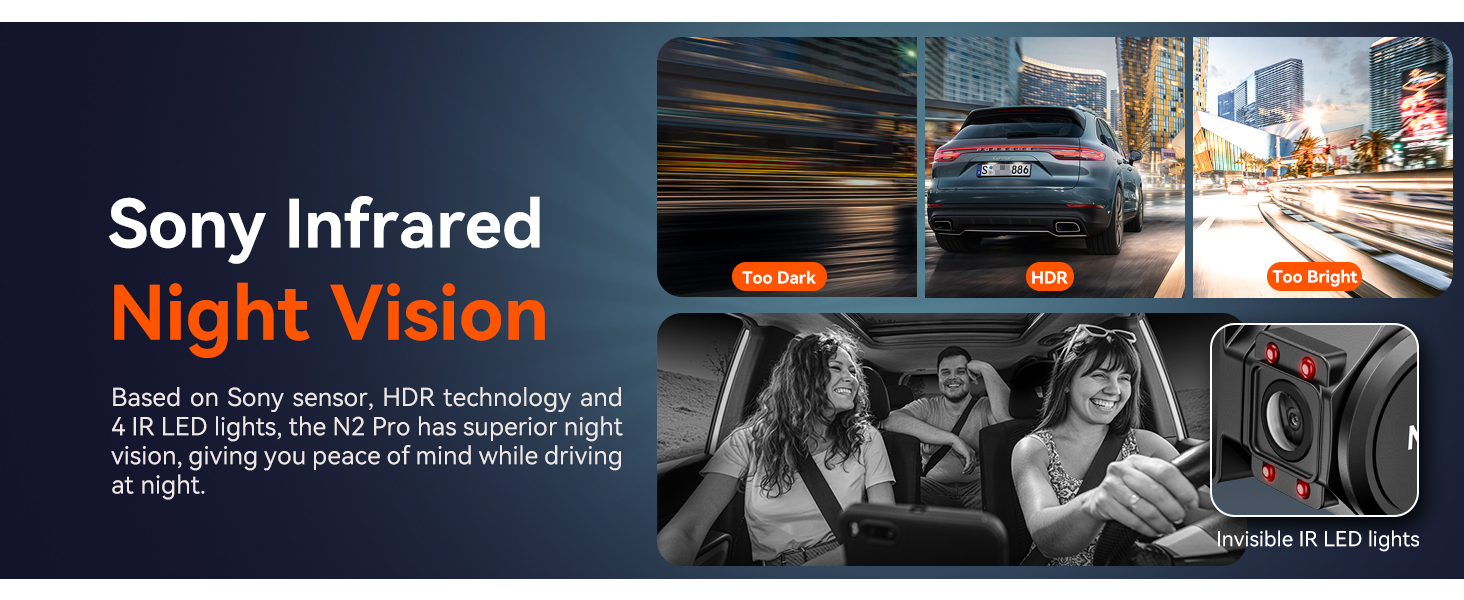
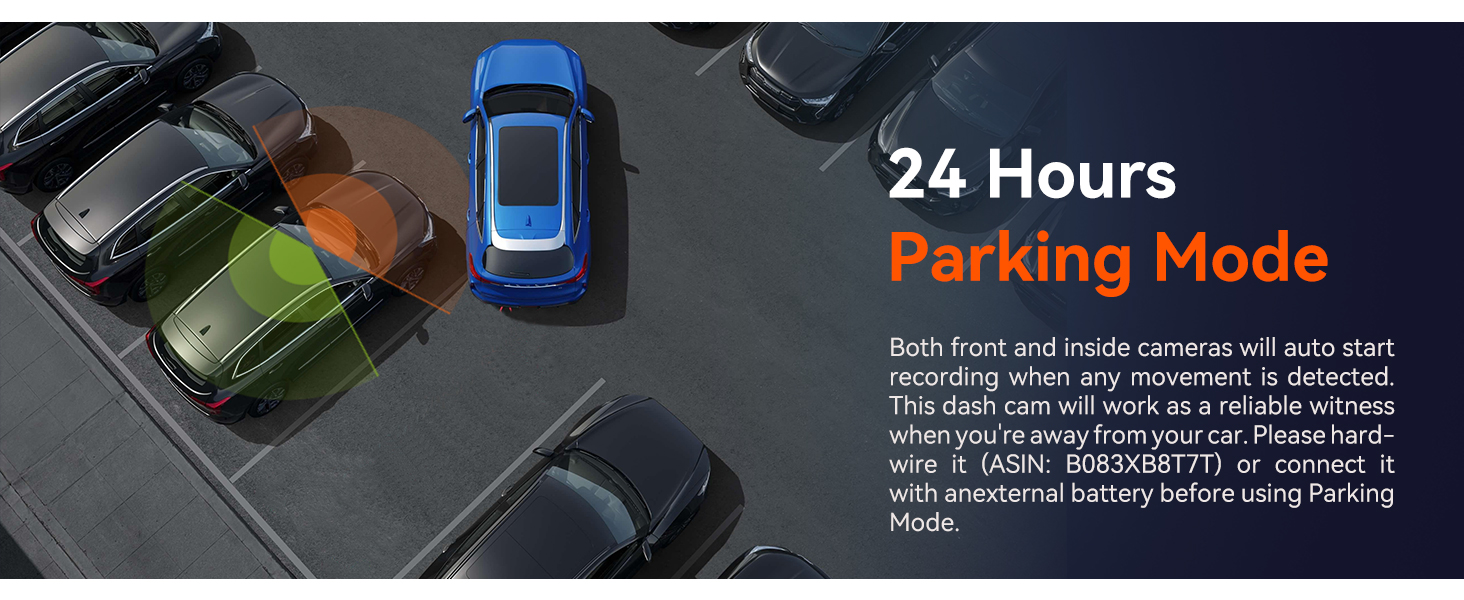
The Vantrue N2 Pro Dual Dash Cam is a premium dual-lens car camera designed for rideshare drivers and safety-conscious commuters. It features simultaneous 1080P front and interior recording with a wide field of view, plus an optional 2.5K front-only mode for ultra-clear footage. Infrared night vision with 4 IR LEDs ensures crystal-clear cabin video in low light. The camera offers 24-hour motion-sensor parking mode, G-sensor collision detection, loop recording, and supports up to 256GB microSD cards. With an auto LCD off feature and optional GPS tracking, it’s engineered for seamless, distraction-free protection and evidence capture.


| Auto Part Position | Front |
| Are Batteries Included | No |
| Display Type | LCD |
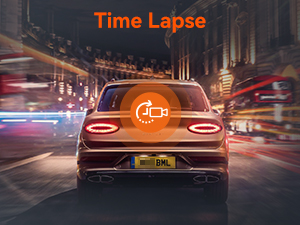
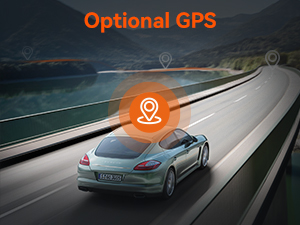
| Supported Standards | MP4, Infrared Night Vision, 24hr Parking Mode, Motion Detection, Auto LCD OFF, Optional GPS, Time Lapse |
| Battery Cell Type | Lithium Polymer |
| Compatible Devices | Car |
| Frame Rate | 30 FPS |
| Real Angle of View | 140 Degrees |
| Flash Memory Supported Size Maximum | 256 GB |
| Field Of View | 310 Degrees |
| Screen Size | 1.5 |
| Flash Memory Type | MicroSD |
| Auto Part Orientation | Front and Inside |
| Compatible with Vehicle Type | Car |
| Connectivity Technology | Infrared |
| Additional Features | G-Sensor, Night Vision, Parking Monitor, Built-In Microphone, Loop Recording, Motion Sensing, Time Lapse, Built-In Display, Auto LCD OFF, Voice Recording |
| Video Capture Resolution | 2.5K 1440P Single Front Recording, Dual 1080P Recording |
| Mounting Type | Suction Mount |
| Item Weight | 3.5 Ounces |
| Item Dimensions D x W x H | 1.57"D x 3.94"W x 5"H |
| Color | N2 Pro |
A**F
The Vantrue N2 PRO Pro comes nicely packaged with foam to protect the camera
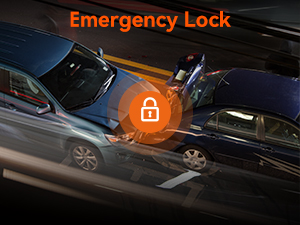
The media could not be loaded. Initial impression & Unboxing:The Vantrue N2 PRO Pro comes nicely packaged with foam to protect the camera. The LCD screen and cameras are covered by a plastic cover to keep them from getting scratched. The instructions, quick start guide, registration, and accessories are all packaged neatly in the box. The standard suction cup is included along with a usb cable and power adapter. There is a separate optional GPS suction cup which I purchased to review with this camera. I won’t get into the details of the camera specs as you can read them yourselves on the description portion here on amazon. I will say in terms of interoperability it is nice that Vantrue has stuck with the same mini USB connection as opposed to going to USB-C or Mirco USB, you can interchange and upgrade cameras if you have an older Vantrue camera which uses the same power cable you ran previously in your car. This was a pleasant surprise coming from the Vantrue N1 and Vantrue R2 which I previously reviewed and use in my cars. The location of the buttons is intuitive unlike previous models with button on multiple sides. The N2 Pro buttons allow for easy one hand navigation through the menus and the emergency and ok button right in your line of sight. Camera construction is well made with a durable hard plastic to hopefully withstand internal deviated temperatures. My expectation is it will hold well to the blistering California heat waves we have in the summers. The plastic finish is not as refined as the R2 in my opinion, but looks and finish are all subjective so it is a moot point.Wiring:The provided power cord is similar to previous model Vanture cameras so not much difficulty in installing it and there is plenty of length in the cable to hide and wrap it around the windshield and along the side of the dash to reach the accessory port depending on your car. I took the power plug apart and actually soldered in two leads, shrink wrapped it using electrical shrink wrap and hardwired it behind my stereo console in one of my cars rather than purchasing a separate hardwire kit which Vantrue sells if you don’t want to go through that kind of trouble. It runs off the accessory port which is usually 12-24VDC on most cars converted to 5V @ 1-1.5A output to the camera. Like previous Vantrue cameras, there is also a direct Mini USB port so if you choose to make your own custom stand or mount in a different manner, you can get power to the camera with direct usb connection. Another advantage is if you need to remove the camera from the suction cup mount you don’t need to take the suction cup mount off, you can simply unplug the camera from the suction cup connector which makes it modular and allows for cleaner wiring. The standard power cord also has a hidden ubs plug so you can charge your phone and other accessories which is great. Another upside is the output is only 1.5A at most so you will not destroy your expensive electronics by charging them at higher C rate and degradating the battery, these small details are important if you understand Li battery technology, which most people do not. Whats good for the goose is not good for the gander.Initial Setup:Setting up this camera is fairly easy, the menu system is similar to the previous Vantrue cameras so there is no learning curve if you are familiar with the Vantrue firmware and OS. Using the Menu button you can scroll through the main 4 sub-menus. I’ll go over a few of the options I choose for my setup. Right off the back I noticed the odd way the Stamp is configured in the menu. This is not clear at all and one of the options I would like to see Vanture change in their firmware to make it more clear what is enabled and what is not. When you dabble in that menu option you will know what I’m talking about. For example if you want MPH shown there is an X and check mark, in order for the MPH to be shown on the video you have to make the cursor cover the X so that the checkmark is exposed and enable. Counter intuitive if you ask me. I opted not to use the parking sensor because I live in a relatively safe neighborhood and I’m more concerned about the drain on the car battery. If you happen to have a really large capacity battery or a backup power pack than the Parking sensor is useful to use. G-Sensor default is set to medium, I changed this to low only because my car has very stiff suspension so the ride can be a little bumpy and thus rather than trigger an impact event and fill up the microSD card I opted for a less sensitive option. If in the event you have an accident you can press the emergency button to lock that video in the Event folder which does not get overwritten. I would hope if you get into an accident you take the camera home and offload all the video data on a PC and sort through it later not having to worry about losing the video. One other setting I changed is the default video loop recording duration to maximum allowed. I find it easier to just edit down a longer video than having multiple small clips to join together, but this is all subjective and no impact on camera performance. I tested the Time Lapse mode and it is wonderful feature to my surprise, it worked very well and at 1fps it can record for a long length of time before it loops to another joined video. Although I have the parking mode turned off I can see the Time Lapse being a very useful feature for some. The Time Lapse mode works not only in Parking mode but outside of Parking mode which I believe is not available on the regular N2 model camera.microSD card and Format info:I purchased a Samsung Evo Select 64GB microSD card as I’ve had good success with these cards and Vantrue cameras in the past. I also have a Sandisk 64GB on my Vantrue R2 camera but this Samsung is a Class 10 U3 which is good for 4k recording even though this camera does not record at 4k, it records two HD 1080p streams so having a fast microSD card is worth it to prevent any issues, plus the price is no different than an older model by maybe a few bucks. That said, I put the card in and despite what the instructions say about formatting the card on a PC with a FAT32 partition the camera handled the formatting without any issues and I didn’t have to use any utilities on the PC to format it. If you insist on using a desktop utility to format it to FAT32 than use either of these freeware (Fat32Formatter 1.1 or guiformat-x64.Exe or guiformat.exe) any of these three free utilities will do the job on the PC. Vantrue says the camera actually supports up to 128GB microSD card but there could be some stability issues so for the sake of simplicity stick to a 64GB microSD card unless you are willing to experiment. I only have a single 128GB microSD (Samsung Evo Select) card, I put it in the camera as a quick test to see if there would be any issues and there was non initially, but I didn’t use it long enough to detect any possible bugs for continuous use.Camera settings:There are a few settings which are not clear from the instruction manual alone so testing them once you have the camera is the best way to find out how it impacts the operation of the camera. Surprisingly the factory default settings of this camera were more than ideal for my situation with only changes to the Stamp and a few other setting I found the camera was ready for use. Normally on the other Vantrue cameras I have made several changes before it was ready for use, but all the changes I would have normally made was default on the N2 Pro.Rear Camera:The rear camera is surrounded by 4 IR Led to aid with night vision operation which is far more useful recording inside the cabin as opposed to the front camera which has to deal with headlights and street lights constantly throwing the sensor off. The rear camera rotates on its axis so you can adjust it to get the right angle. The only grip I have is the rear camera is on the far end of the camera, it would have been better if the camera was somewhere near the center in my opinion because now I have to move the camera slightly closer to the driver to get a centered rear camera shot so there is an offset between the front and rear camera to keep into account.Video/Picture Quality:The first Dual 1080p camera I have used. I opted to use the default 1080p/1080p for both front and rear cameras. I was not surprised how clear the images were. Having previous Vantrue cameras in my other vehicles I expected the same clarity if not better and given the N2 PRO uses newer OV4689 and Sony IMX323 CMOS cameras paired with a Novatek NT96660 processor there is virtually no delays in the recording at 30fps for both cameras. The field of view on these cameras is enough to virtually cover the entire 360 range with limited dark spots. The coverage is F1.8 Front camera lens with 170 deg angle + F2.0 back cam lens with 140 deg angle. The night vision is far better than any other camera I have seen so far for in this price range. The front facing camera night vision is not like the same night vision you would see from a CCD camera, but for driving and catching license plates it does a good job. The rear camera with the 4 IR Led has a good picture quality for nighttime driving and the quality is on par with the front camera.Audio:The audio is clear and crisp in my car. Of course the quality of the acoustics does depend on the car and the materials in the car and environmental conditions so while it might work well in a Mercedes or high end vehicle you might not feel the same about your own car, I tested this in my daily driver Acura and I could make out the music very clearly as well as my own voice. Nothing unusual or to be concerned with.Noteworthy Mentions:One of the biggest improvements I’ve seen from the N1 to R2 and now this N2 PRO is the algorithm used for detecting ignition states when turning a car on and off. Depending on the car model, when you turn on the car, the ECU temporarily powers off all accessory ports, so the camera would detect no power and on the N1 it would shut the camera off than back on sometimes. The N2 PRO is smart, by that I mean when you turn on the car depending if you drive a BMW to a Toyota for example it knows the interrupt of power is from the car starting and thus no user input is required to manually turn the camera on.18 Month Warranty speaks for itself, most cameras offer a 1 year warranty if that, Joe from Vantrue is very knowledgeable and pleasant to deal with. Most importantly he responds quickly to email so if you have any issues you can be sure you will receive a response and support from Vantrue which says a lot regarding customer service these days.In my opinion the small LCD screen like the N1 is nice to have for function verification and camera setup, but, beyond that it is very small and not ideal for video playback. Unlike the R2 which has a much larger LCD screen, this camera is compact so I don’t mind giving up screen real-estate for a more compact package which the N2 PRO offers.The instruction manual could use work and be a little more descriptive and clear. In fact this manual I have is outdated and I believe it is for the N2 model not N2 Pro. This is why some of the features you must just manually test yourself to get an understanding on how it impacts the camera.The camera is fast, by that I mean when I turn on my car the camera is on within a second and when I turn off the car it shuts off about the same time so unlike previous models the N2 PRO has little to no delay. Also browsing through the menu and button response is instant.The camera comes with a 250mAh internal LiPo battery which is sufficient enough to use for a few hours at best, don’t count on it to record long durations of video as that is not what it was intended for. It is also important to note if you don’t use the supplied power cable, do not use an unregulated power adapter pumping more than 1.5A of current into the camera which could possibly cause problems with not only the camera, but cause battery problems which could result in catastrophic failure. I assume there is an internal IC which regulates current at the camera itself but better safe than sorry.The N2 Pro comes with a micro HDMI port so you can plug right into your TV for playback which is nice to have but the cable is not provided.When the camera is recording there is a blue led which is lit in the Emergency button, the R2 had a very visible led which is brighter. This is a both a pro and con, if you are wearing sunglasses the blue led is very hard to see on the N2 Pro but the upside is it is not bright at night so it is not as obnoxious.The GPS playback is great evidence and proof if you ever have an accident or receive a ticket which you can use in your defense. This is one of the biggest pros with this camera is the option to add the GPS receiver mount which has almost the same footprint as the standard mount. Well worth the additional investment for the N2 Pro and the software provided which can be downloaded from the Vantrue website is easy to use and packaged for both Apple and Windows OS.Honestly from using other Vantrue cameras my expectation with the N2 Pro was high because each iteration Vanture has put out there is always some new improvement or feature to look forward to. The N2 Pro succeeds the previous models with a range of upgrades and features unlike its predecessor. With the integration of a rear camera and rich added features this is leaps and bounds better so if I had to make a suggestion and recommendation to anyone looking for a camera I would not hesitate to recommend the Vantrue N2 Pro.Update: 8-25-17: Added video with Sun directly hitting the camera. I also have a very light reflective tint to help keep the car cool so the optics and windshield are not the most clear from all the micro pits from driving on the freeway/roads.Update: 8-26-17: I saw one reviewer complain about cabin recording and I felt compelled to talk about the IR feature. The IR led work great, probably the best in any camera I've seen in this price range. You just have to turn them on or set it to Automatic. When the camera is on hit the Power button and on the top right side of the LCD screen you will see it cycle between Auto, On and Off. Try it again it works very well.
T**R
A Detailed Look At The best Taxi/Uber Camera I have used
The N2 Pro is a Taxi style camera that allows the driver to record both in the cabin as well as out the front window. Lets take an in-depth look. Package wise the camera came shrink wrapped and well packed in a nice professional looking box. Once opened inside includes a nice full color 18 page English side manual, along with a quick start, register, and chance to win a GPS mount. Out of the package the camera has both a screen and front lens cover that need to be removed before using although there does not seem to be a lens cover on the rear facing camera.Along with the camera comes a suction cup mount. The mount feels rather light, and looks a little different then the GPS mount listed in their store front so it seems it is the Non-GPS bracket. You also get a rather long USB Mini B to car socket lead that features an extra USB port built into the end of the car socket side. This keeps the camera from hogging up your car socket. Lastly you get a shorter regular Mini B cable to go from the camera to a wall outlet or power bank. The manual mentions to plug the camera in to a power source and charge it for two hours before first use.Next the manual mentions that it accepts 16GB -64GB class 10 cards and before using a 64GB card to format it in a PC first to FAT32 format. I will be testing using a Sony brand class 10 64GB card. Windows will not nativity format anything larger then 32GB to FAT32 so you must use a program to do so. There seem to be quite a few around. Ubuntu Linux has GParted.After I had done this the camera came up SD Card Error after booting. So I formatted the card in the camera and the error went away.After all that I put the card into the camera. At first i took the whole little door off, but after putting the card in i realized that the little door actually pops up and rotates. A nice little design they put in there so I don't loose the door. Now that the card is in (teeth towards the screen way) while the camera is charging lets take a look at the software side.After booting up press the M on the bottom to get into the menu. Once there we have separate sections for Recording, System, GPS, and Files. It took a little getting used to since the menu M button is on the bottom, the OK is on the front, and the menu arrows are on the bottom, but it was not too bad.Starting in the settings menu we have the usual. My camera came set in English, but Language is the first option, and English is the top choice if anyone else happens to need it. skipping some here . Auto LCD Off has 1,3,5 Min and off. I am always glad to see a camera feature a 1Min LCD Off setting. The camera also has non-use auto off, and as I have been sitting here typing this the camera has turned itself off. So it does work. Frequency of course has 50 and 60Hz. In the USA you will want to set this to 60, and lastly the version my camera came shipped with is VTN2Pro7G.v1, but after writing and editing my notes I have updated it. The camera is now on VTN2Pro7H.V3On the Recording menu we have 1080P+1080P if you want to use both the front and back camera, or you could run the front camera only in 1080@60,1296 or, 1440P . Loop choices are 1,3,5 min. If you set it to off the camera will stop recording once the card is full G sensor was set to High. I usually turn this off to avoid the video being locked from hitting a bump or pot hole in the road. Number Plate allows 9 spaces to type what ever you would like to have written on your videos. (car's plate YouTube ID ect) Stamp allows you to independently turn on or off the Date and Time, Logo, Number, Speed, and GPS stamping. This is the first camera I have seen that allows you to turn off the Logo branding on the video rather nice to see this.You can also rotate the display, and to round out the features you can set a time lapseIn the GPS settings the GPS it self can be turned on or off, and the units can be displayed as MPH or KMH. Lastly menu wise we have the Files menu. This then lets you see videos by type or all at once, and seems very nicely organized.While running the camera furring recording when the power button is tapped it will toggle the IR LEDs on the rear camera off, auto, and on. This is one of the few cameras I have come across where the LEDs are actually useful as most with IR LEDs on the front just cause reflection on the windscreen. My only downside with the camera so far is that the rear camera can only rotate a little up and down. I was hoping to be able to get it to rotate and face the front to get a super wide view, but this is not possible.When it comes to file structure things are stored in a DCIM folder on the card and then broken down to Normal, Event, and Photo. The files names are the date and time, and then the front camera ends in A and the rear in B. The front camera is 12Mb video with 97Kb Mono audio. The rear camera comes in at 11Mb video and 96Kb Mono audio. Not as high of a bitrate as I would like, but understandable since both lens are in the same housing. I would like to see it bumped up to 15Mb if possible. At the current bitrate according to the Recording Time Calculator on DashCamTalk you can hold roughly 12 hours of recording time dividing that in half you are looking at 6 hours per camera before the card overwrites.File size for a three min clip comes in at 265MbI only have a few small cons for this camera. When I first got the camera videos seems to have a bit of a blue tint to them. This seems to have been fixed in the most new firmware. My second con is the mount. You can plug the USB Cable into the camera and the mount, but the way the cord plugs into the mount can make it hard to take the whole mount off and on without unplugging first. I get around this by plugging directly into the camera.Overall though I think this is a pretty good camera. It is a camera to strongly consider if you are a Taxi, Uber, or Lyft driver. It can also been a good camera for people who rent or went out cars as well as a parent looking to make sure their teen driver is paying attention and not distracted with texting or talking behind the wheel.
Trustpilot
1 month ago
2 days ago