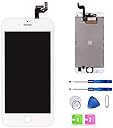
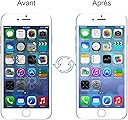
Review: Highly recommended - Screen quality is top so good fit perfectly alignment is awesome very easy to fix screen was everything good for someone that wants to save move to fix it there self Review: good deal! - fully functional. terribly good value for the money. 3d touch doesn’t have quite as good a feel as the oem screen but it may just take a little while to get used to. it actually seems a little better after a couple days .. could be me getting used to it. replacement job is straightforward but complex. track all screw locations on a drawing as the screws vary considerably in size. follow all steps. i would use the procedure as outlined on ifixit’s website. use the plastic tools that come with the repair kit, use nothing made of metal for this job. if you have a really shattered screen, put a piece of packaging tape on the screen so the suction cup will stay attached. the most tedious process was getting the front camera/speaker/light sensor in the new screen to “stacked” and stay long enough to get the bracket over it. if the three pieces are located correctly, you should be able to push the bracket almost all the way down to its seat with moderate pressure with one finger. if it doesn’t sit down most of the way, something is mis-aligned. the cables won’t align 100% with the plugs on the main board when you start this part of the process. you’ll need to use a bit of feel to make sure they’re aligned and moderate pressure will seat them. there is a barely noticeable “click” when you seat the plugs. my home button is slightly loose, possibly due to the slightly thicker screen, not sure because the button bracket seated solidly. the screen’s fit and finish is at least 95% oem. there is no light leakage around the edges, but the screen is a tiny bit thicker than oem. you can feel a slight “edge” when installed compared to the chassis of the phone. to an untrained finger this may not even be noticible. far better than other replacement screens i’ve changed and this is the same price. i find the color representation to be very good compared to oem, i can’t tell a difference.
| ASIN | B0757LMW85 |
| Brand | FFtopu |
| Brand Name | FFtopu |
| Compatible Phone Models | IPhone 6s |
| Customer Package Type | Standard Packaging |
| Customer Reviews | 4.2 out of 5 stars 872 Reviews |
| Model Number | 6598536368 |
| Part Number | Corepair |
| UPC | 700961427242 |
S**A
Highly recommended
Screen quality is top so good fit perfectly alignment is awesome very easy to fix screen was everything good for someone that wants to save move to fix it there self
A**X
good deal!
fully functional. terribly good value for the money. 3d touch doesn’t have quite as good a feel as the oem screen but it may just take a little while to get used to. it actually seems a little better after a couple days .. could be me getting used to it. replacement job is straightforward but complex. track all screw locations on a drawing as the screws vary considerably in size. follow all steps. i would use the procedure as outlined on ifixit’s website. use the plastic tools that come with the repair kit, use nothing made of metal for this job. if you have a really shattered screen, put a piece of packaging tape on the screen so the suction cup will stay attached. the most tedious process was getting the front camera/speaker/light sensor in the new screen to “stacked” and stay long enough to get the bracket over it. if the three pieces are located correctly, you should be able to push the bracket almost all the way down to its seat with moderate pressure with one finger. if it doesn’t sit down most of the way, something is mis-aligned. the cables won’t align 100% with the plugs on the main board when you start this part of the process. you’ll need to use a bit of feel to make sure they’re aligned and moderate pressure will seat them. there is a barely noticeable “click” when you seat the plugs. my home button is slightly loose, possibly due to the slightly thicker screen, not sure because the button bracket seated solidly. the screen’s fit and finish is at least 95% oem. there is no light leakage around the edges, but the screen is a tiny bit thicker than oem. you can feel a slight “edge” when installed compared to the chassis of the phone. to an untrained finger this may not even be noticible. far better than other replacement screens i’ve changed and this is the same price. i find the color representation to be very good compared to oem, i can’t tell a difference.
K**L
Great Screen, Great Price
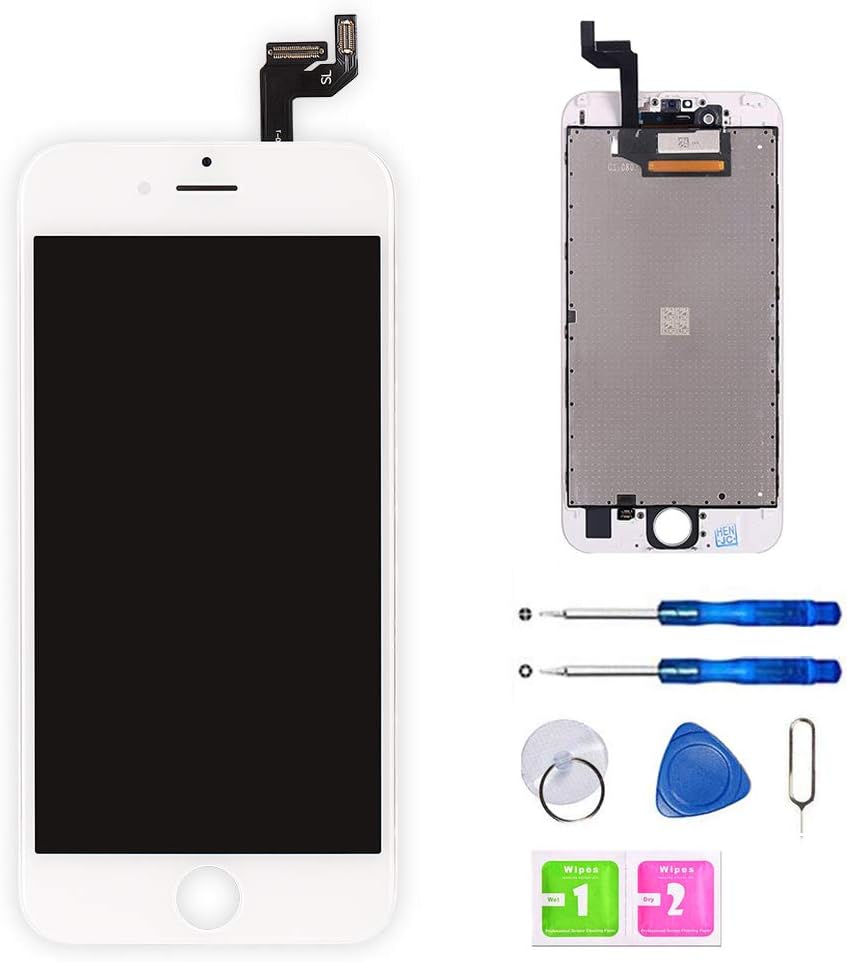
I will admit, I certainly had doubts about purchasing a replacement screen from Amazon. And you should too. However, this screen works basically exactly like my OEM Apple one. The main reason I'm giving this four stars, in addition to the reasons below, is because the package arrived later than it should have. I've replaced a few screens in my day- read this through and it might save you a silly mistake! SCREEN-- I am definitely satisfied in the screen portion of this purchase. I will say, I noticed that the pixels stand out a small bit under close observation unlike my last one, but it's not noticeable under most circumstances. Force touch works on my screen as well. Overall very satisfied. TOOLKIT-- I had a toolkit from the last time I fixed a phone so I basically threw out the one they shipped with the screen. I'm sure it would have worked fine for the repair, but from what I saw, it looked pretty cheap and barebones. REPAIR--I followed the guides at ifixit.com- their guides are the best and are HIGHLY recommended. VERY IMPORTANT: when attaching the flex cables, make sure not to press directly down or force the flex cable into the port. Instead, attach one side before attaching the other side of the flex cable and feel the click to know when it is in place. Have patience- the flex cables are DEFINITELY the most critical part of installation. During installation, I noticed that there is a green adhesive that was taped to one of the flex cables. Make sure you remove this before you install the screen- there should be 3 flex cables, and they should line up with the 3 ports on the motherboard of the phone. Before uninstalling the camera assembly in your old screen, take note of the positions of the flex cables and when you are installing your replacement, make sure the cables match exactly to the positions you noted. Make sure that you transfer everything from the old screen to the new screen before throwing it away. Also, make sure that you keep all your screws separate and install them exactly where they came out of. A magnetic mat is helpful for this, but by no means is it necessary. If all else fails, take it to your local Geek Squad and they'll sort you out. Good luck with your repair!
N**I
I'm very satisfied!
It's definitely worth the money and with the help of a few youtube videos and patience you can definitely have your phone screen looking nice and fresh. Things to make sure of: Keep track of your screws. I had a piece of paper and would write what i was taking out and how many screws were part of it and place them under the label. Even with this, i still lost some of the screws (about 4-5) but even with that, everything is working just as before, (Touch, Thumbprint, Calling, Sound, Front and Back cameras, and color/detail of the screen) are all normal. Make sure you follow the directions of whatever video you watch (definitely look for one that is from a phone repair channel/shop and not a homemade one. The professional ones will take you through step by step (especially with the screws and glued down parts you have to tear. The only reason I gave 4 stars for the install is because it is genuinely tedious, but also, the connections for the touch screen were a little different. They work perfectly fine, it was just a little confusing. But overall I give it 5 stars. My screen looks brand new, and I couldn't be happier with the results. I would definitely purchase this kit again in the future rather than pay $80.
S**R
Good part for iPhone 6s
Works well with iPhone 6s. It is recommended to watch the video that the seller provides with this product. It needs lots of patience and precision when you remove the camera from the old display and install it on the new one. Last step on the installation was to install the 2 screws next to the power connector. One of the threads on the assembly that I received was compromised, so only one screw got attached. Other than that all was fine.
H**I
DO NOT GET THIS ITEM!!!!
If i could give this product 0 stars i would... i received the package in a great amount of time but when it was opened the bag with contents were ripped. Then, on Saturday, i went to fix the phone and when trying to move over everything that needed to be transferred, we realized the one cable that came with this product didnt even match my phone. So now not only was my phone ripped open and taken apart to attach this new screen (THAT DIDNT EVEN FIT CORRECTLY) but then when we put the old screen on again, it the touch screen didn’t work and i had to take it to a professional place to have it fixed in which it was fixed in less than 10 minutes. I highly recommend NOT to buy this product but rather spend a little more by going to a local store to have it fixed.
A**S
Good choice but be prepared
This would have been a 5 star rating if they had included instructions. The product itself is amazing. Better color than original screen, sharper, just all round great. I couldn’t be happier with the actual item. The problem lies in the fact that this is extremely complicated to do, especially with no instructions at all. The only reason we even got started was that I purchased a battery that came with bery detailed instructions and the first part required removing the screen. I am certain that my relationship with my sons is now irreparably damaged. They haven’t spoken to me all day. This process took unnecessary hours that could have been saved by the inclusion of a damned instruction paper. It is complicated and difficult enough to break up a happy home. If you lose your noodle at do-it-yourself stuff you might slip this or at least enlist help you aren’t particularly attached to. You can also look for videos on how to do this on youtube (though with an instructional paper you wouldn’t need to). I know I keep hounding that but come on. It is cheaper and faster than sending it in to Apple and you won’t be without your phone for 5 days. That is a for sure plus. Be prepared for small tiny screws. All in all it is worth it, especially if you are wanted about non instructions in advance. Otherwise the item is a good choice.
A**R
$20 screen worked perfectly!
I was a little skeptical that the screen would work especially considering some of the reviews. I took a chance and I’m doing so, saved myself even more money. The instructions are terrible. The print quality of the instructions was god awful. Couldn’t be read very clearly and just generally bad. To resolve this, I look up a solid video guide on YouTube and carefully followed the steps. I was extremely careful with the Touch ID removal and low and behold, I was able to put everything back together. It’s easy. This isn’t however, my first iPhone repair. I’ve done so many and had even messed up an older iPhone 6’s Touch ID. The adhesive is much weaker on the newer phones. For that, I was extremely grateful. Everything works perfectly. The screen looks exactly like the previous one.
Trustpilot
1 day ago
1 month ago