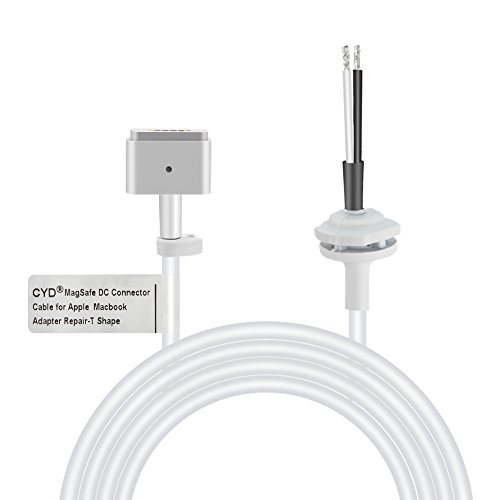
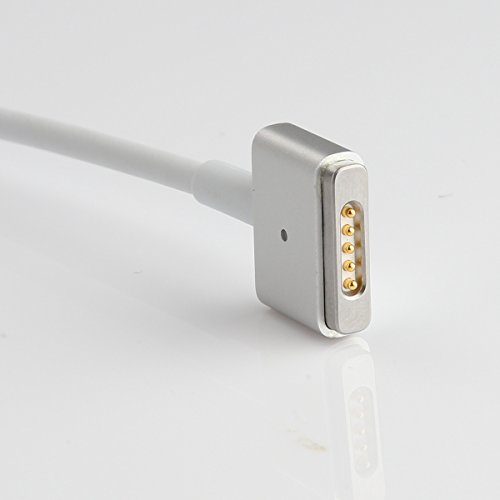
Introduction If your MacBook no longer charges or you don't see the little orange or green charging light when it's plugged in, check the cord for signs of damage. In this guide we will change the cord connecting the charger to the MacBook. Alternatively, you can use this guide to repair your existing cable instead of replacing it. Follow this super helpful guide,way faster and fewer steps,you know how to do it. 【http://bit.ly/2mRwtrz】 Compatible with MacBook Air A1435 A1465 A1436 A1466 MD223 MD224 MD231 MD232 MD592 MD711 MD712 MD760 MD761 MacBook Air (11-inch, Early 2015) ; MacBook Air (13-inch, Early 2015) ; MacBook Air (11-inch, Early 2014) ; MacBook Air (13-inch, Early 2014) ; MacBook Air (11-inch, Mid 2013) ; MacBook Air (13-inch, Mid 2013) ; MacBook Air (11-inch, Mid 2012) ; MacBook Air (13-inch, Mid 2012),MacBook Air 11" 13" inch from End 2012 Tools required: A decent soldering iron Wire cutters Desoldering pump A big heavy-duty spudger A pair of snap-ring pliers for use with external snap-rings. Really any long-nose pliers would do, this is just perfect for the job if you happen to have a pair :-) Super glue 1 or 2 small clamps Be careful not to touch any of the capacitor leads, or you may receive an electric shock. Use only ESD-safe pry tools. Do not use metal pry tools or screwdrivers. You might want to wear gloves so as not to get excess super glue on your fingers. Clamp the casing together and give it a few hours for the glue to set. Just like new! When your charger is back.
Trustpilot
2 weeks ago
1 week ago
